
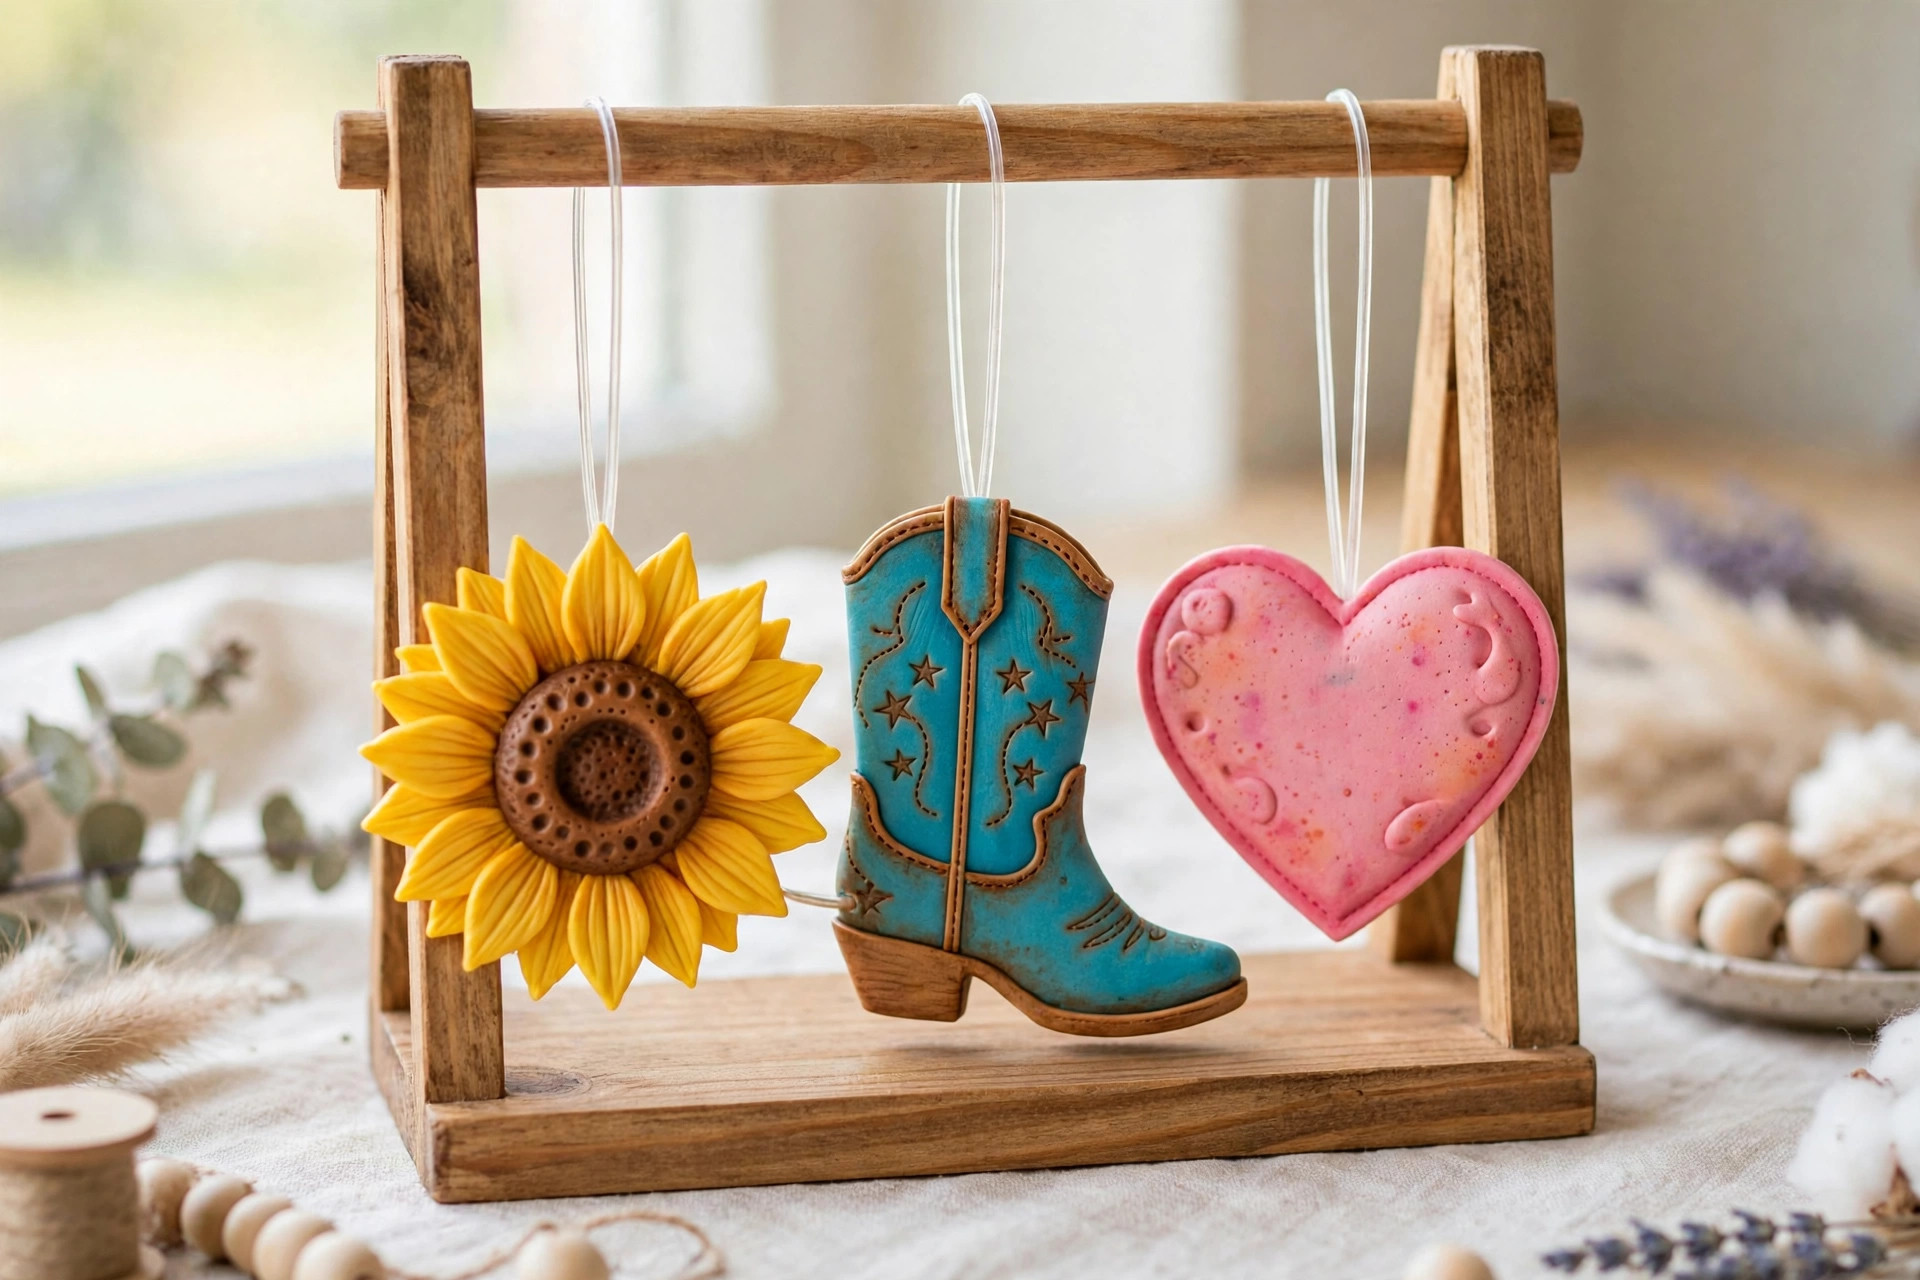
Once your beads are cured, the fun part starts: baking them into a freshie. You pack the scented beads into a mold or a metal cookie cutter, bake until they fuse into a solid shape, add a hanger, and you have a car air freshener that smells strong for weeks. The whole bake takes under ten minutes — the trick is knowing when the beads are fused but not overbaked, and cooling them the right way for the mold you used.
What You’ll Need
- Cured scented aroma beads (see Aroma Beads 101)
- A heat-resistant silicone mold or a metal cookie cutter
- A baking sheet lined with parchment paper or a silicone mat (never wax paper)
- A dedicated pan for freshies — never reuse it for food afterward
- A roofing nail or a roughly 1-inch screw (for the hanger hole), or a drill with a 1/8-inch bit
- Elastic cord (about 12 inches per freshie) or twine (about 10 inches)
- An eye screw (optional, for the screw-in hanger method)
- Oven mitts
Step 1: Preheat and Ventilate
Preheat your oven to somewhere in the 325 to 350°F range. Open a window or run your exhaust fan before you start — melting beads release fragrance into the air, and you want ventilation while you bake. Line your dedicated baking sheet with parchment paper or a silicone mat.
Step 2: Fill and Pack
Fill your mold or cutter about 1/2 to 3/4 full with cured beads and pack them level. An even layer bakes into an even freshie; a heaped middle comes out thick in one spot and thin in another. If you are using a cookie cutter, set it right on the lined sheet and fill it there — the beads bake in the cutter and take its shape.
Deeper silicone molds need a longer bake than shallow ones, so if you are baking a deep shape for the first time, check it at the short end of the time range and add minutes as needed.
Step 3: Set the Hanger Hole (Optional, Before Baking)
If you want a hole for the hanger, the easiest way is to stand a roofing nail or a roughly 1-inch screw upright in the beads before baking, about 1/4 inch down from the top edge of the shape. That placement matters: in summer heat a hole too close to the edge can melt through and drop the string. You will pull the nail out after baking and thread the elastic through the hole it leaves.
Prefer to skip this step? You can drill a 1/8-inch hole after the freshie cools, or screw an eye screw directly into the finished freshie and tie the elastic to that instead. All three methods work — pick the one you have tools for.
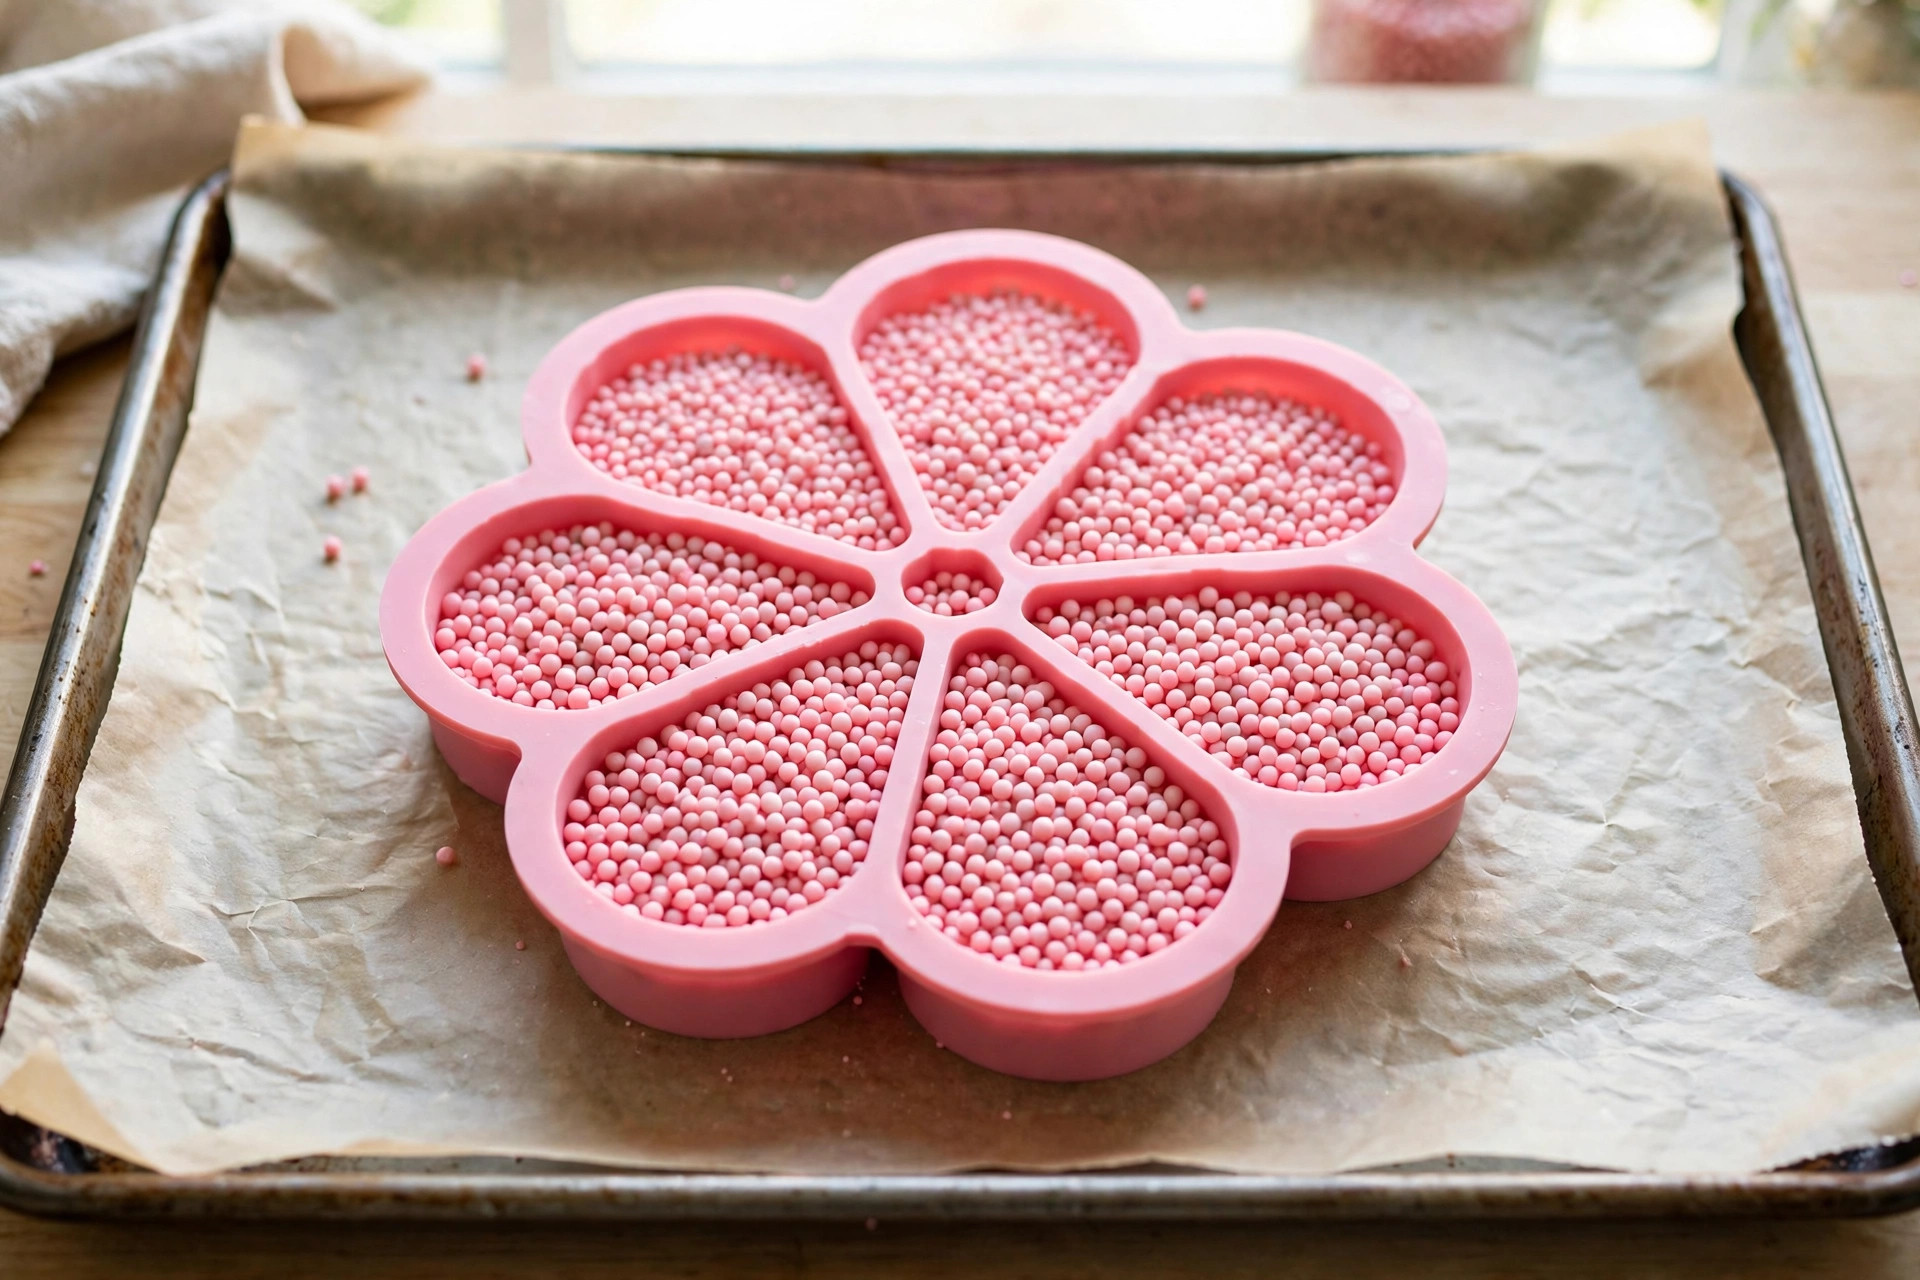
Step 4: Bake
Bake at 325 to 350°F for 6 to 10 minutes. The most repeated recipe is 345 to 350°F for 8 to 9 minutes, which is a good starting point for a standard cutter shape. Check doneness by tapping the top: the beads should stick together when tapped but still look beaded on top. If the top has gone smooth and flat like a puck, it is overbaked — still usable, but it will look less like beads and more like plastic.
Step 5: Cool the Right Way for Your Mold
Cooling is where the mold type matters, and getting it wrong ruins an otherwise good freshie. For a metal cookie cutter, you can pop the freshie out while it is still warm, after about 10 to 15 minutes. For a silicone mold, wait until the freshie is completely cool and firm first — never yank a hot freshie out of silicone, or it will stretch and warp.
Step 6: Add the Hanger
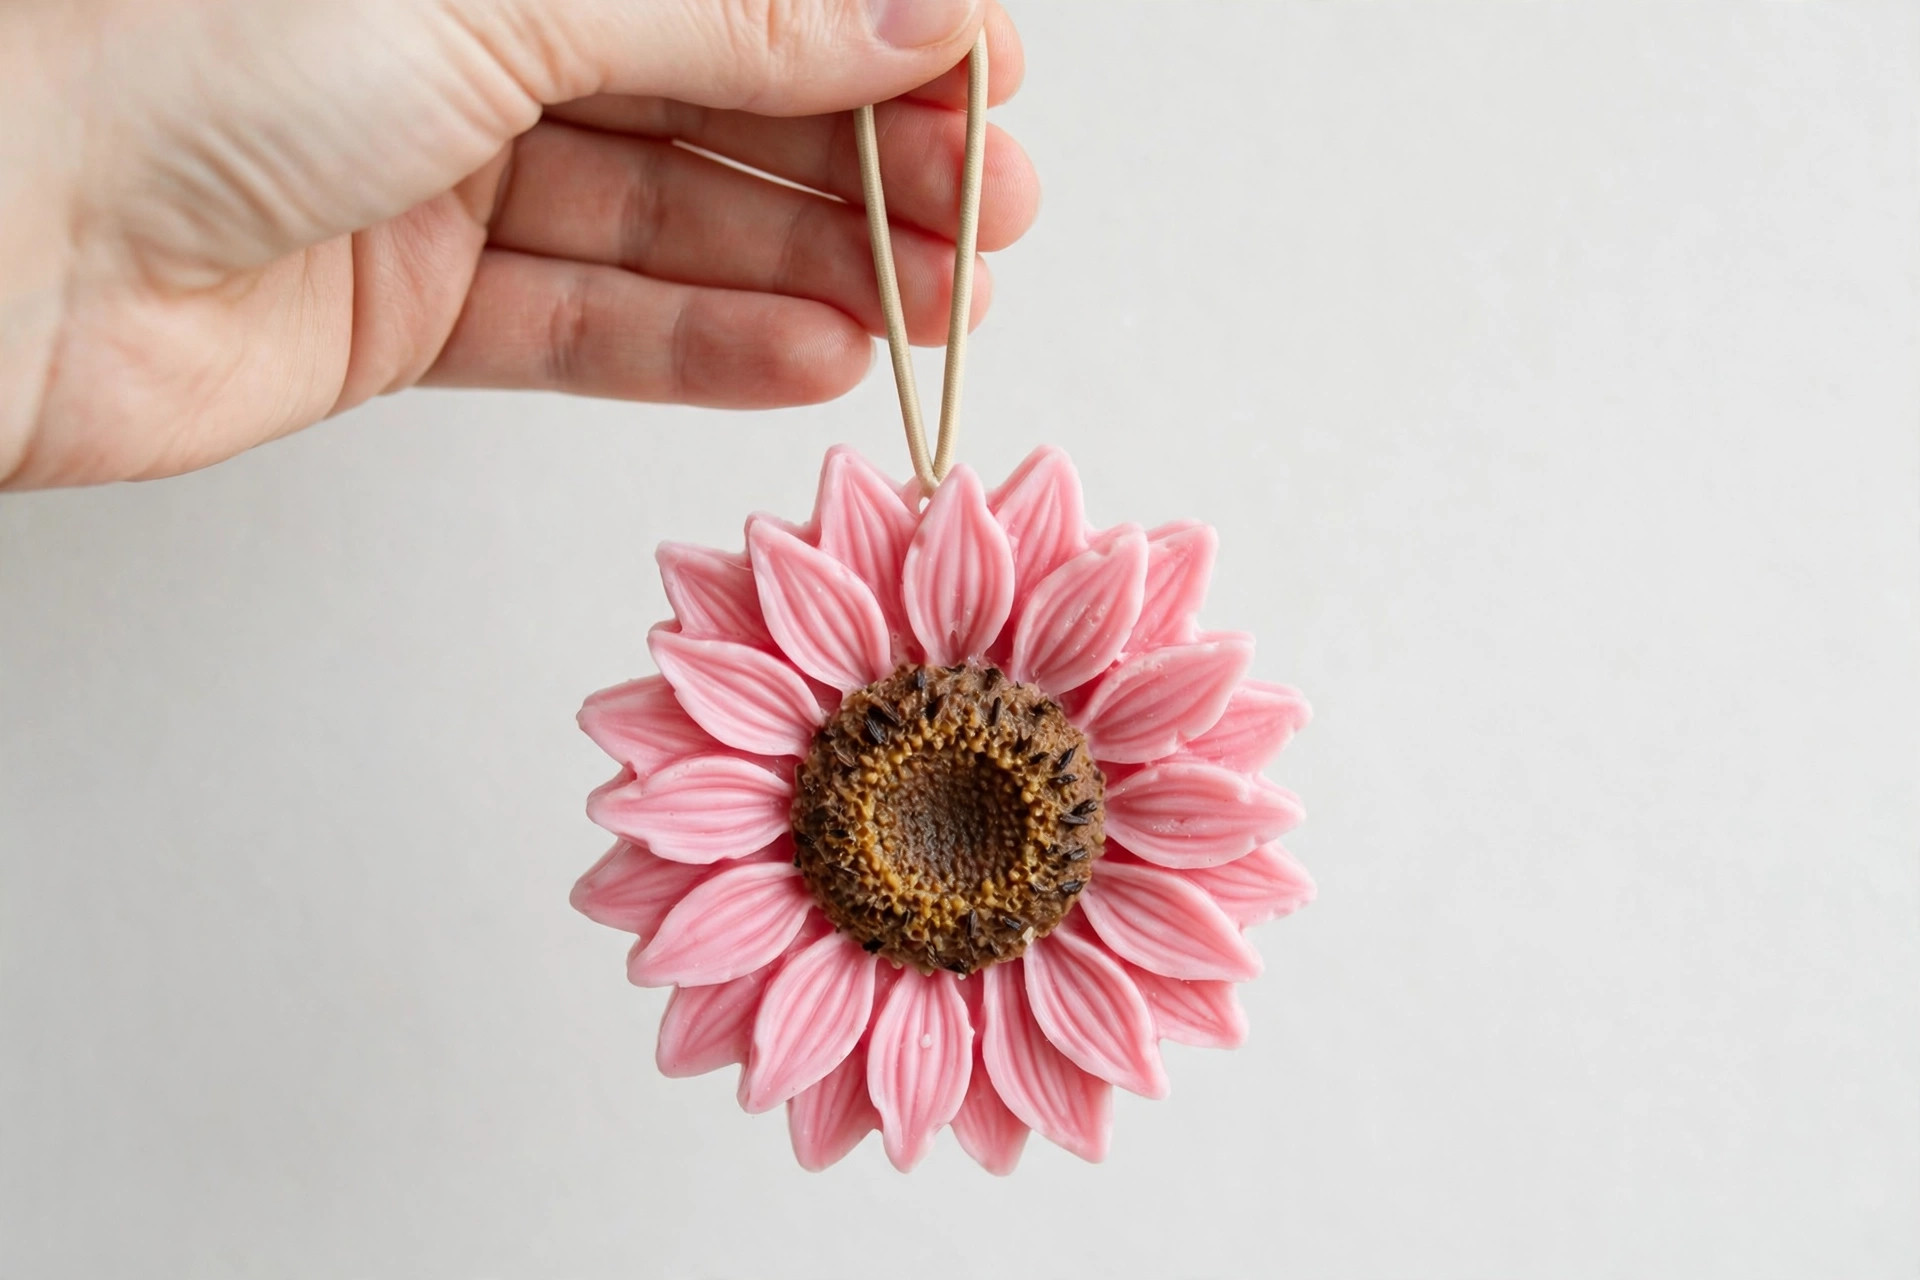
If you baked with a nail or screw in place, pull it out and thread your elastic (about 12 inches) or twine (about 10 inches) through the hole, then knot it into a loop. If you drilled after cooling, thread the same way. If you are using an eye screw, twist it into the top of the finished freshie and tie the elastic to it. Give the hanger a gentle tug to make sure it is seated before the freshie goes anywhere near a car.
Step 7: Hang and Care
Hang the freshie and enjoy it. Expect the scent to last typically 4 to 8 weeks — closer to 3 weeks in a hot car that gets heavy use, up to around 3 months of lighter residual scent. When a freshie fades, you can re-scent it with a few drops of fragrance oil instead of throwing it away.
Hot cars are the enemy of a good freshie. A dark dashboard in the sun can reach 180 to 200°F or more, which can warp, melt, or stain — so never lay a freshie flat on a surface, and keep it out of direct sun and away from vents when you can. Hanging freely is the safest spot.
Tips for Clean, Strong Freshies
- Bake a test one first. Every oven runs a little hot or cool. One test freshie tells you your exact time before you bake a whole batch.
- Pack level. An uneven fill bakes uneven — thin spots overbake while thick spots are still loose.
- Parchment or silicone mat only. Wax paper will melt into your freshie. Parchment and silicone mats will not.
- Keep one pan for freshies. Once a pan has baked beads, it is a craft pan, not a food pan. Label it so nobody grabs it for cookies.
- Hang small and high. A small freshie hung high and out of the direct sightline is the safest bet for rearview-mirror rules, which vary by state — this is general information, not legal advice, so check your own state’s rules if you are unsure.
Safety
Ventilate while you bake and use a dedicated pan that never goes back to food use. Wear gloves and eye protection when handling fragrance oil, and read each oil’s safety data sheet — oils can irritate skin and trigger allergic reactions. Keep beads and finished freshies away from children and pets: they are not edible and they are a choking hazard. And remember the car-heat warning above — a freshie left flat on a hot dashboard can melt, warp, or stain the surface.
Want shapes nobody else has? Make your own silicone freshie mold next.
Get candle-making tips by email
Join the list for new tutorials, tools, and supplier deals — straight to your inbox.
Signed up between Oct 7 and Oct 28 and never heard from us? We fixed a glitch that was dropping signups — please sign up again!



