
How to Make Hand-Dipped Taper Candles in Any Color
Hand-dipped tapers are the oldest candle-making craft there is — and the most satisfying. You build each candle one thin layer of wax at a time, which means you control everything: the diameter, the finish, and best of all, the color. Deep jewel tones, soft pastels, dramatic two-tone and ombre effects — if you can melt the dye, you can dip the taper.
Why dip your own colored tapers
Store-bought colored tapers are dipped too — but they’re dipped fast, in thin coats, and the color is often only skin-deep. When you dip your own, you build real wall thickness in whatever shade you want, and you can create effects no factory line bothers with: tapers that fade from white to color, two-tone candles dipped in two different vats, and rich saturated colors you mixed yourself. A set of hand-dipped tapers in colors you chose beats anything off a shelf — and they make spectacular gifts.
The best wax for colored tapers
Not every wax is happy as a taper. You want a harder wax that stands straight, holds a crisp edge, and takes dye well:
Pillar-blend paraffin is the top choice — it’s formulated to be firm at room temperature, releases clean color, and builds smooth layers. Straight paraffin with a little stearic acid added (about 10%) also works beautifully and gives you a harder, longer-burning taper. Beeswax dips wonderfully but its natural honey color will tint every dye you add — fine for earthy tones, frustrating for true reds and blues.
Skip container soy wax for tapers — it’s too soft and your candles will droop, lean, or bend in a warm room. If you only have soy, blend it no more than half-and-half with pillar paraffin.
What you’ll need
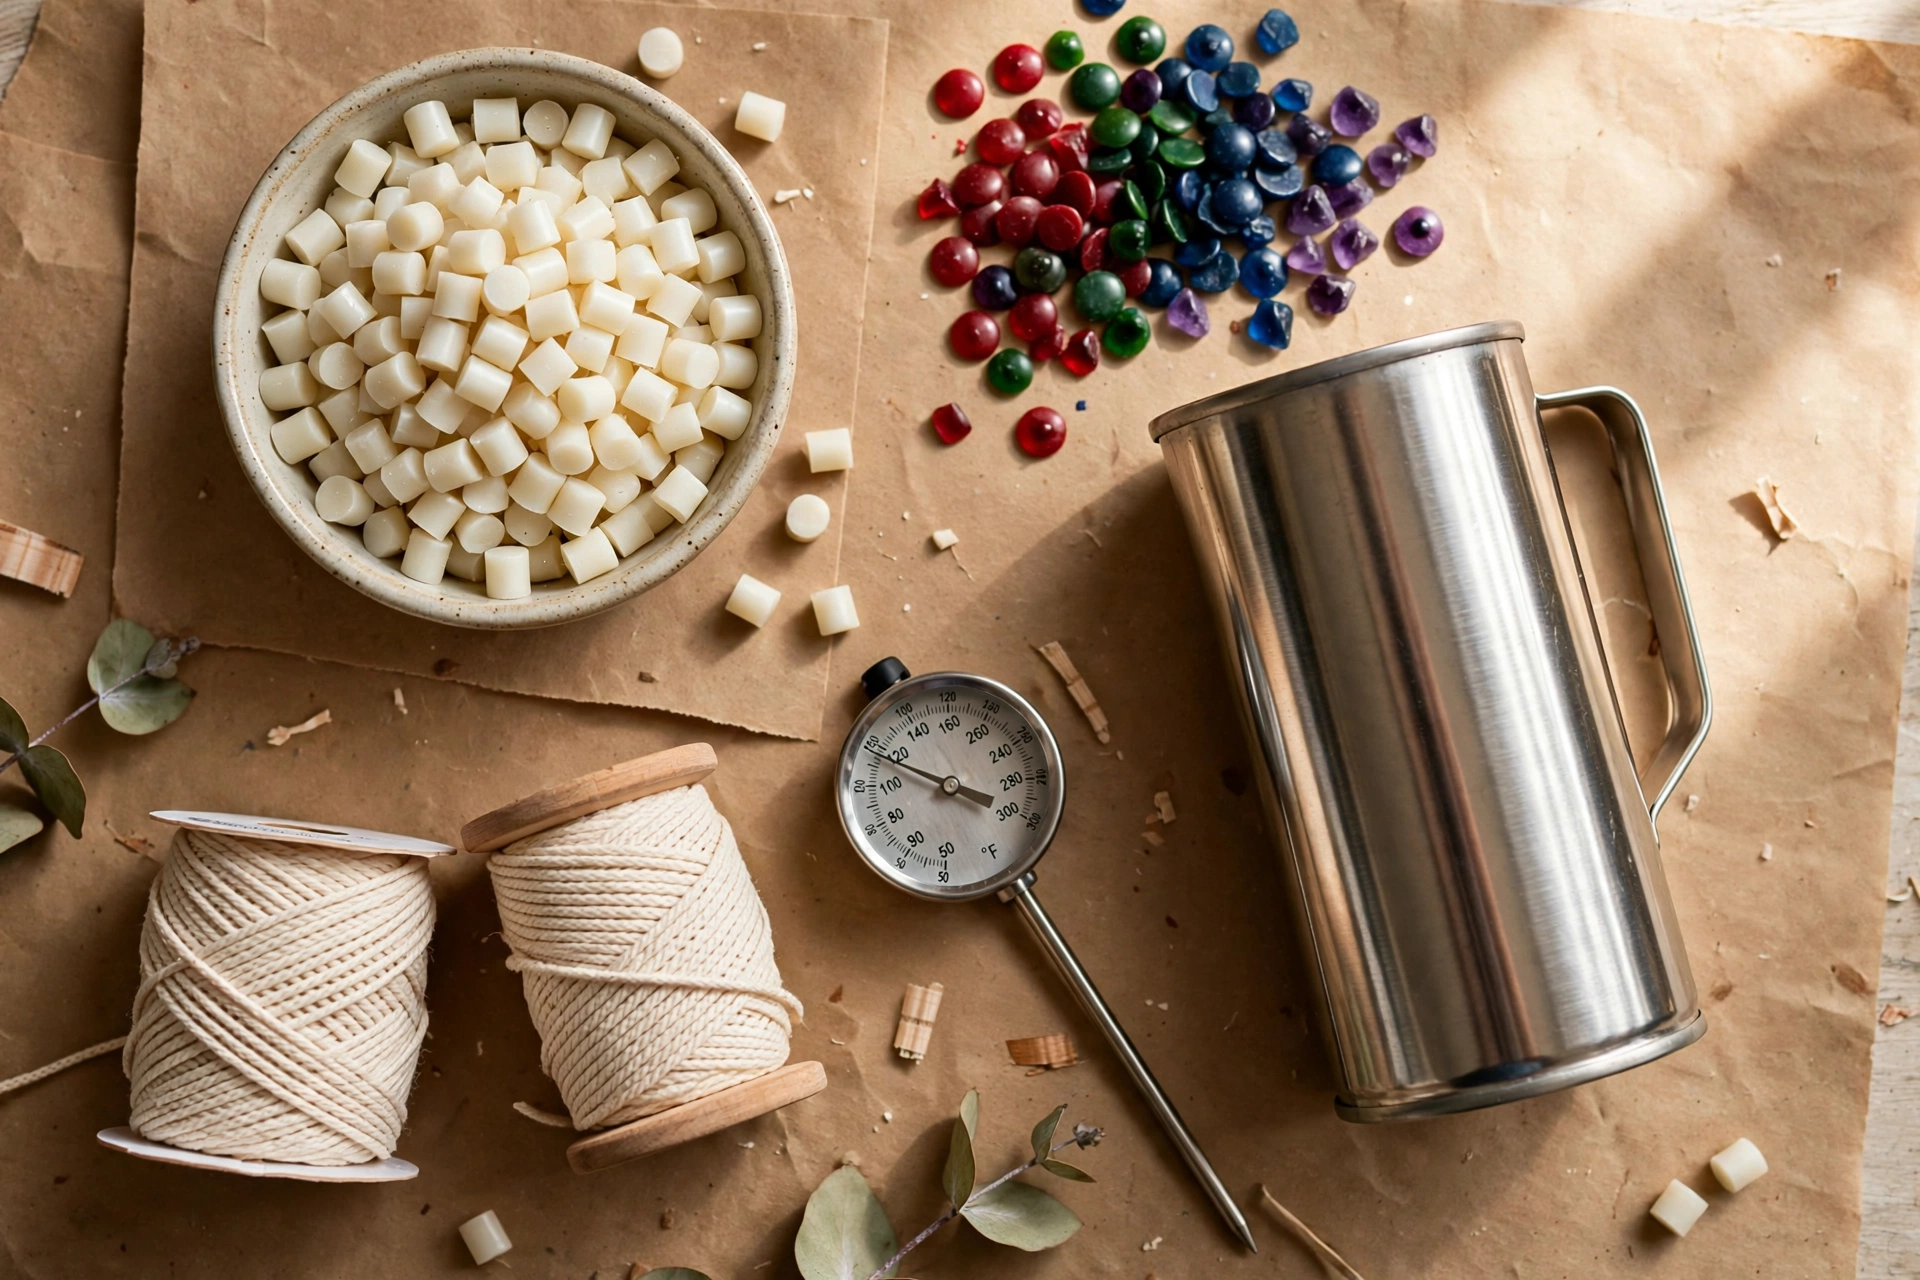
- Pillar-blend paraffin wax (or paraffin + stearic acid) — enough to fill your dipping vessel deep, plus extra for topping up
- Candle dye — chips or blocks for rich color, liquid dye for easy measuring (one form or the other, not both)
- A tall, narrow dipping vessel — a dedicated dipping can is ideal; a tall stockpot works for shorter tapers
- Square-braid wick sized for your target taper diameter (check your supplier’s chart and confirm with a test burn)
- A small weight for the wick bottom — a metal nut or fishing weight keeps the taper hanging straight
- A cooling rack or frame — a dowel rod across two supports, with room to hang tapers without touching
- A thermometer (a candy thermometer clipped to the vessel works)
- White paper or paper towels for testing your color
- Kraft paper or a silicone mat to protect your work surface
Coloring your wax
Dye goes into the melted wax before you dip a single taper. Start with less than you think you need — you can always add more, but you can’t take it out.
Dye chips: add a small piece at a time to fully melted wax and stir gently until dissolved. Liquid dye: add a few drops, stir, and test. For both, dip a strip of white paper into the wax and let it cool — the cooled color is your true color. Melted wax always looks darker and more intense than the finished candle.
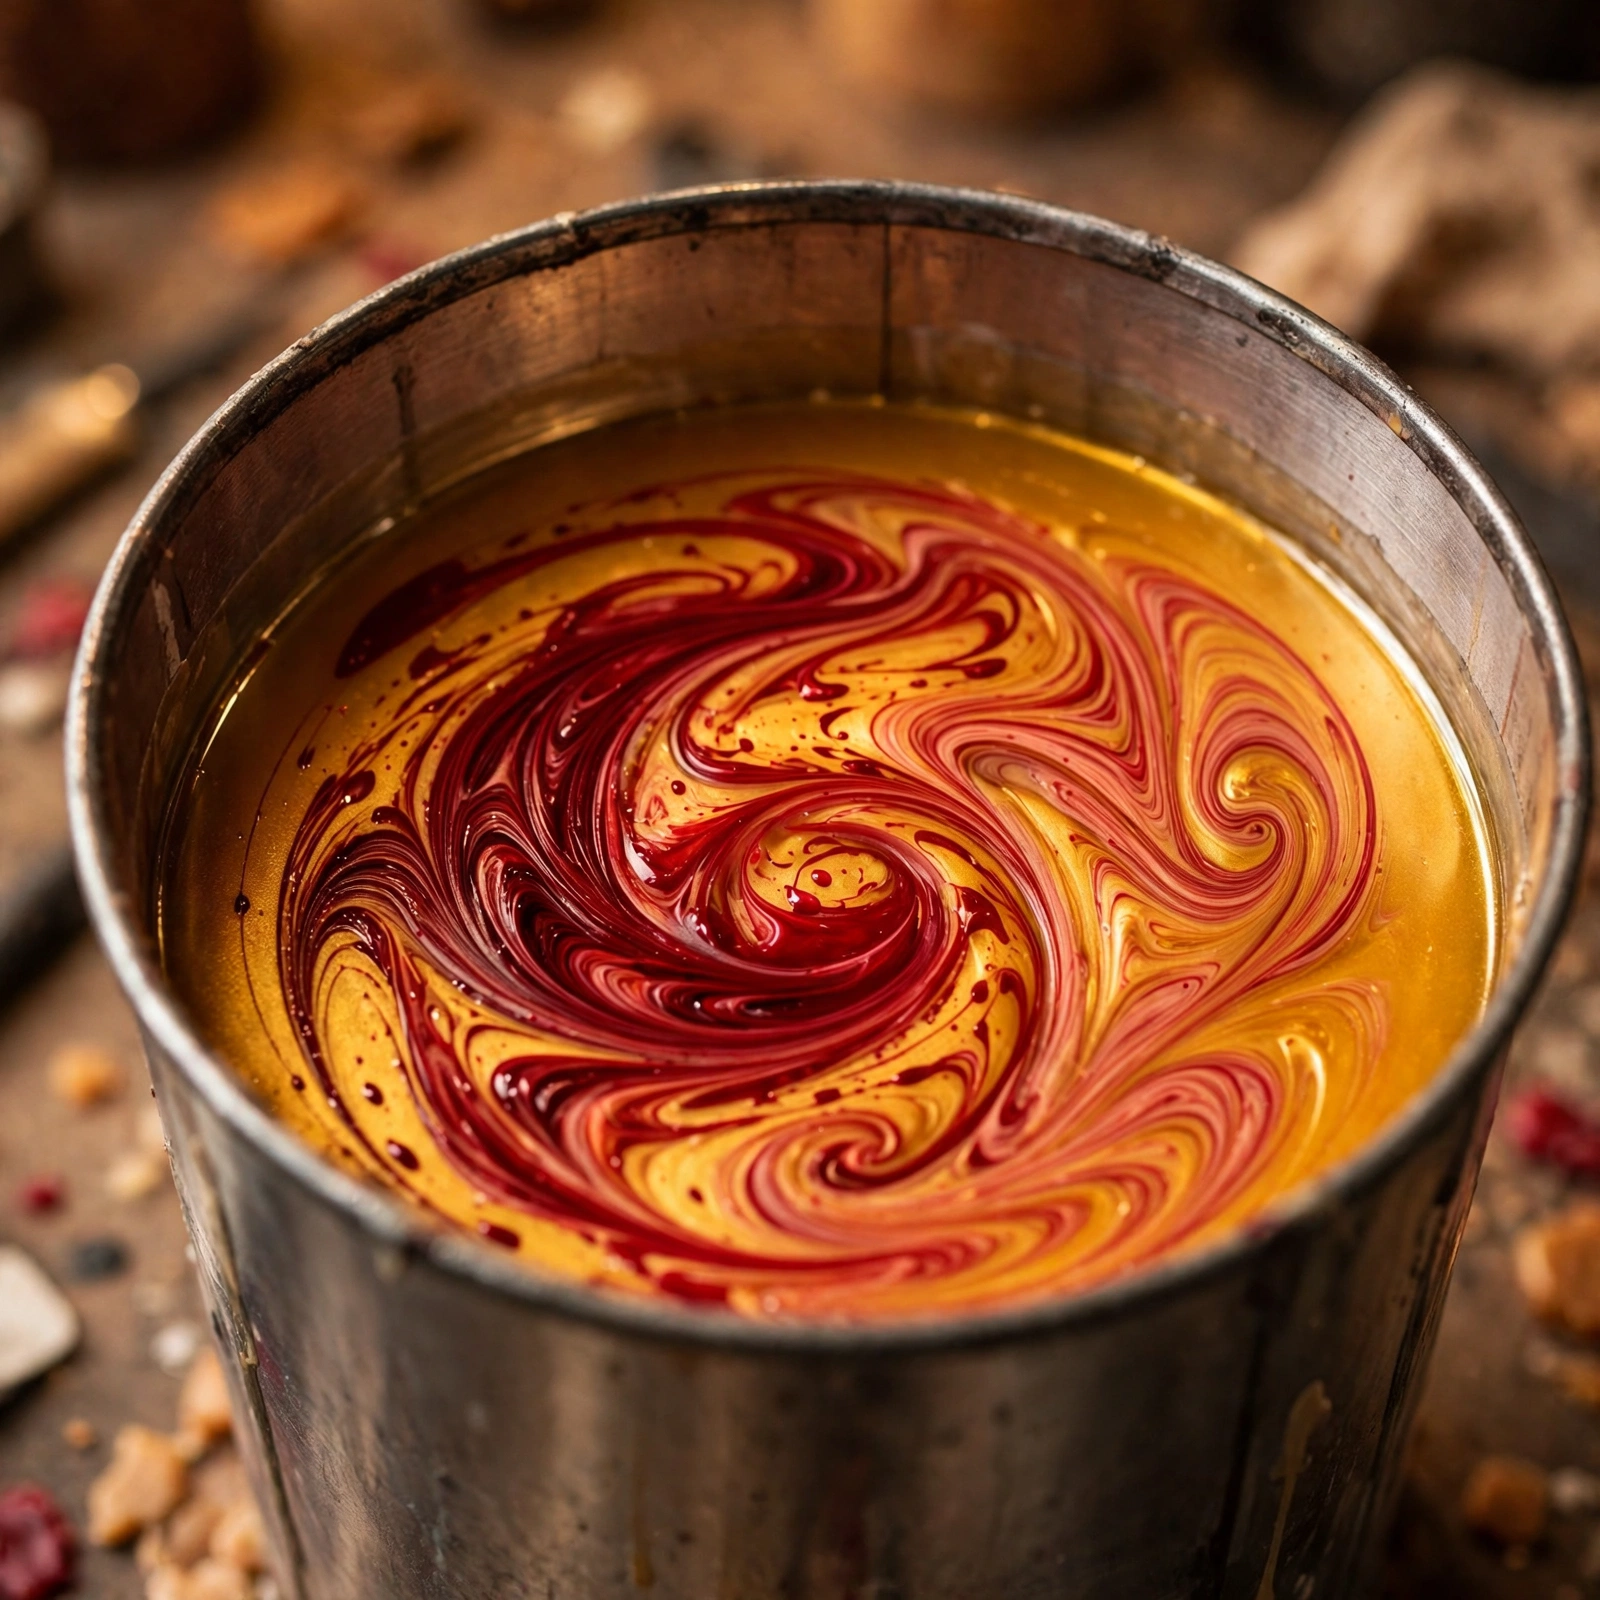
Planning multiple colors? Dip all the tapers of one color first, then change the wax. To switch colors, either ladle the colored wax out into a heat-safe container and wipe the vessel, or keep a second dipping vessel for the new color. Never pour dye directly into wax that’s already holding tapers — you’ll get streaks.
Steps: dipping colorful tapers
1. Set up and bring the wax to temperature
Melt your wax in the tall vessel and add your dye, testing the cooled color on white paper until you love it. Bring the dyed wax to dipping temperature — around 160–180°F for paraffin blends. Too hot and each dip lays down almost nothing (plus drips); too cool and the layers go on thick and lumpy. Have extra melted wax ready to top up — the wax level drops as you dip, and tapers must stay fully submerged every pass.
2. Prime the wick
Cut wick about 4 inches longer than your target taper, tie the weight to the bottom, and give it one long, slow dip. Hang it on the frame and check that it hangs dead straight — any curve now is permanent. This prime coat saturates the wick and gives every later layer something to grip.
3. Dip in a steady rhythm
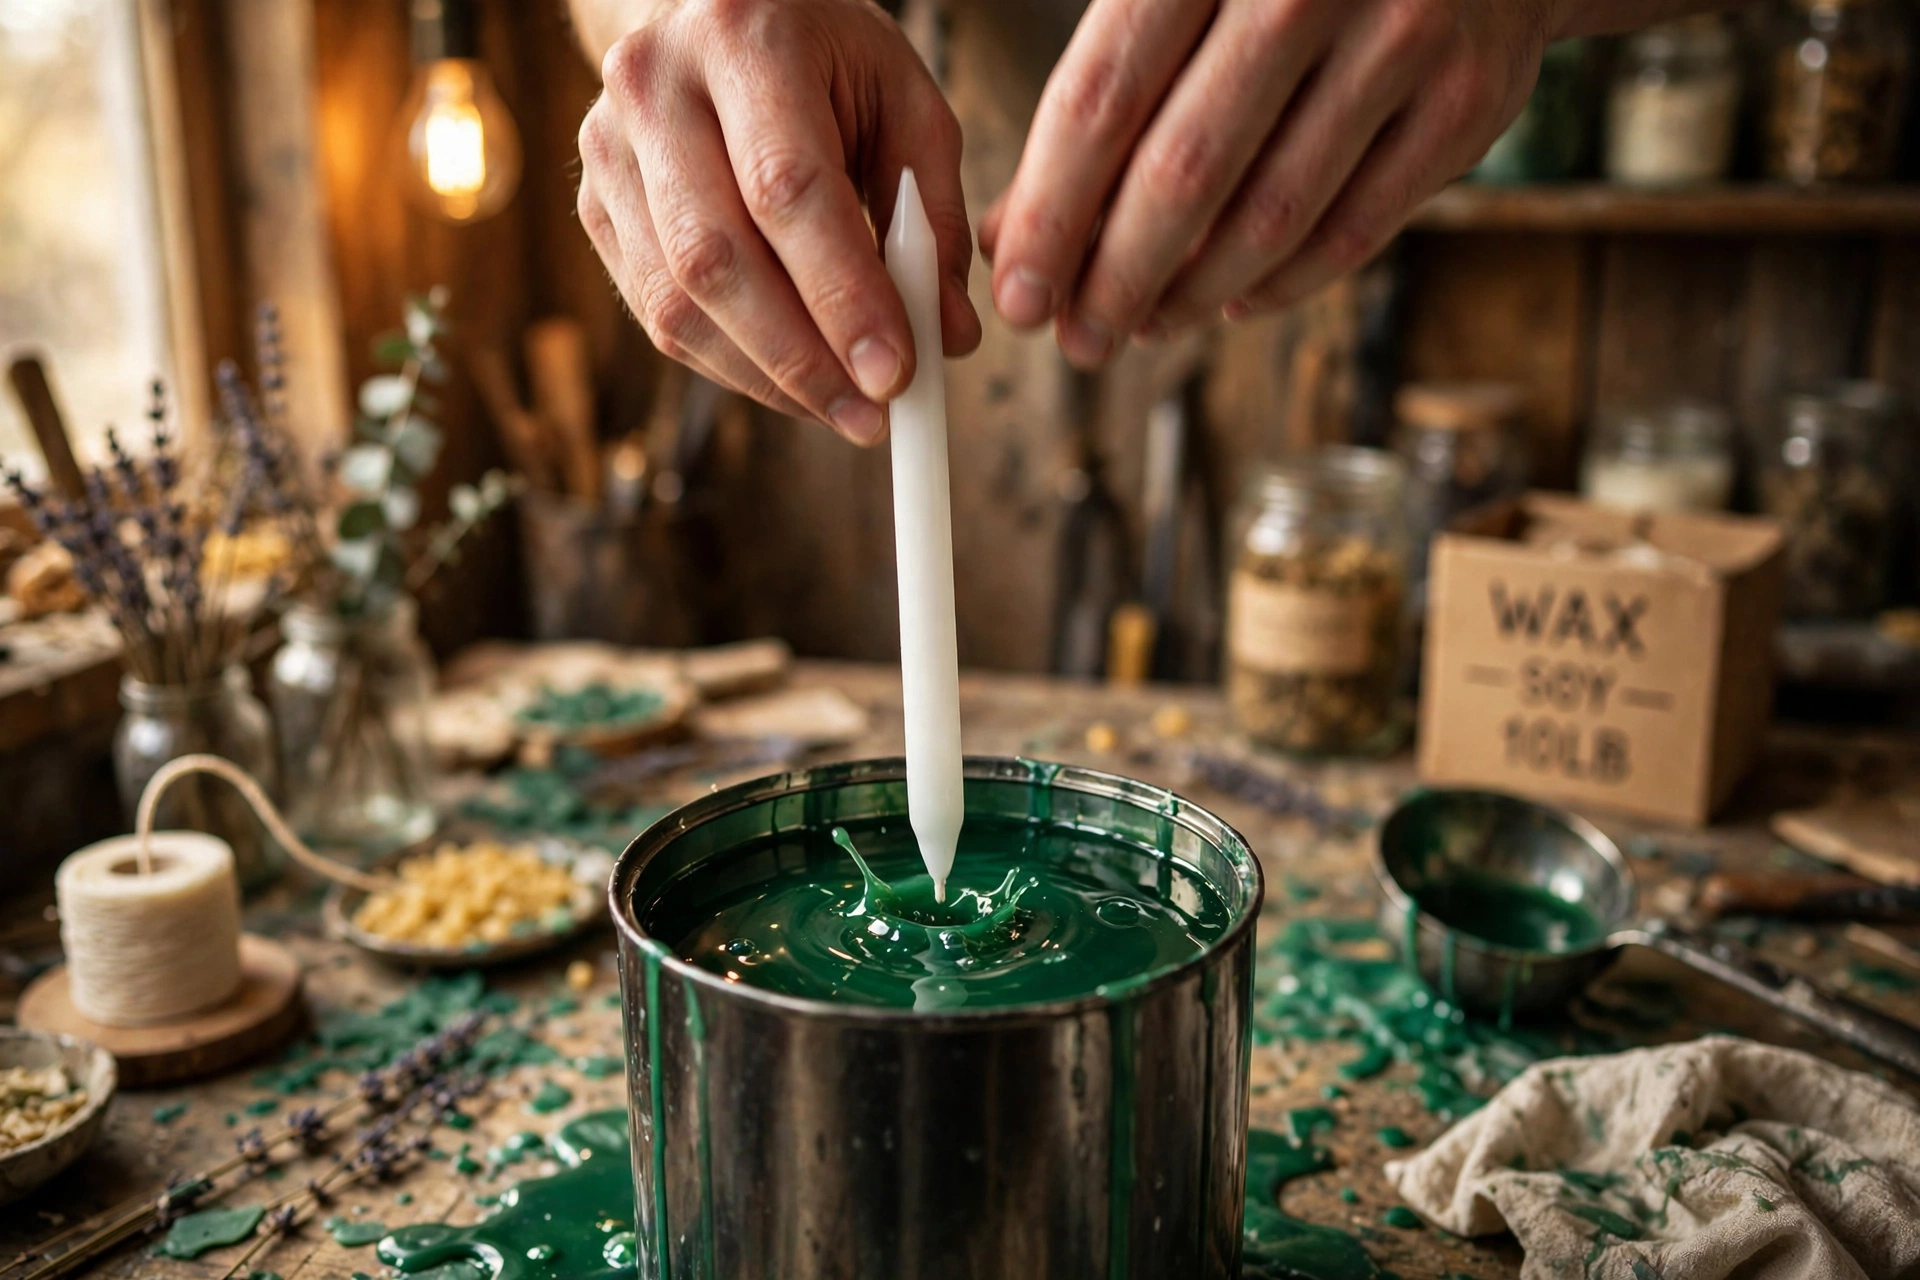
Lower the taper straight down into the wax, lift it out slowly, and hang it to cool until the fresh layer turns matte — no longer looking wet. Then dip again. Same speed, same pause, every pass. This rhythm is the entire craft: steady dipping builds glass-smooth tapers, and rushing is what makes them lumpy.
Work in still air — a draft cools one side faster and pulls the taper off-true. Dip pairs alternately (one cools while you dip the other) to keep a pleasant pace without waiting around.
4. Build to diameter, then add your color effects
Keep dipping until the taper reaches the diameter for your holders — dozens of dips for a full dinner taper. For solid colors, that’s the whole job: keep going in the same dyed wax until done.
For two-tone tapers: build the full taper in white or undyed wax first, let it cool completely, then dip just the bottom half or two-thirds into your colored wax for 10–15 final dips. The result is a crisp color-blocked candle.
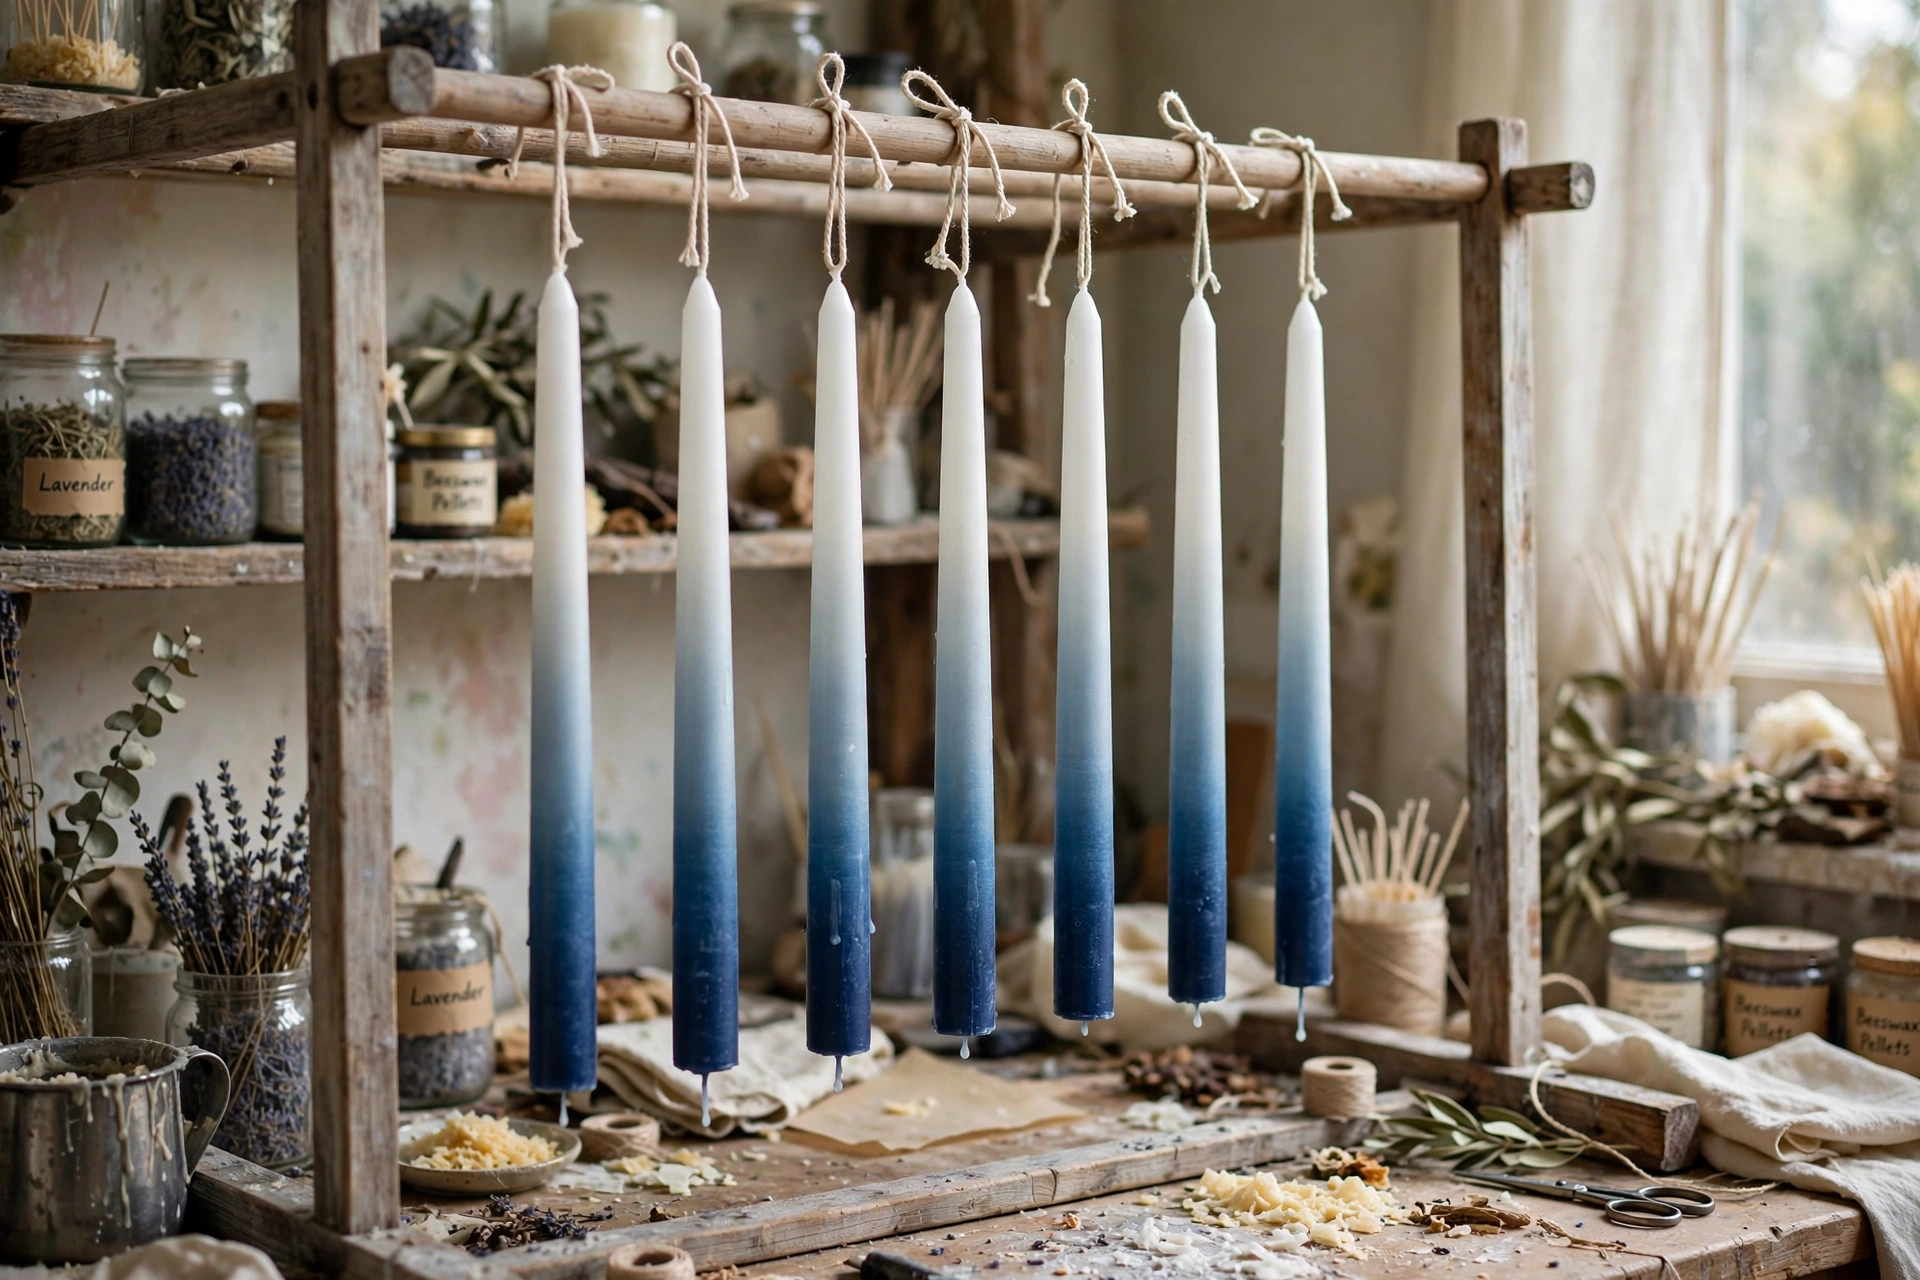
For ombre (faded) tapers: build the taper in white, then dip progressively shallower in the colored wax — first dip nearly to the top, each following dip a little less deep. The overlapping layers create a smooth gradient from solid color at the base fading to white at the top.
5. Cool, level, and trim
Let the tapers cool completely — at least an hour. Level each base by pressing it briefly onto a warm flat surface (a cookie sheet warmed in the oven works) with a slight twist, until it stands flat without wobbling. Trim the wick to 1/4 inch.
Color ideas that always look great
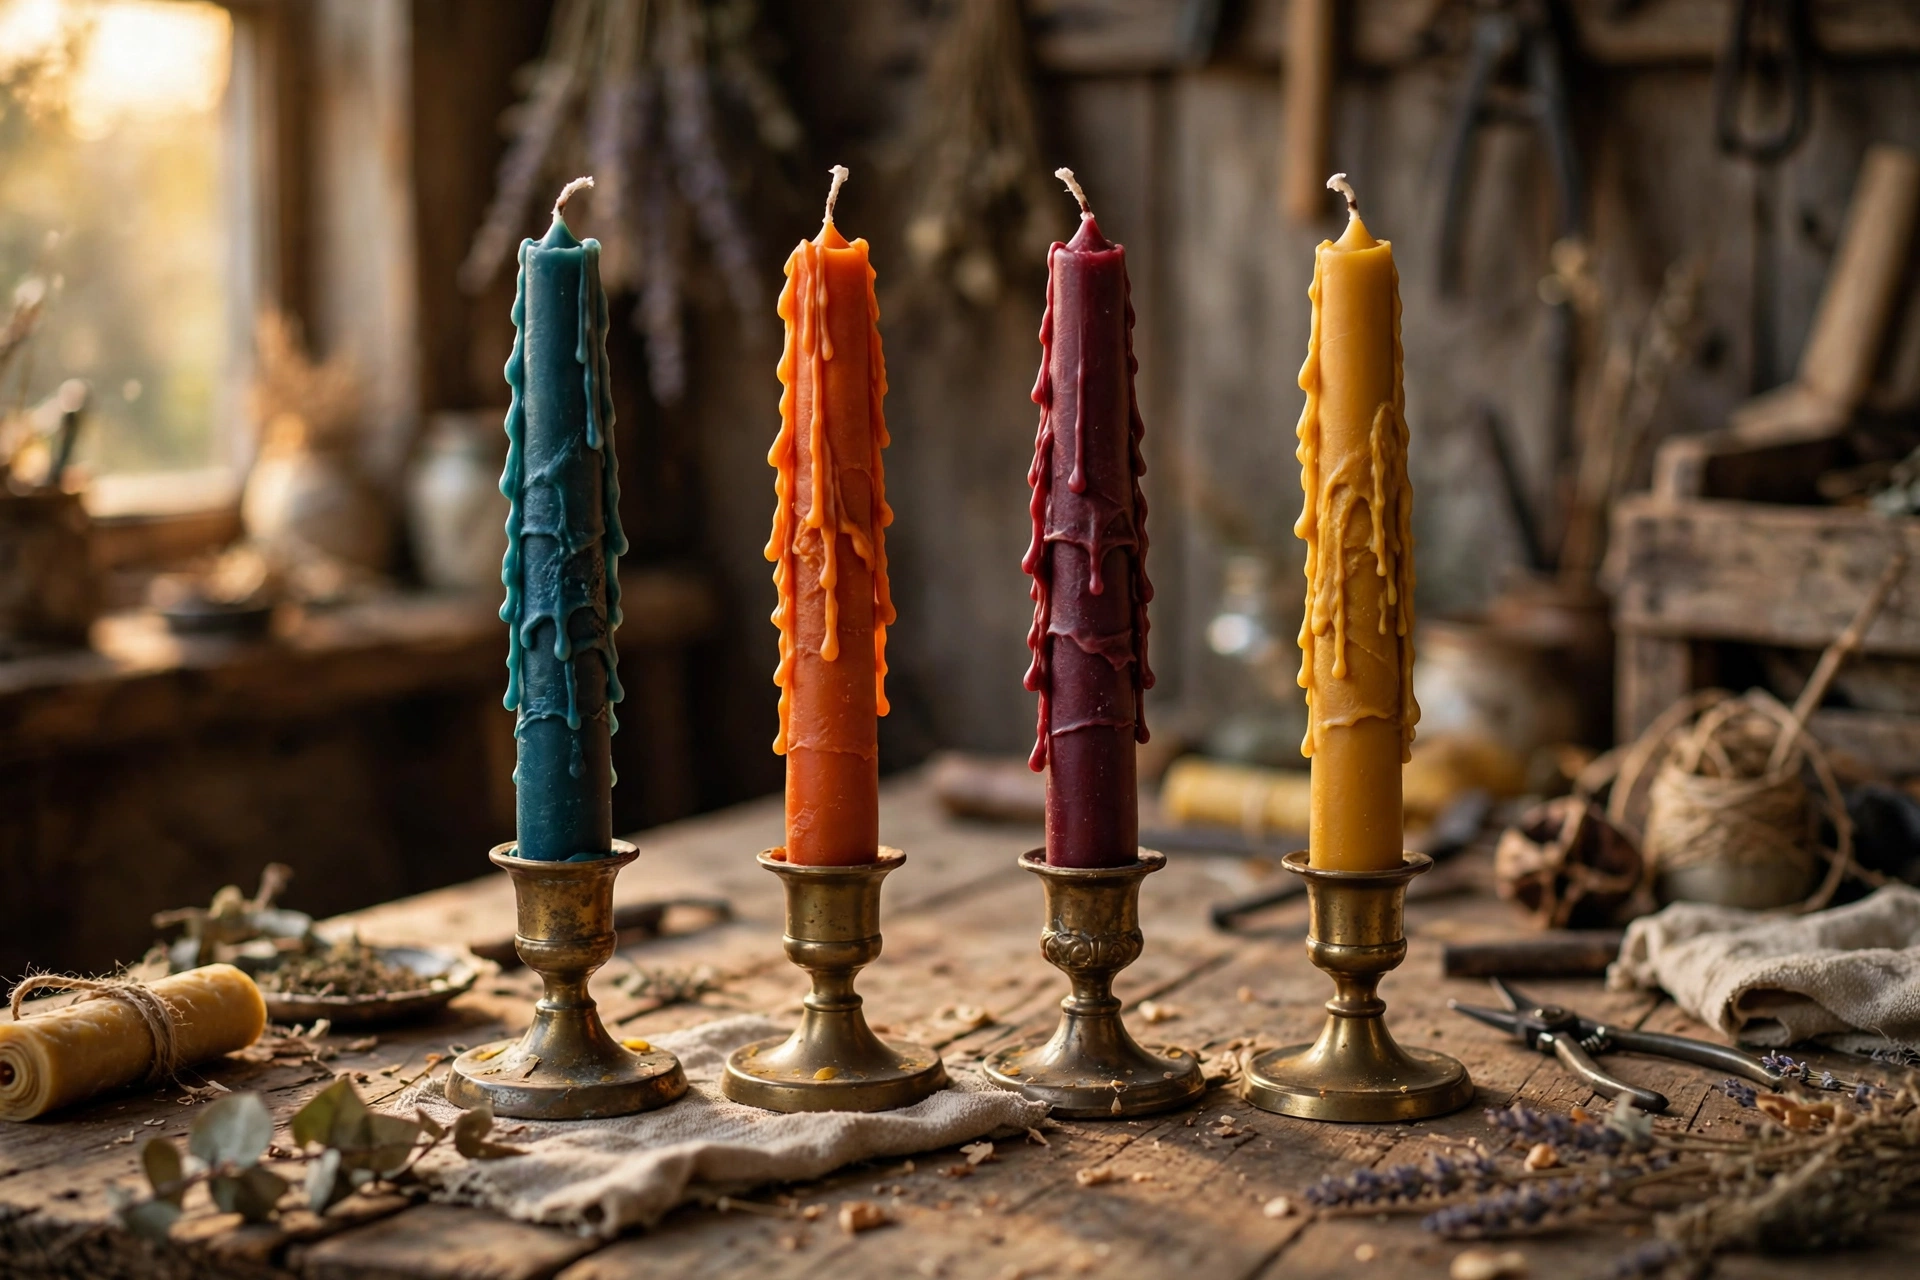
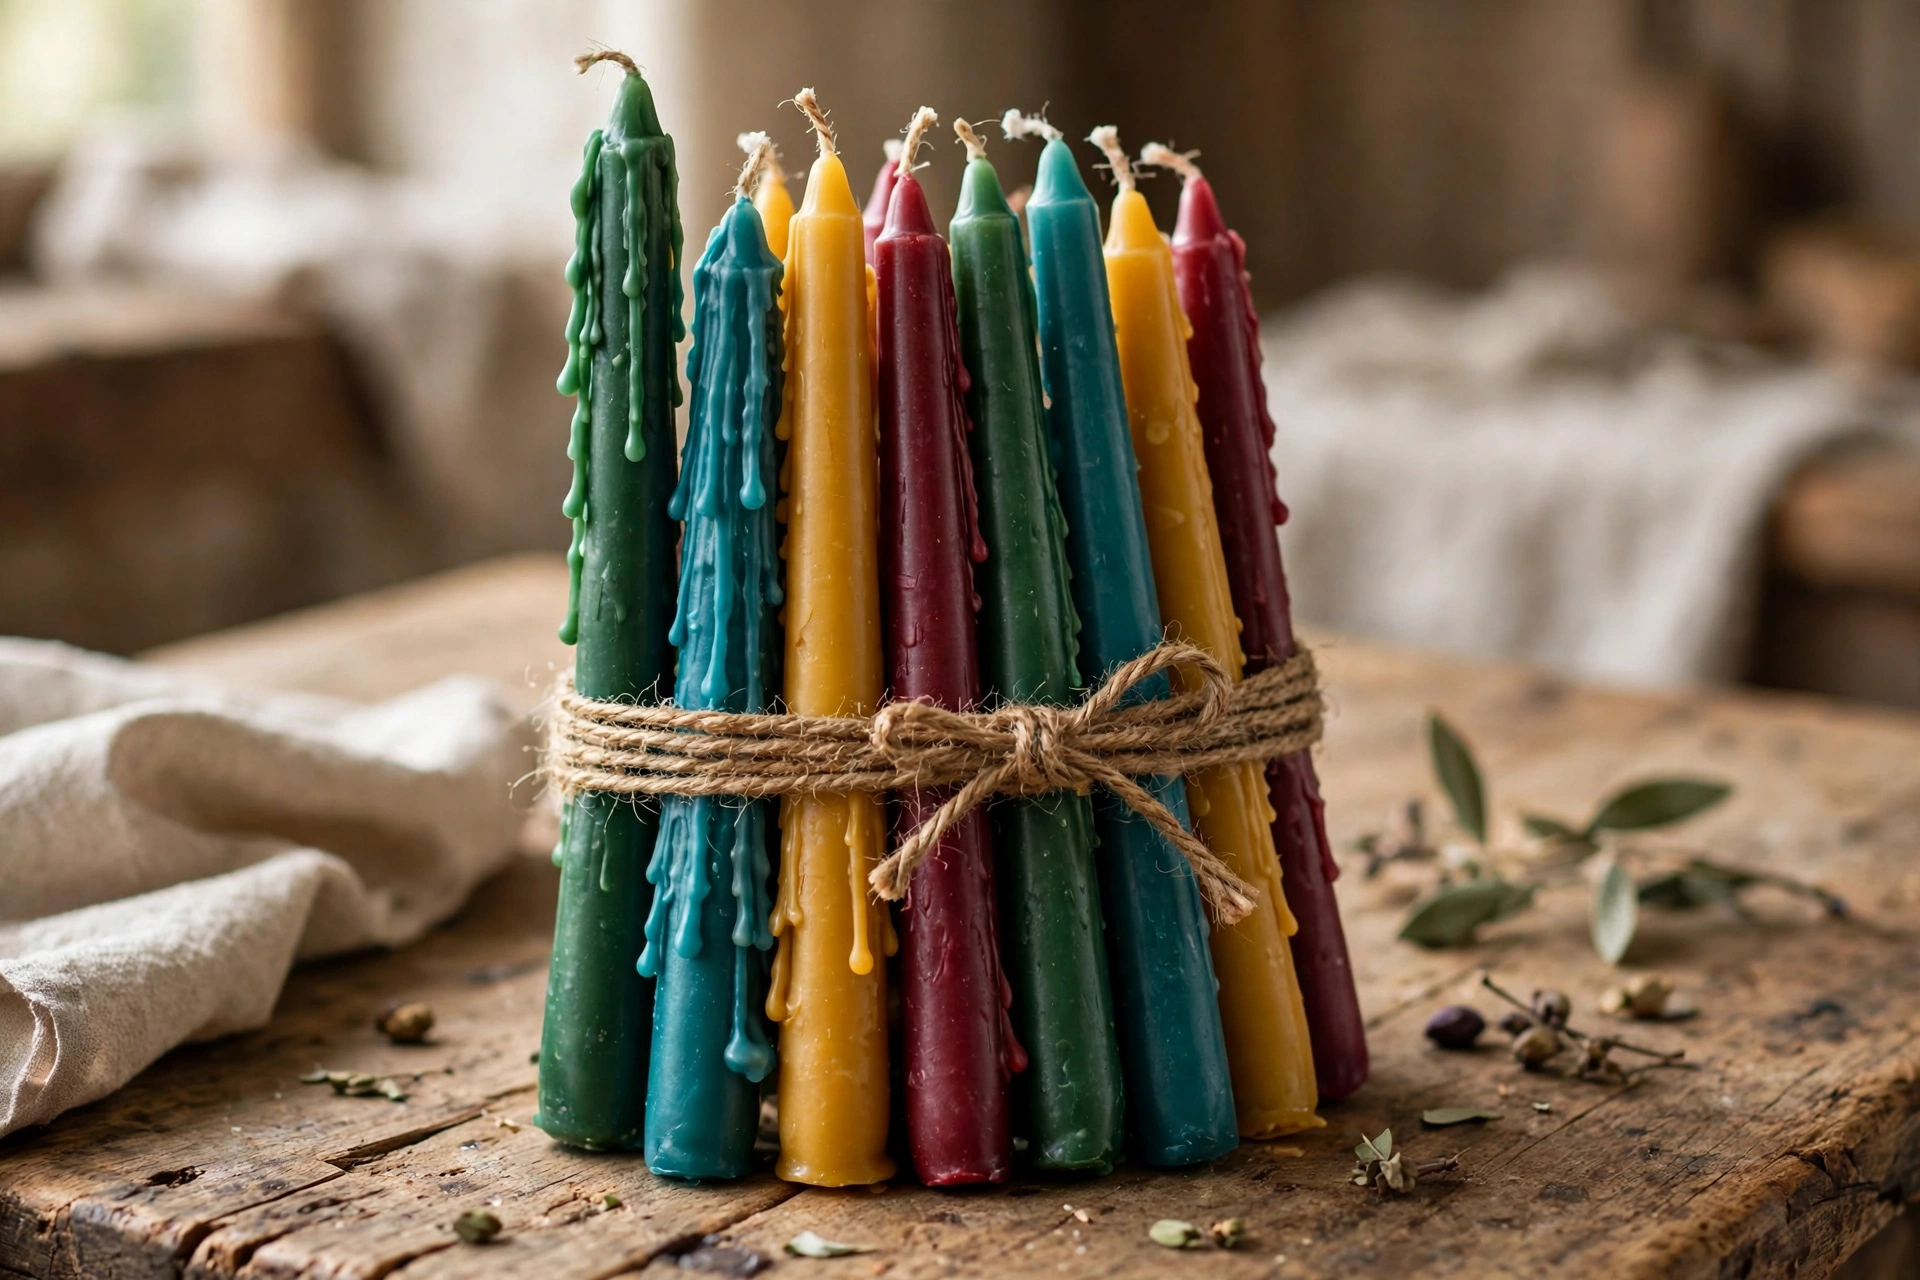
Jewel tones: deep teal, burgundy, forest green, and navy look expensive in pillar paraffin — the hard wax takes dye crisply and the colors read rich, not muddy.
Ombre sets: dip a matched set with the gradient running the same direction, then arrange them at staggered heights. White-to-terracotta and white-to-sage are the two combinations people ask about most.
Two-tone: white tops with colored bottoms in black, oxblood, or deep green are dramatic and modern — the crisp line where the colors meet is the whole point, so make your final colored dips confident and even.
Seasonal palettes: dip a set of twelve in autumn shades (mustard, rust, olive, plum) or winter shades (cream, pine, cranberry, slate) and you have gifts handled for everyone on your list.
What to do when something looks wrong
Color looks streaky or blotchy? The dye wasn’t fully dissolved, or you added dye mid-session. Always dissolve dye completely in fully melted wax before the first dip, and stir gently between dips.
Finished color is lighter than expected? Normal — wax always looks darker melted than cooled. Test on white paper and let it cool fully before judging; add dye in small increments.
Bumpy or lumpy surface? Wax too cool, or rhythm too rushed. Warm the wax back to 160–180°F and slow down — wait for the matte look between every dip.
Drips and runs? Wax too hot, or the previous layer wasn’t set. Cool longer between dips and ease the temperature down a few degrees.
White spots or “frost” on colored tapers? That’s the paraffin blooming as it cools — usually from cooling too fast in a cold room. Warm the room, and finish with 2–3 dips in clean wax to seal the surface.
Taper leaning or curving? It hung off-plumb. Check every taper hangs dead straight and the bottom weight is heavy enough to hold it taut.
For the full problem index with fixes, see our candle troubleshooting guide.
Burning and caring for your tapers
Trim the wick to 1/4 inch before every burn and keep tapers away from drafts — a flickering taper drips. Don’t burn longer than 4 hours at a stretch, never leave a burning taper unattended, and keep holders on a heat-safe surface. Colored tapers can drip dyed wax, so use holders with a proper drip cup or bobeche and keep them off light-colored tablecloths you care about.
Next steps
Once you’ve got dipping down, try the natural version: our hand-dipped beeswax taper tutorial uses the same rhythm with honey-toned wax. And before you burn any new wax-and-wick combination, run it through the wick selection and test burn tutorial.
Discuss this tutorial in the group — show off your color combinations and ask the community when a shade isn’t behaving.
Get candle-making tips by email
Join the list for new tutorials, tools, and supplier deals — straight to your inbox.
Signed up between Oct 7 and Oct 28 and never heard from us? We fixed a glitch that was dropping signups — please sign up again!



