
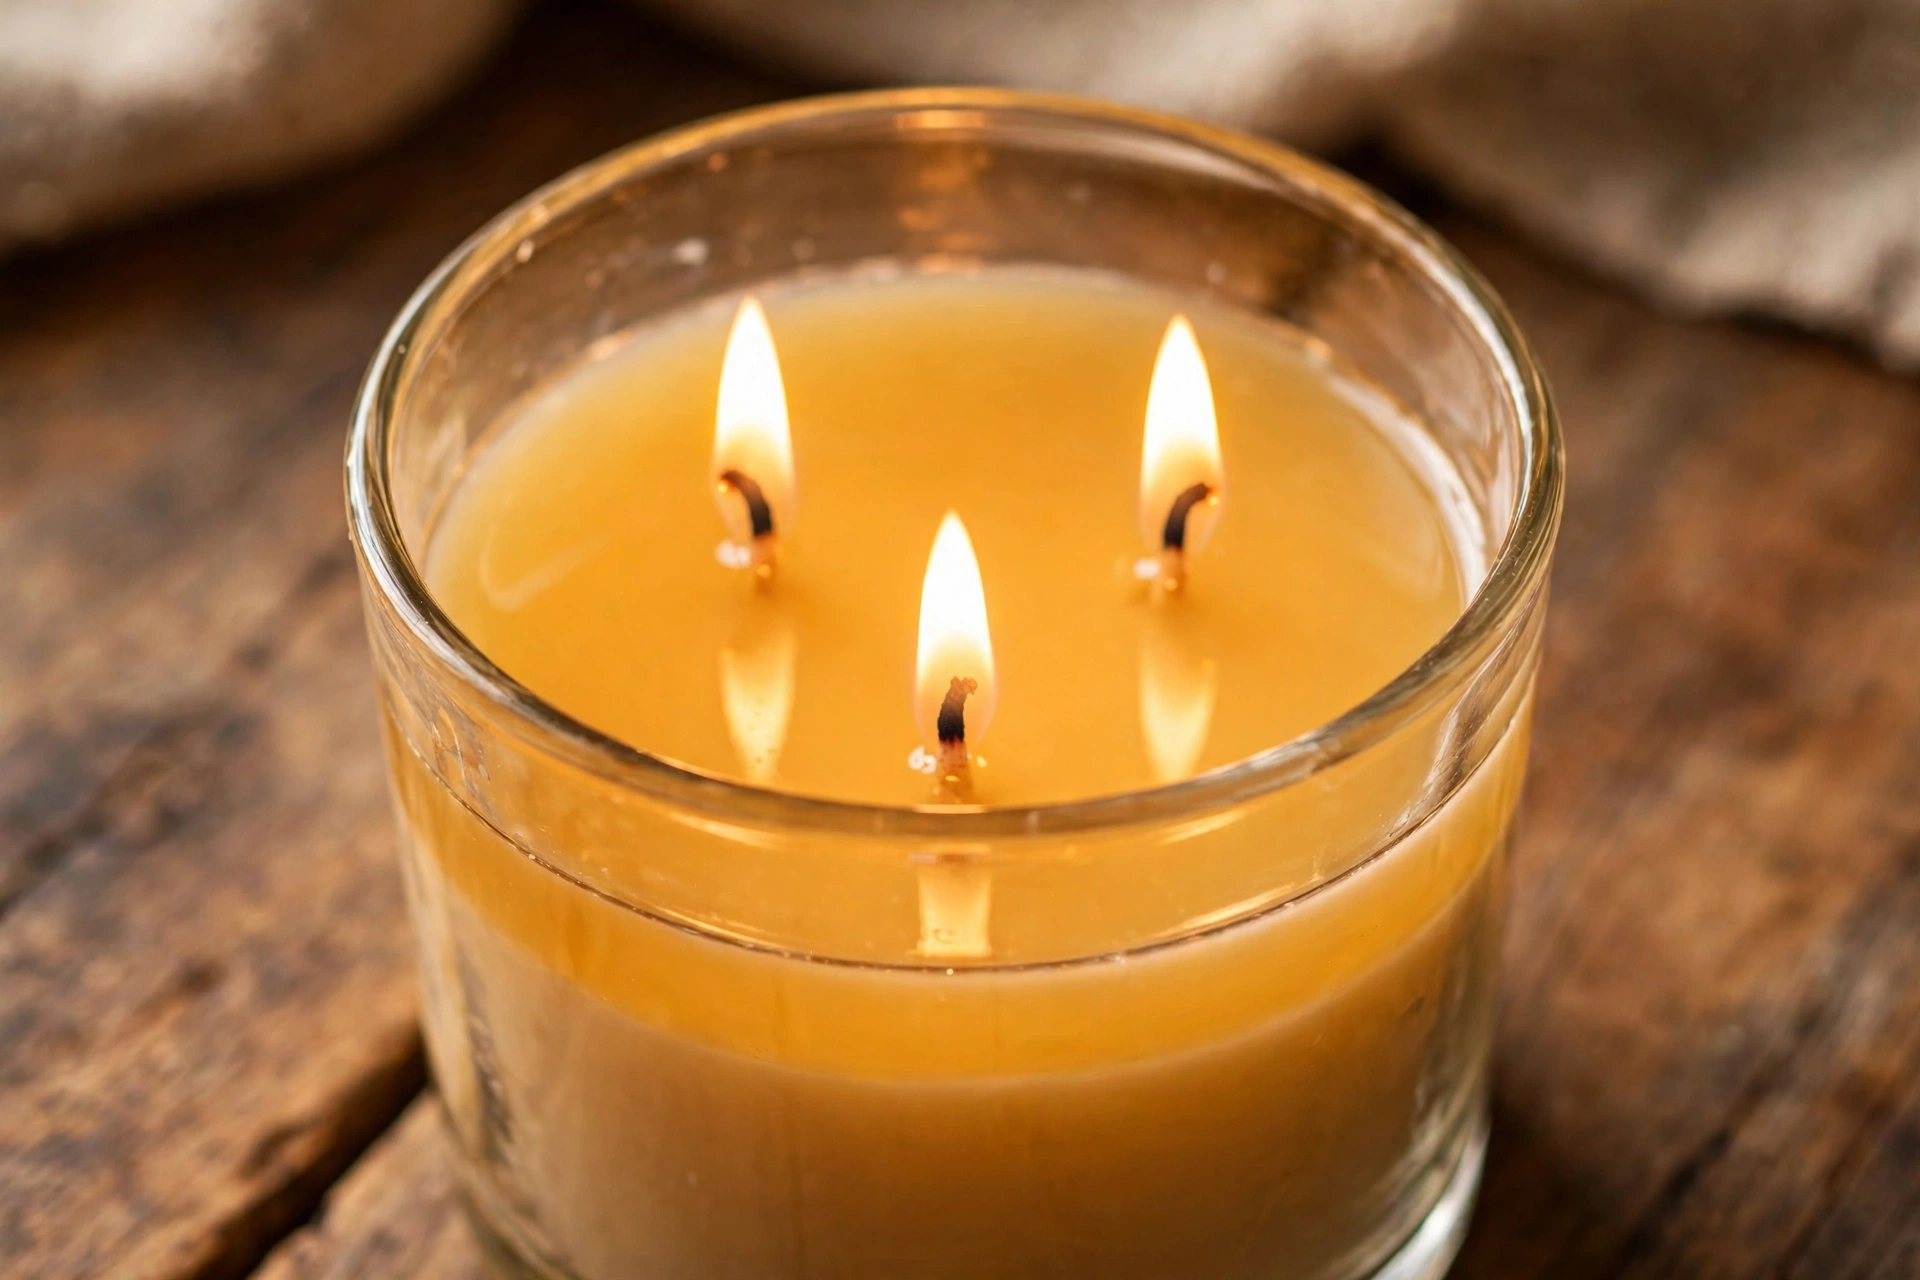
A jar wider than about 3.5 inches usually needs more than one wick. A single wick can only melt wax so far from its flame — in a wide vessel, one wick leaves a ring of solid wax around the edge while the center tunnels down. Adding a second or third wick spreads heat across the surface so the entire melt pool reaches the glass.
This guide covers everything: when to add wicks, how many to use, how to size each one, exactly where to place them (with diagrams), critical safety information for multi-wick candles, and answers to the most common questions.
⚠ Safety first: Multiple flames produce significantly more heat than a single wick. A multi-wick candle can overheat its container if the wicks are too large, too close together, or too close to the glass. Always test burn every multi-wick design and never leave any burning candle unattended. See the safety section below before you pour.
When to Use More Than One Wick
Most wick types produce a melt pool about 3 to 3.5 inches across at most. A few can burn wider — up to about 5 inches — but pushing a single wick that hard creates problems: the flame runs hot, carbon builds up on the wick tip (mushrooming), and you get soot and smoking long before the pool reaches the edges.
The rule of thumb: once a vessel passes about 3.5 inches in inside diameter, use multiple wicks rather than a single oversized one. Two smaller flames cover the surface more evenly, burn cleaner, and give you better scent throw than one straining flame.
The 3.5-inch threshold: Below about 3.5 inches across, one correctly sized wick is usually enough. At 3.5 inches and wider, plan on multiple wicks so the melt pool reaches the glass without forcing a single flame to overheat.
How Many Wicks Your Candle Needs
A practical starting point: add roughly one wick for every inch of diameter past 3 inches. This is a guideline, not a hard rule — you can run three wicks in a 4-inch jar if you size them down to match. But don’t crowd: too many flames too close together builds up excessive heat in the center.
| Jar inside diameter | Wicks to start with | Notes |
|---|---|---|
| Up to 3.5 in | 1 | A single correctly sized wick |
| 4 in | 2 | Up to 3 if sized down; avoid crowding the center |
| 5 in | 3 | 4 also works, especially in square jars |
| 6 in | 4 | Space evenly to keep flames apart |
| 7+ in | 4–5 | Large vessels; test carefully for heat buildup |
Treat the count as a starting point, then let a test burn confirm it. If the pool reaches the glass cleanly within 2–3 hours without tall flames, sooting, or an overheating jar, the count is right.
Sizing Each Wick
Here’s the key insight most guides skip: you don’t use the same wick size as you would for a single-wick candle. Each wick in a multi-wick candle should be smaller than what you’d use alone, because the flames share the heating work.
Use this simple equation to find the target melt pool diameter for each wick:
- Measure the jar’s inside diameterMeasure across the inside of the vessel at the wax surface, in inches. Use the inside width, not the outside of the glass.
- Divide by the number of wicksTake the diameter and divide by your wick count. For a 4.5-inch jar with three wicks: 4.5 ÷ 3 = 1.5.
- Add 0.25 inches of overlapAdd a quarter inch so neighboring melt pools overlap instead of leaving unmelted wax between them. 1.5 + 0.25 = 1.75.
- Match to a wick sizeEach wick should produce a melt pool about 1.75 inches across. Look that figure up on your wick supplier’s sizing chart and pick the wick rated for it — then confirm with a test burn.
Why smaller wicks? Two wicks each rated for a 2-inch melt pool don’t just add up to 4 inches of coverage — their heat zones overlap. Using full-size wicks in a multi-wick candle almost always leads to overheating, excessive mushrooming, and soot. When in doubt, size down.
Where to Place the Wicks
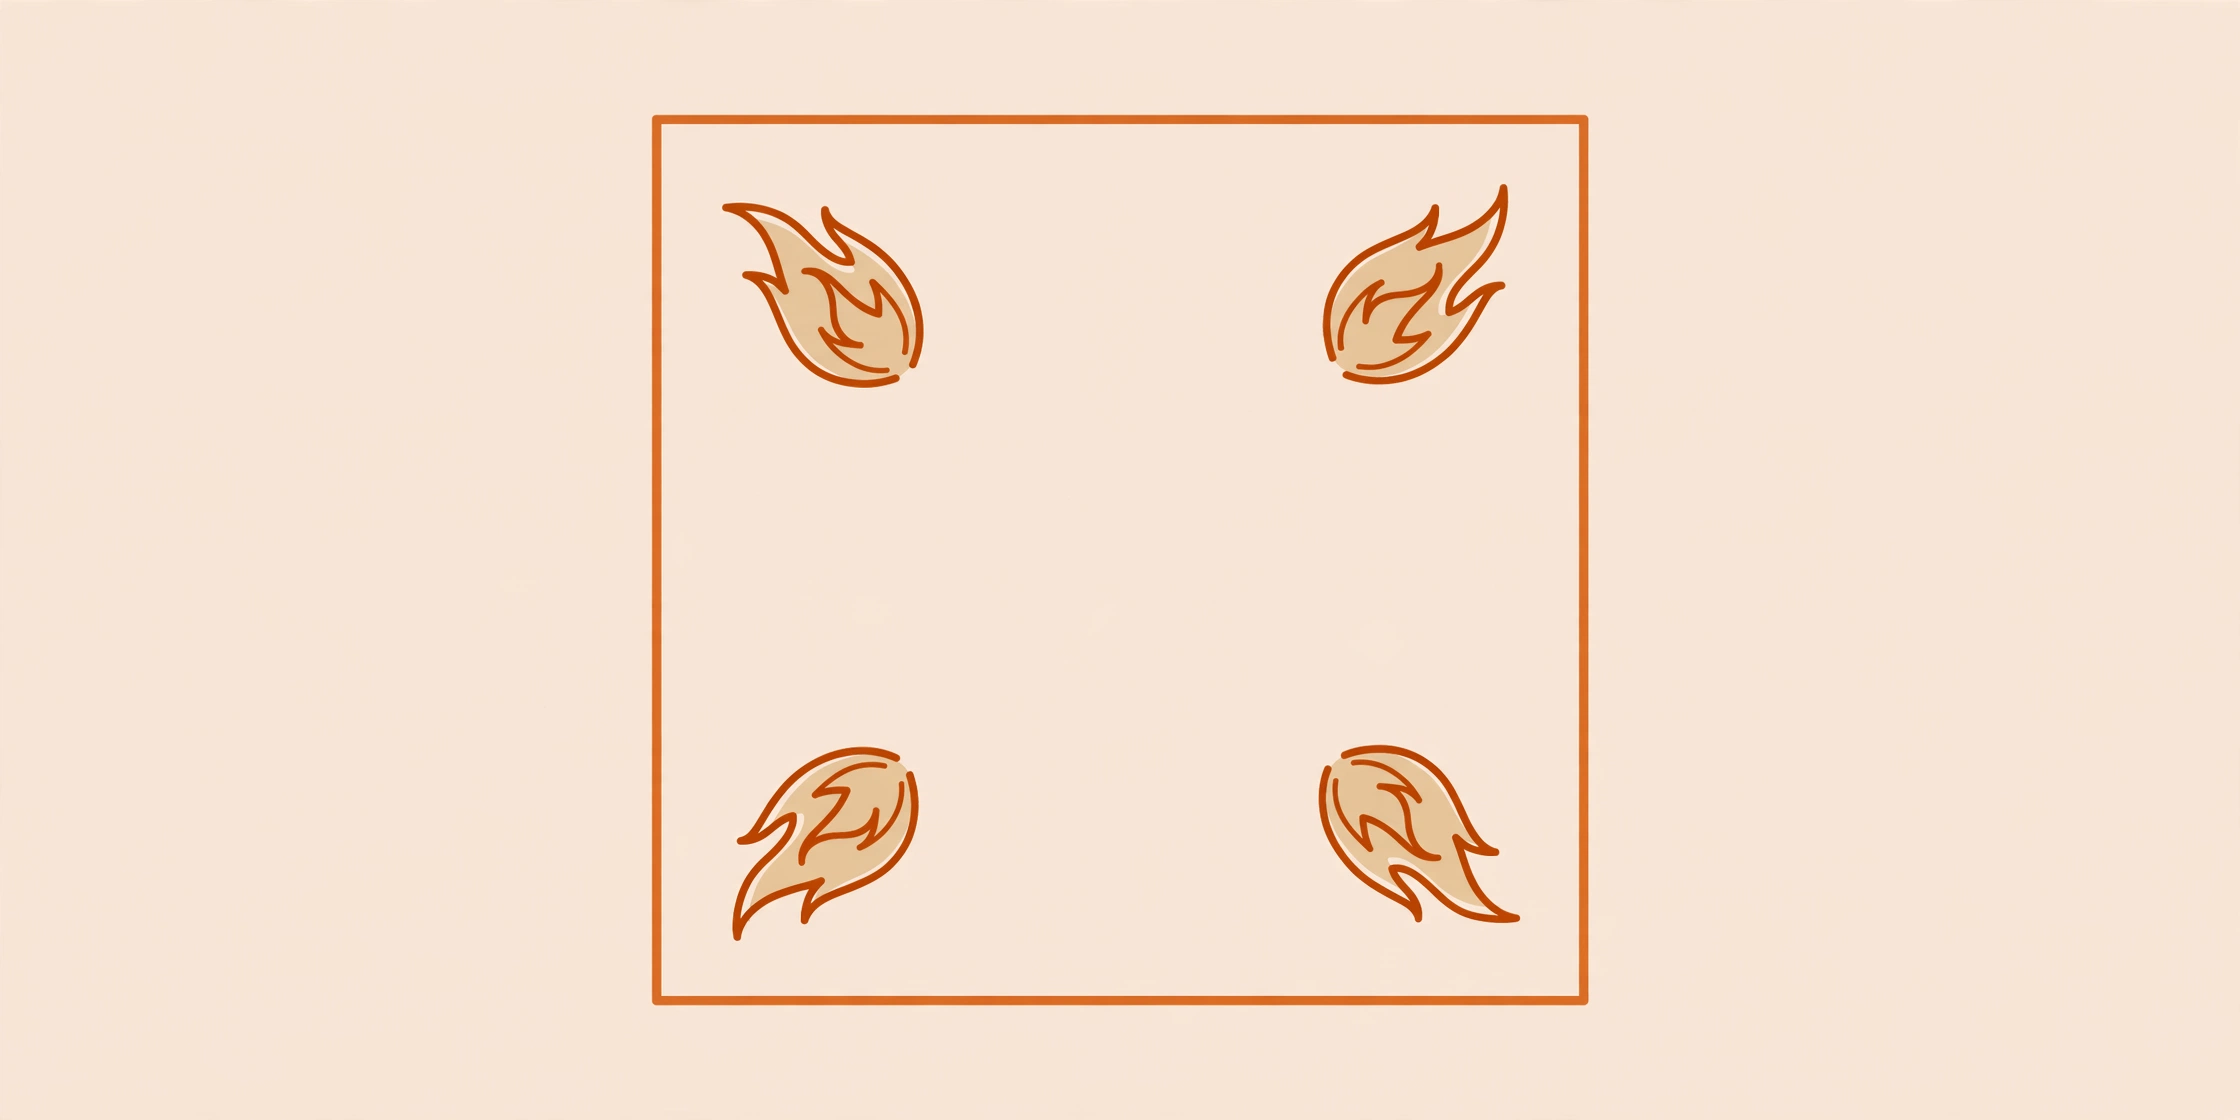
Space wicks evenly so their melt pools overlap and reach the glass, without clustering them so tightly in the center that heat concentrates. Keep every wick at least 1 inch from the glass wall — flames too close to the edge can overheat and crack the container.
Round Jars
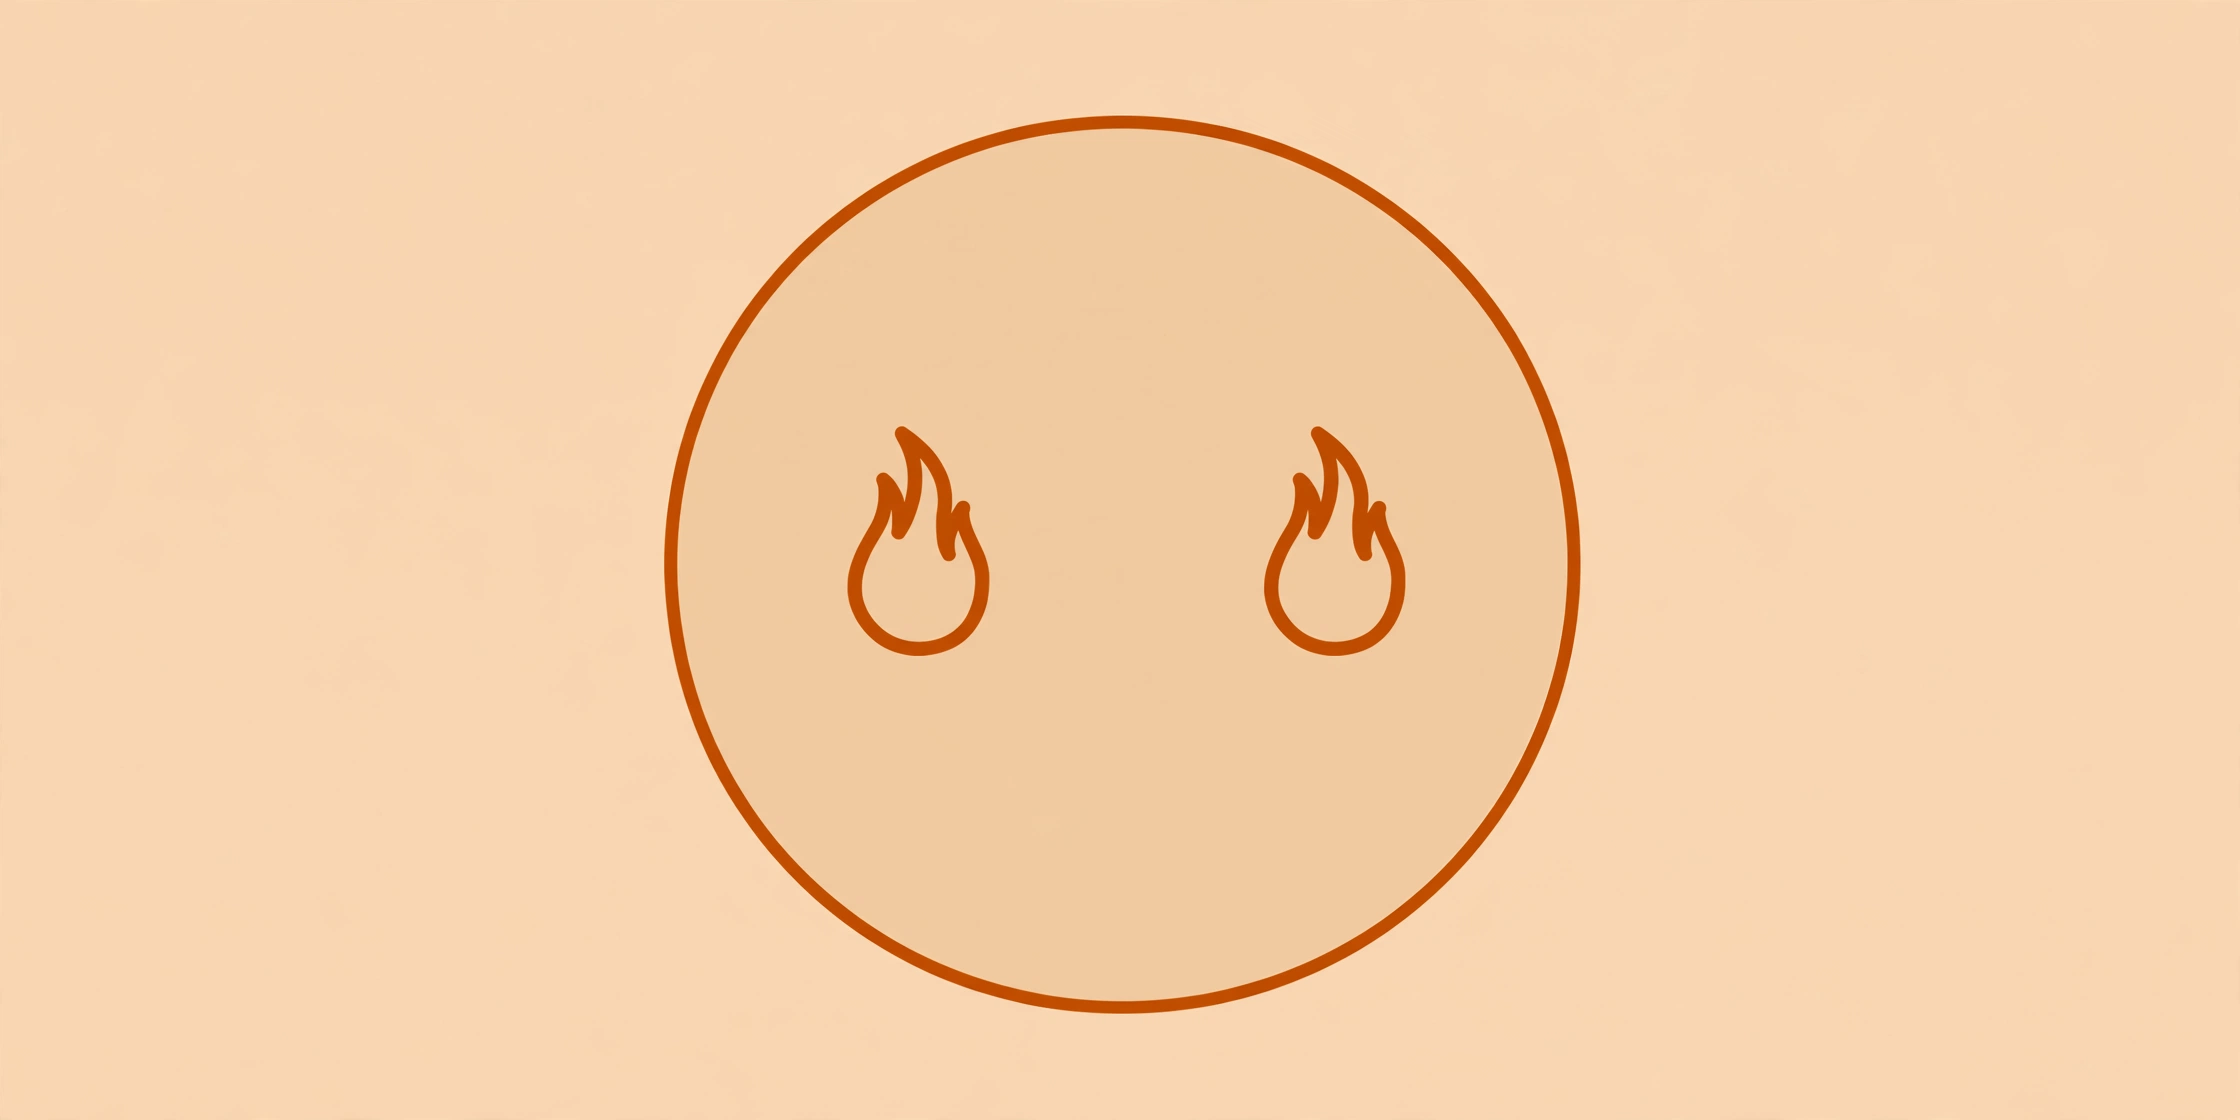
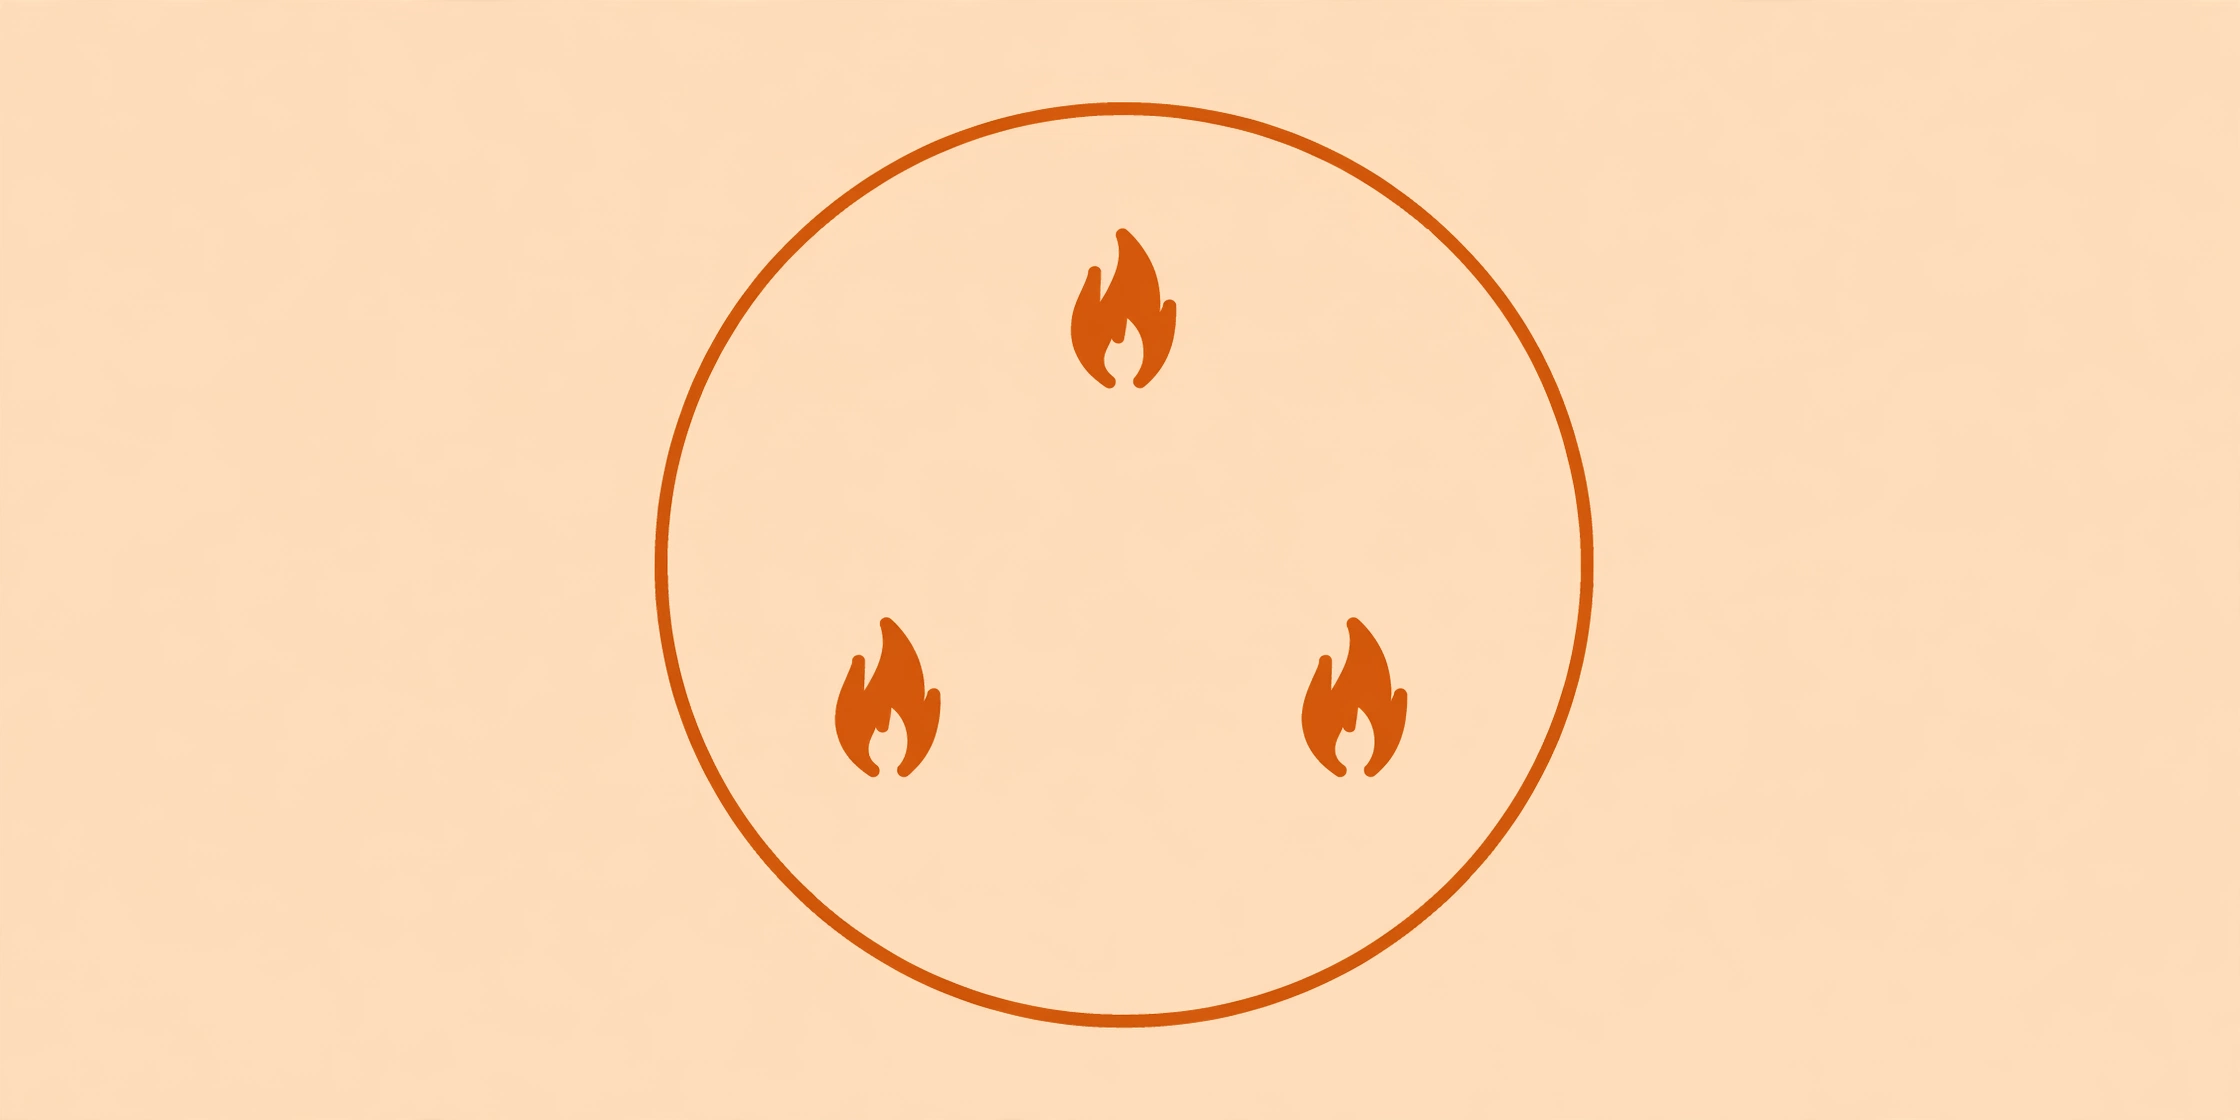
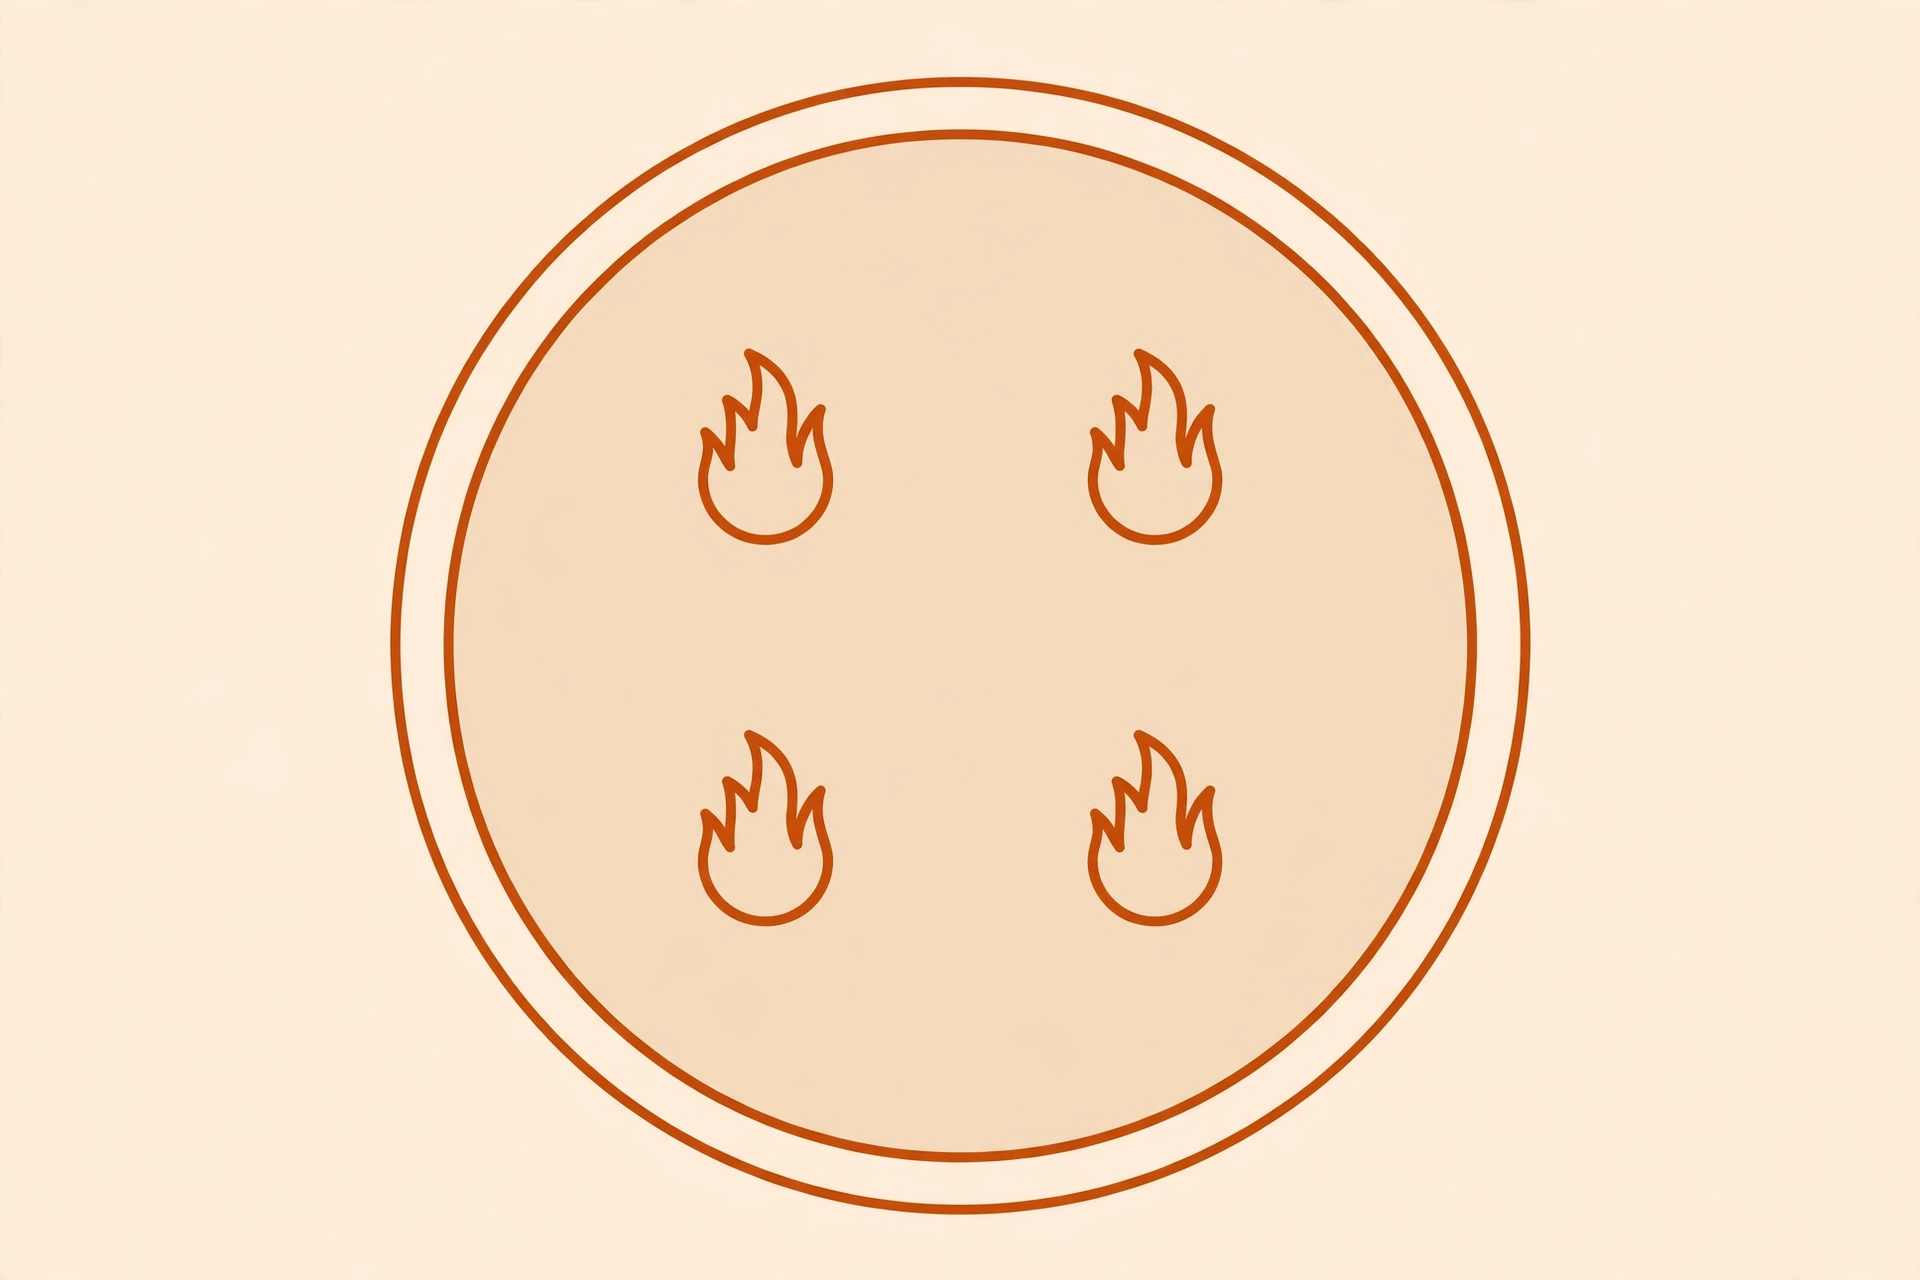
In a round jar: two wicks on a centered line, three in a triangle, four in a square. Keep a 4-inch round jar to two or three wicks; step up to four at 5 inches.
Square Jars
Square jars are trickier because the corners sit farther from any flame. One or two wicks can leave unmelted wax in the far corners. For larger square vessels, four evenly spaced wicks melt the corners best.
Multi-Wick Safety
Read this before pouring a multi-wick candle. More flames mean more heat, and heat is what cracks glass, ignites nearby objects, and causes injuries.
Container heat. The glass should never get too hot to comfortably hold. If it does during a test burn, your wicks are too large or too close together. Size down and retest. Thin-walled or decorative containers not rated for candle use are especially risky with multiple wicks.
Wick-to-glass distance. Keep every wick at least 1 inch from the inside glass wall. Flames licking the glass create thermal stress that can crack the container — sometimes hours into the burn.
Wick-to-wick distance. Flames closer than about 1.5 inches apart merge their heat zones and can create a single large flame that’s far hotter than intended. Space wicks evenly and don’t overcrowd the center.
Never leave unattended. This applies to all candles, but multi-wick candles deserve extra caution: keep them at least 12 inches from anything flammable, burn on a heat-resistant surface in a draft-free spot, away from children and pets, and stay in the room.
Trim every wick. Trim all wicks to 1/4 inch before every burn. Untrimmed wicks in a multi-wick candle compound the soot and heat problem fast.
Warning labels. Your warning label should reflect the multi-wick design. Generate a compliant label with our candle warning label generator.
Test Before You Commit
Wick selection is one of the hardest parts of candle making, and multiple wicks add variables — so a full test burn is the only way to confirm a design works. Burn a sample and watch:
- Do the melt pools meet and reach the glass within 2–3 hours?
- Are the flames steady at about 1–1.5 inches tall, not dancing or smoking?
- Is the glass warm but comfortable to hold?
- Any soot on the glass, mushrooming wicks, or unmelted corners?
If a corner stays solid or a flame towers, adjust the count, size, or spacing and test again. For a full walkthrough of what to watch, see our wick selection and test burn guide.
Frequently Asked Questions
Can I use different wick sizes in the same candle?
It’s not recommended. Mixing wick sizes creates uneven heat — the larger wick dominates, its melt pool overwhelms the smaller wick’s zone, and you get lopsided burning. Use identical wicks, evenly spaced, sized for the shared load.
Do multi-wick candles burn faster than single-wick candles?
Yes, noticeably faster. More flames mean more wax consumed per hour. A three-wick candle can burn through its wax roughly twice as fast as a comparable single-wick candle. Price and label your burn time accordingly — don’t advertise single-wick burn times for a multi-wick design.
Can I put 2 wicks in a 3-inch jar?
You can, but there’s rarely a reason to. A 3-inch jar is well within single-wick range, and two wicks in that space crowd the center and risk overheating. The exception is a very shallow 3-inch vessel (like a tin) where you want a wide, fast-melting pool — size both wicks down significantly and test carefully.
How far apart should multiple wicks be?
As a rule, keep wicks at least 1.5 inches apart (center to center) and at least 1 inch from the glass wall. Closer spacing merges heat zones and creates excessive center heat; wider spacing risks cold seams of unmelted wax between pools.
Why is my multi-wick candle sooting?
The most common cause is wicks that are too large for the shared load. Each wick should be smaller than what you’d use in a single-wick candle of the same diameter. Other causes: untrimmed wicks, drafts, or a fragrance load the wax can’t handle. Size down one step and retest.
Do I need a special warning label for multi-wick candles?
The standard ASTM F2058 warning wording covers multi-wick candles, but make sure your label is sized for the container and the instructions are legible. Use our candle warning label generator to print one at the right size.
Can I convert a single-wick recipe to multi-wick?
Yes, but retest from scratch. Keep your wax, fragrance, and fragrance load the same, then recalculate wick size using the divide-and-add-overlap method above — don’t reuse the single wick or simply add a second one of the same size. The container heat profile changes completely with multiple flames.
What’s the maximum number of wicks I should use?
There’s no hard legal limit, but practically, most makers stop at 4-5 wicks. Beyond that, heat management becomes very difficult and the candle burns through wax extremely fast. Very large vessels (dough bowls, large centerpieces) need careful engineering — wide, shallow containers behave differently than deep jars.
Related tools: Wick Lab · Warning Label Generator · Wick Selection & Test Burn Guide



