
How to Fix and Prevent Candle Sinkholes
Nothing ruins a beautiful candle like a crater in the middle of it. Sinkholes — those dents, pits, and dips that appear around the wick as a candle cools — are one of the most common frustrations in candlemaking. The good news: they are almost always fixable, and once you understand why they happen, almost always preventable.
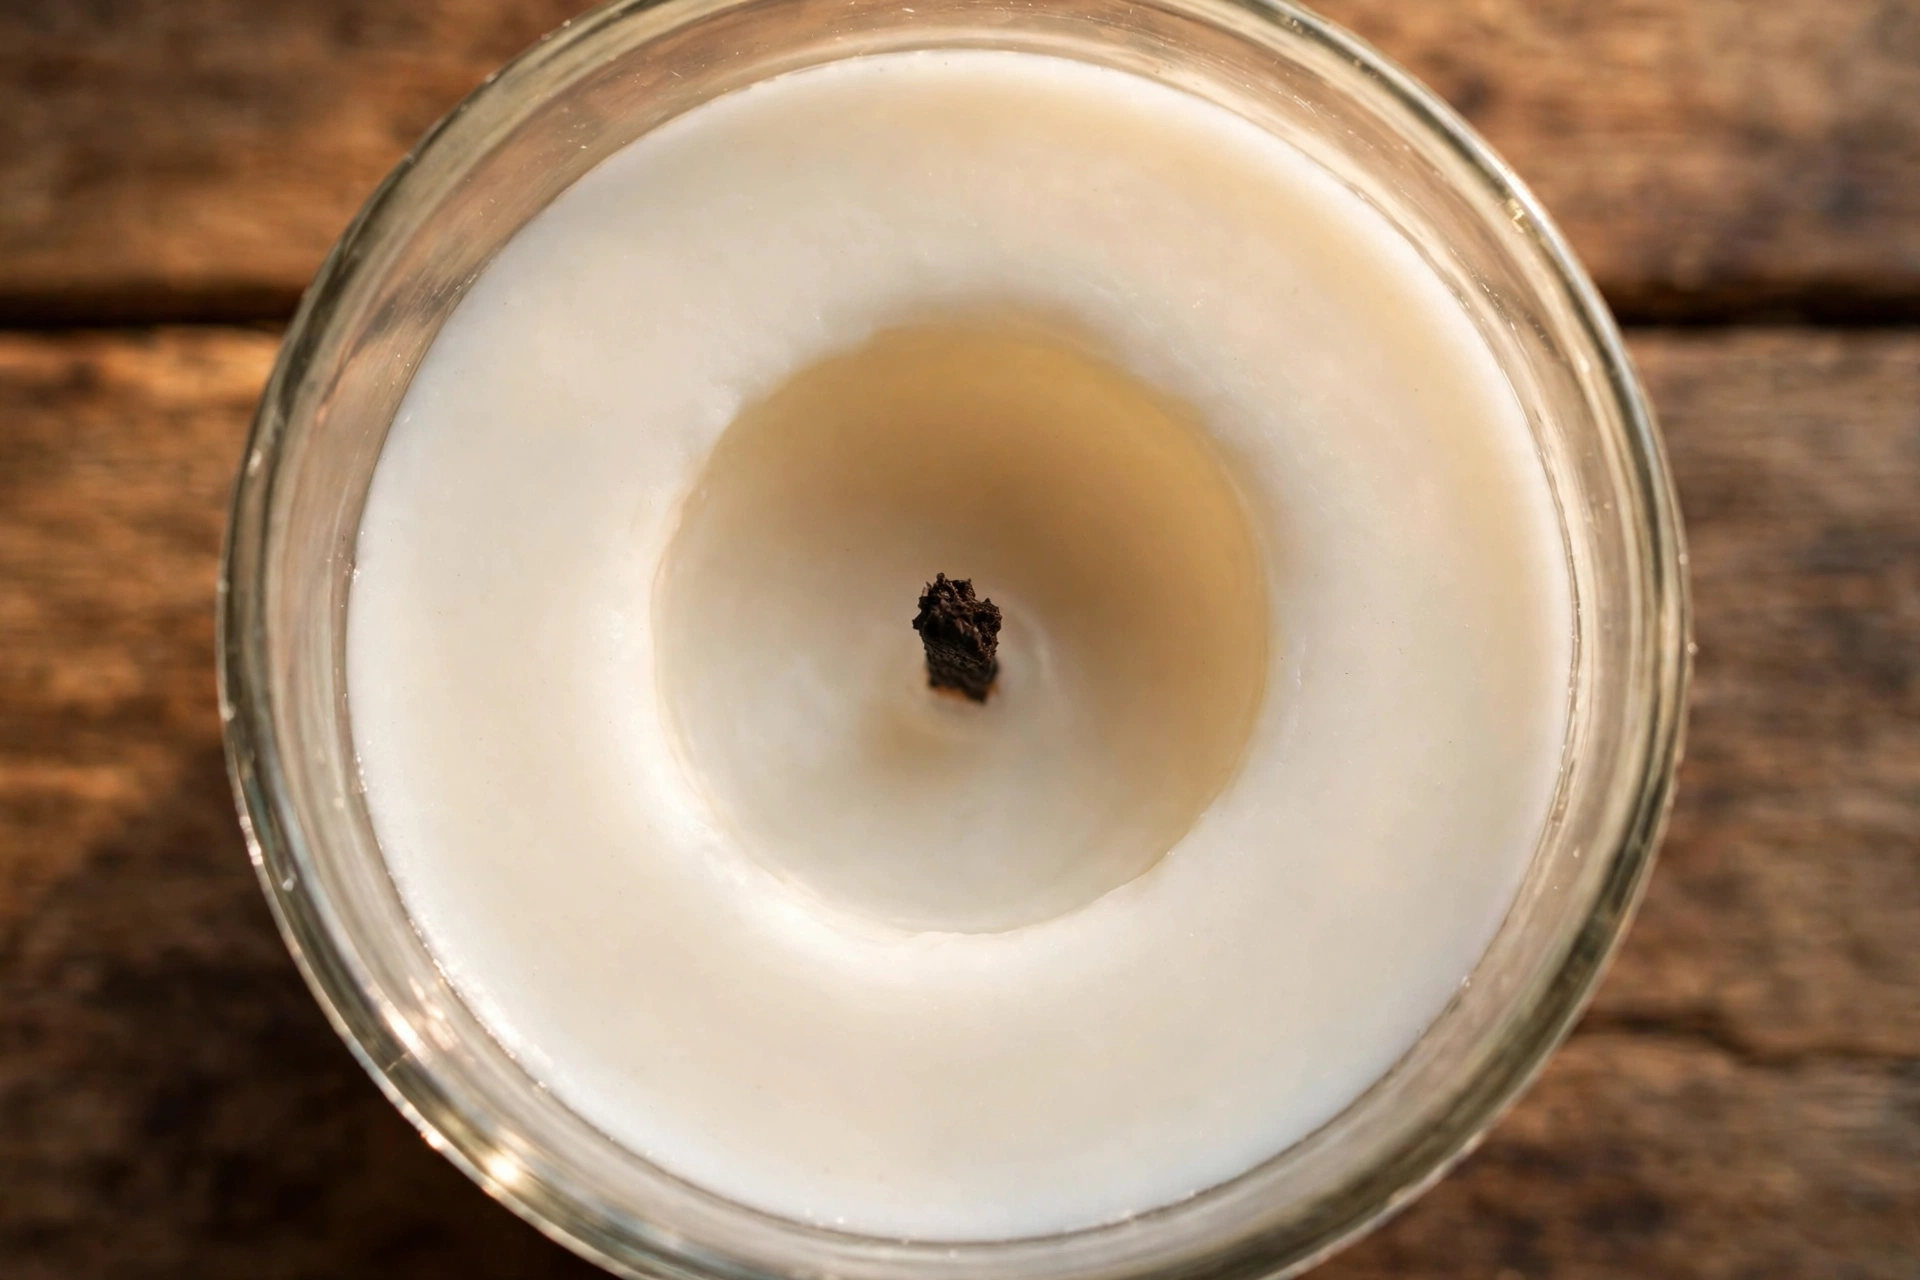
Why sinkholes happen
Every sinkhole has the same root cause: wax shrinks as it cools. When you pour, the wax is liquid and takes up a certain volume. As it solidifies, it contracts. In a container candle, the wax clings to the glass on the outside while the center cools last, so the surface in the middle gets pulled down — and if air gets trapped below, you get a cavity that eventually collapses into a visible dip or hole.
- Natural waxes shrink more. Soy wax, and to a lesser extent beeswax and coconut blends, contract significantly more than paraffin when they set. If you pour 100% soy, plan on sinkholes as the default, not the exception.
- Poured too hot. The hotter the wax when it goes into the container, the longer it takes to cool — and the more dramatic the shrinkage when it finally does. It also cools from the outside in more unevenly.
- The room is too cool or drafty. A cold room makes the outer wax set fast while the inside is still molten. The trapped liquid center keeps shrinking with nowhere to go, and the top surface caves in. Air-conditioning vents and open windows are classic culprits.
- A wick that is too large. On a test burn, an oversized wick creates a deep melt pool that pushes liquid wax outward against the glass. When it all resolidifies, the volume change leaves a depression — and a wick that’s too big causes plenty of other problems too.

What you will need to fix a sinkhole
- Bamboo skewers, toothpicks, or a chopstick (for poking relief holes)
- A heat gun (a craft embossing heat gun works; a hair dryer on high can work in a pinch)
- Or: a small amount of the same wax you poured with, melted and reserved at the correct pouring temperature
- A warm, draft-free spot for the candle to cool undisturbed
Safety first: Heat guns get very hot — keep the nozzle moving, never hold it in one spot long enough to scorch the wax or overheat the glass, and keep fingers, loose sleeves, and flammable materials well clear. Work in a ventilated area and never leave a heat gun running unattended.
How to fix a sinkhole
Method 1: The heat-gun fix (fastest)
- Poke relief holes around the wick. Push a bamboo skewer straight down through the wax all around the wick — four or five holes in a ring. Go all the way down. This vents trapped air pockets and gives the melted wax channels to flow into.
- Heat the top until about the top 1/4 inch melts. Keep the heat gun moving in slow circles a few inches above the surface. You want the whole top to turn liquid and level out — the relief holes let the melted wax sink down and fill the cavities underneath.
- Let it reset without touching it. Move the candle somewhere warm and draft-free (around 70°F is ideal) and leave it completely alone until it is fully set. Don’t move it while it’s cooling — moving a semi-solid candle is a great way to get a second sinkhole.

Method 2: The second pour (best finish)
- Poke relief holes around the wick exactly as in Method 1 — air needs an escape route.
- Pour a small amount of reserve wax over the surface at your wax’s normal pouring temperature. Just enough to fill the holes and level the top — a thin layer is plenty.
- Cool slowly. Same as before: warm, draft-free room, no moving the candle until it is completely set.
The second pour takes longer but gives the most professional-looking result, because the fresh wax layer can be perfectly smooth. This is why production candlemakers do it as standard practice — more on that below.

How to prevent sinkholes
- Pour at the correct temperature for your wax. Check your supplier’s recommendation and actually use a thermometer. Pouring cooler (within the recommended range) means less shrinkage and a more even cool-down.
- Keep the room warm and draft-free — around 70°F. Close windows, turn off ceiling fans, and move candles away from air-conditioning vents. An even, slow cool-down is the single biggest prevention factor.
- Preheat your containers slightly. Setting jars in a warm oven (the lowest setting, just a few minutes) or rinsing them with warm water and drying them means the wax hits a warm surface instead of cold glass, which slows the outside-in cooling that traps a liquid center.
- Plan a second pour for shrink-prone waxes. If you pour soy or soy blends, just build the relief pour into your process: pour, let the candle set, poke holes, top up. Doing it routinely is faster than fixing surprises.
- Don’t move candles while they are cooling. Jostling a half-set candle disturbs the crystallization and can create voids that show up later as dips.

When a sinkhole means a bigger problem: A shallow surface dip is cosmetic. But deep, hidden cavities under the surface are a safety concern — a pocket of air under the wick can cause the flame to flare or the wick to tunnel down into the hole. If a candle won’t stay lit, burns strangely, or has a deep void you can feel with a skewer, don’t just patch the top: re-evaluate your wick size and pouring process before that candle goes anywhere near a customer.
Selling sinkhole-free candles
If you sell your candles, a sinkhole is not a minor flaw — it reads as amateur to a customer who is paying for a finished product. Make the second pour part of your standard production routine, not a rescue step: pour, set, poke, top up, done. It adds a few minutes per batch and it is the difference between a candle that looks handmade in the good way and one that looks handmade in the bad way.
Every wax behaves a little differently, so use your supplier’s pouring temperature as your starting point and adjust from your own test results. When in doubt, do a test burn before you commit a whole batch — it’s cheaper than remaking one.



