How to Choose the Right Wick & Test Burn Your Candles
Ask a hundred candle makers what they struggle with most and you’ll hear the same answer: the wick. Get it right and everything works — a steady flame, a full melt pool, strong scent throw. Get it wrong and no wax or fragrance oil can save the candle. This tutorial shows you how to pick a starting wick and prove it with a proper test burn.
Why the wick matters more than anything else
The wick is your candle’s engine. It controls how much heat the flame produces, how wide and deep the melt pool gets, how much fragrance lifts into the room, and — most importantly — whether the candle burns safely. A wick that’s too small tunnels down the middle, drowns in its own wax, and barely throws scent. A wick that’s too big mushrooms, smokes, soots up the jar, and can overheat the container. Every other decision you make — wax, fragrance, vessel — only works if the wick is right.
Know your wick types
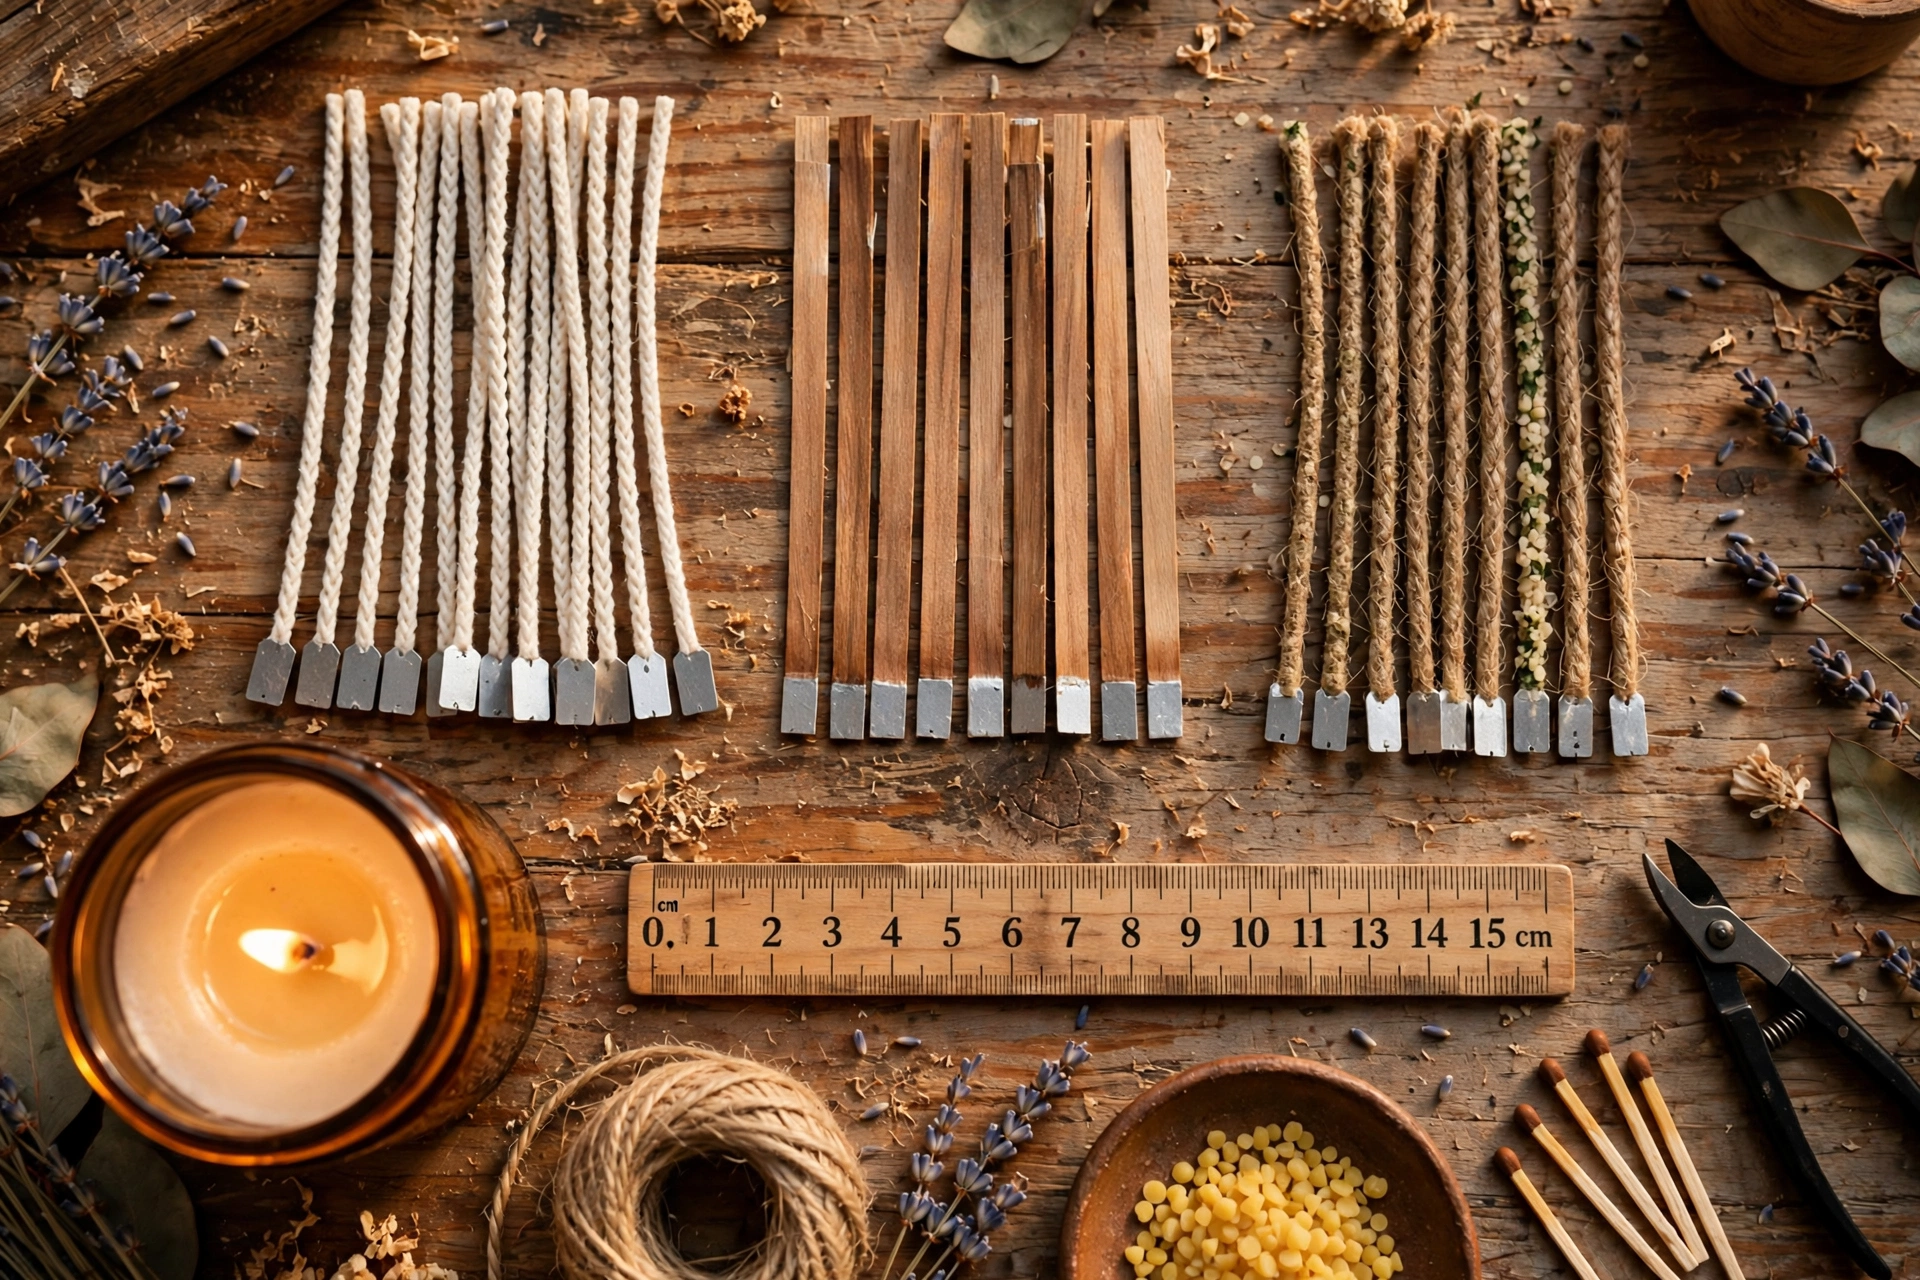
Three wick families cover nearly every candle you’ll make. Each has a personality — pick the one that fits your candle, not just the one you’ve always used.
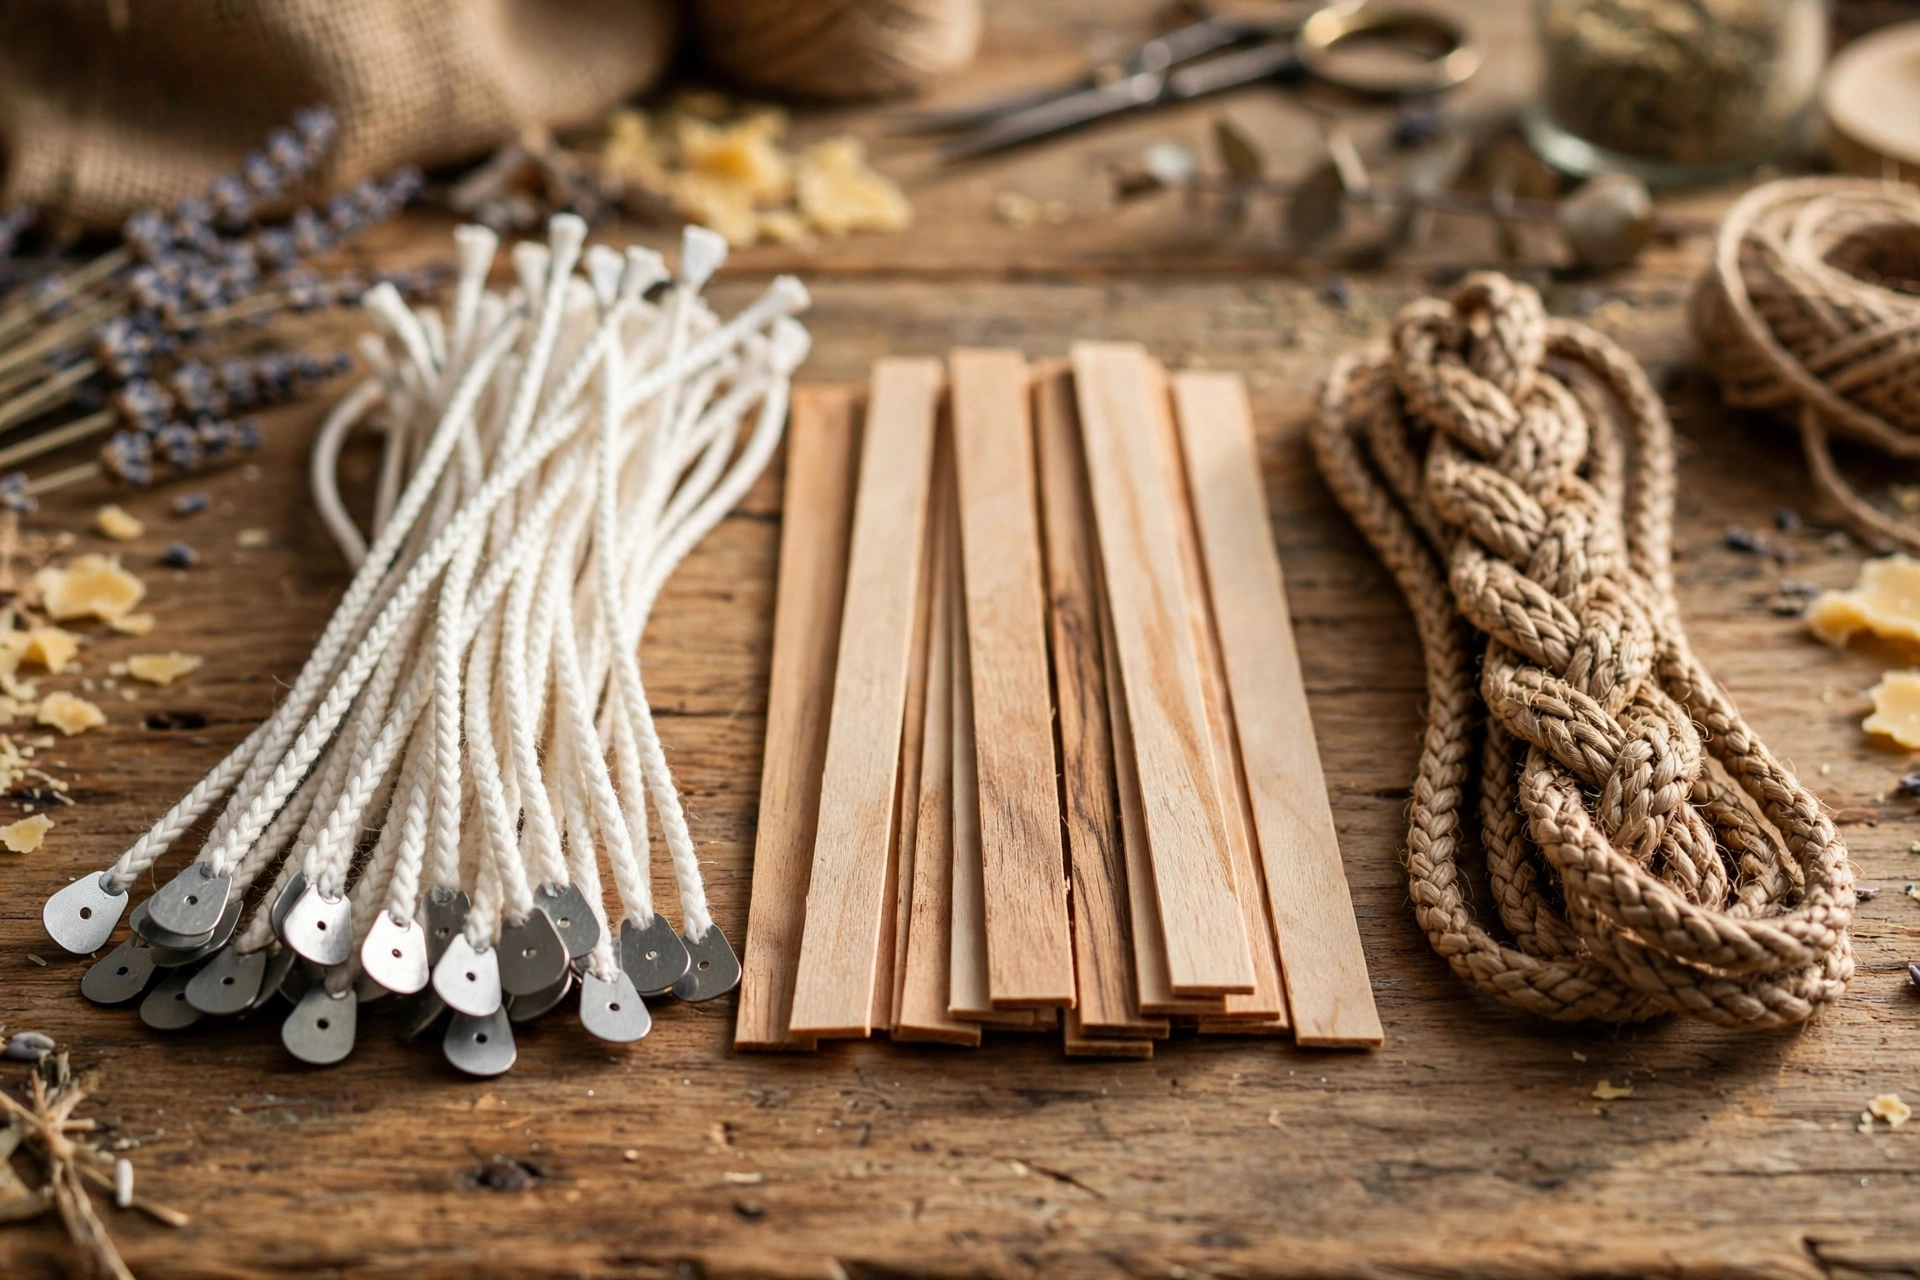
Cotton wicks (cored). The workhorse. Braided cotton built around a paper, zinc, or cotton core that keeps the wick standing straight and helps it curl slightly as it burns (that curl is what makes them “self-trimming”). The most forgiving option and the best starting point for container candles. Downside: an oversized cotton wick mushrooms fast and soots.
Wood wicks. Flat strips of wood (sometimes two-ply or “booster” style) that burn with a wide, low flame and a soft crackling sound. Gorgeous modern look and great for wide vessels where a single cotton wick can’t cover the diameter. Downside: fussier to light and keep lit, and they must be trimmed very short before every burn or they won’t stay lit.
Hemp wicks. Braided natural hemp, a favorite for beeswax candles and all-natural product lines. Sturdy and rustic-looking. Downside: sizing is less standardized across suppliers, and they can produce a little more smoke than cotton if oversized.
Sizing basics (no chart memorization required)
Two things determine wick size: vessel diameter and wax type. That’s the whole formula.
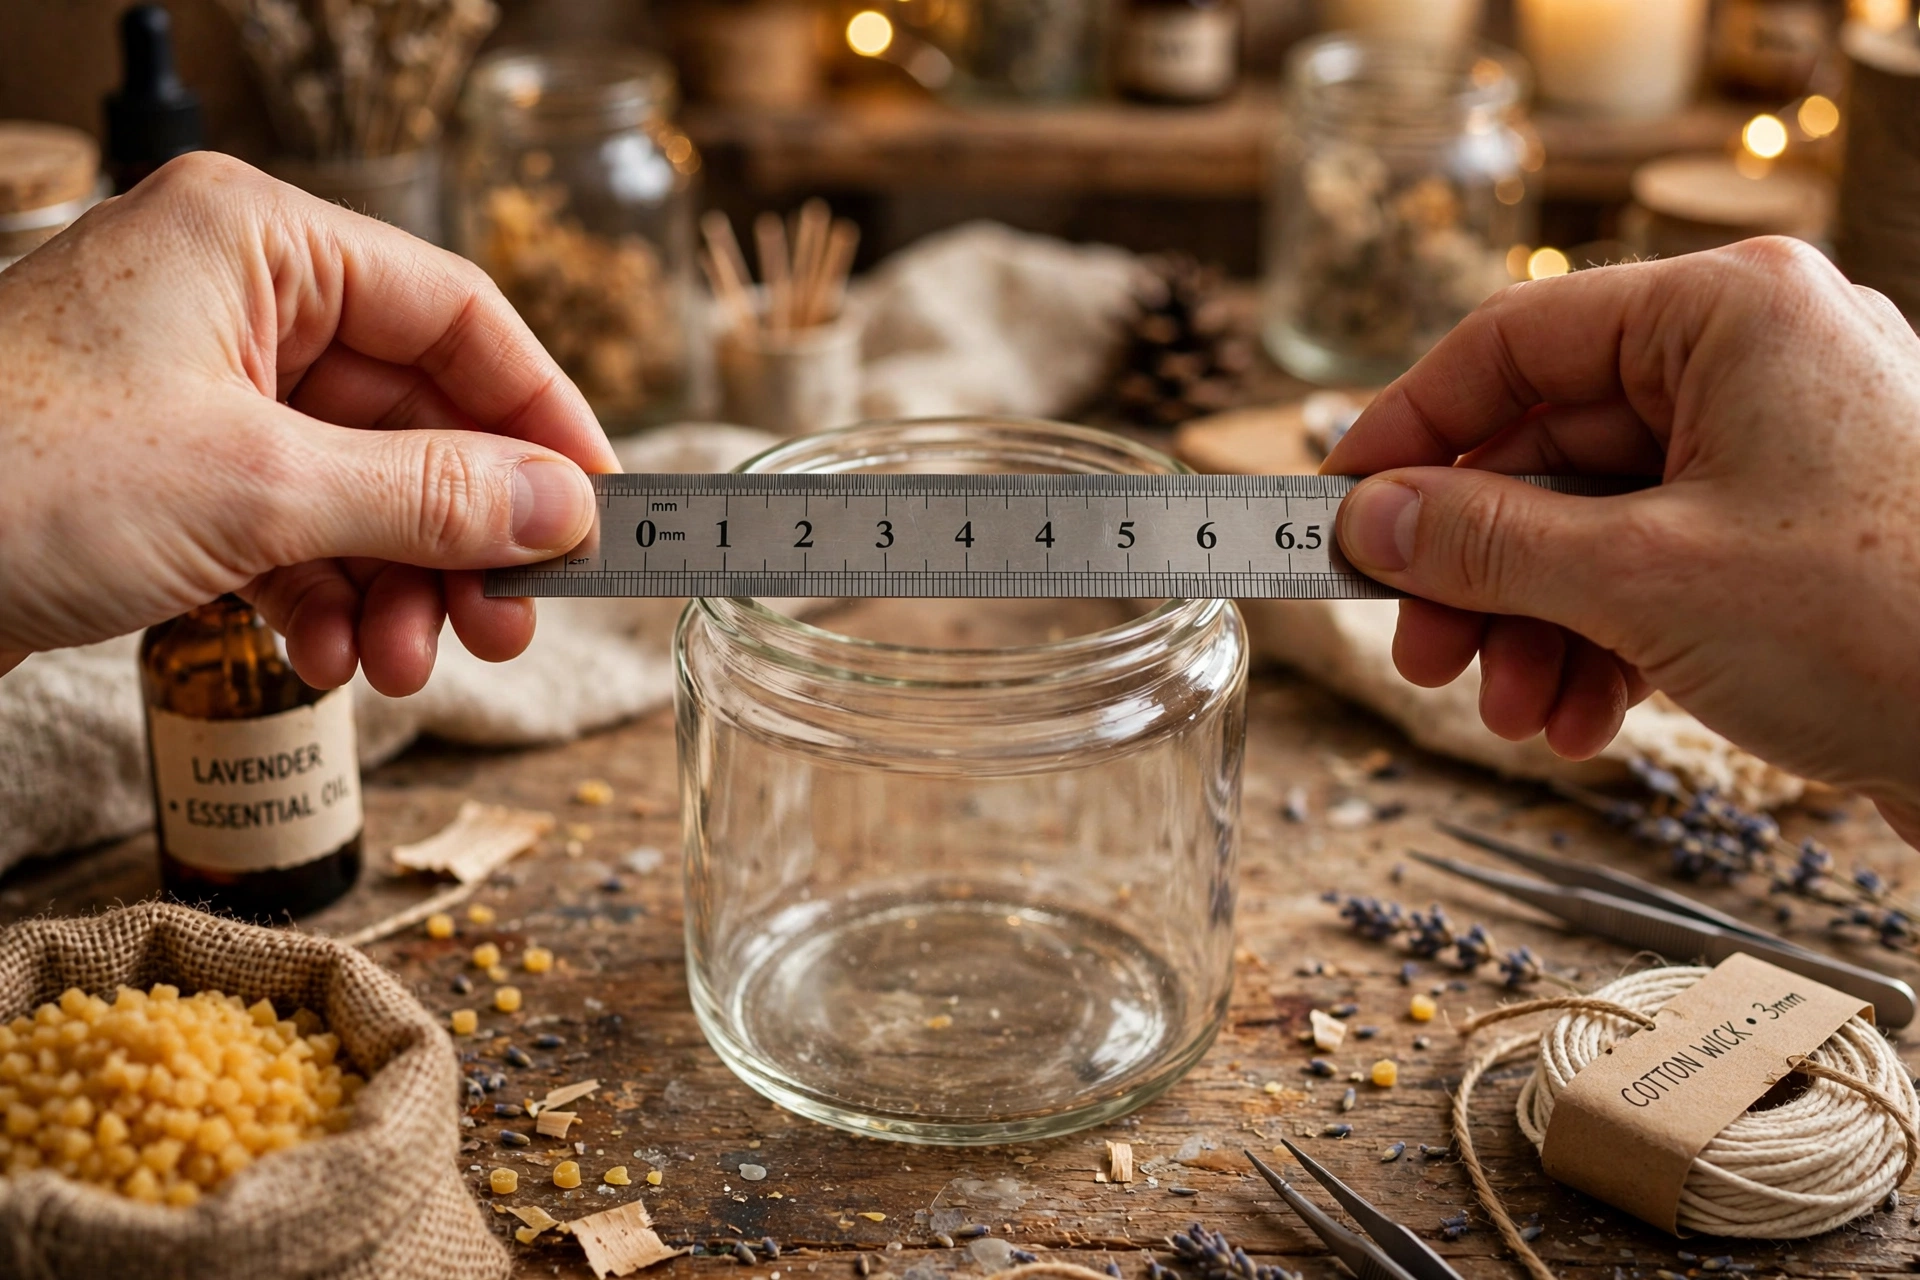
Measure your vessel. Measure the inside diameter at the widest point of the container — that’s the distance your melt pool has to cover. A wider vessel needs a bigger wick, or multiple wicks for very wide openings.
Know your wax. Harder waxes need more heat to melt. Beeswax and hard pillar blends need a larger wick than soft container soy at the same diameter. Heavy fragrance loads and dark dyes add fuel too, nudging the requirement up.
Read the supplier’s chart. Every wick supplier publishes a sizing chart: find your vessel diameter, match your wax family, and start with their recommendation. Treat it as a starting point, not an answer — your exact wax, fragrance, and dye combination will behave differently than the chart’s test candle. The chart tells you where to begin; the test burn tells you where to land.
What you’ll need
- 2–3 test candles, poured identically except for wick size — one at the chart recommendation, one a step smaller, one a step larger
- Wick trimmer
- Ruler or calipers
- Timer or phone
- A burn test log — print one or use our free Burn Test Log tool
- A draft-free spot and 3–4 hours you can check in on
Steps: the test burn
1. Pour your test candles
Make two or three small candles with the exact wax, fragrance load, and dye you plan to use — changing only the wick size between them. Label each one (a piece of tape with the wick name works). Test candles don’t need to be pretty; small tins are perfect.
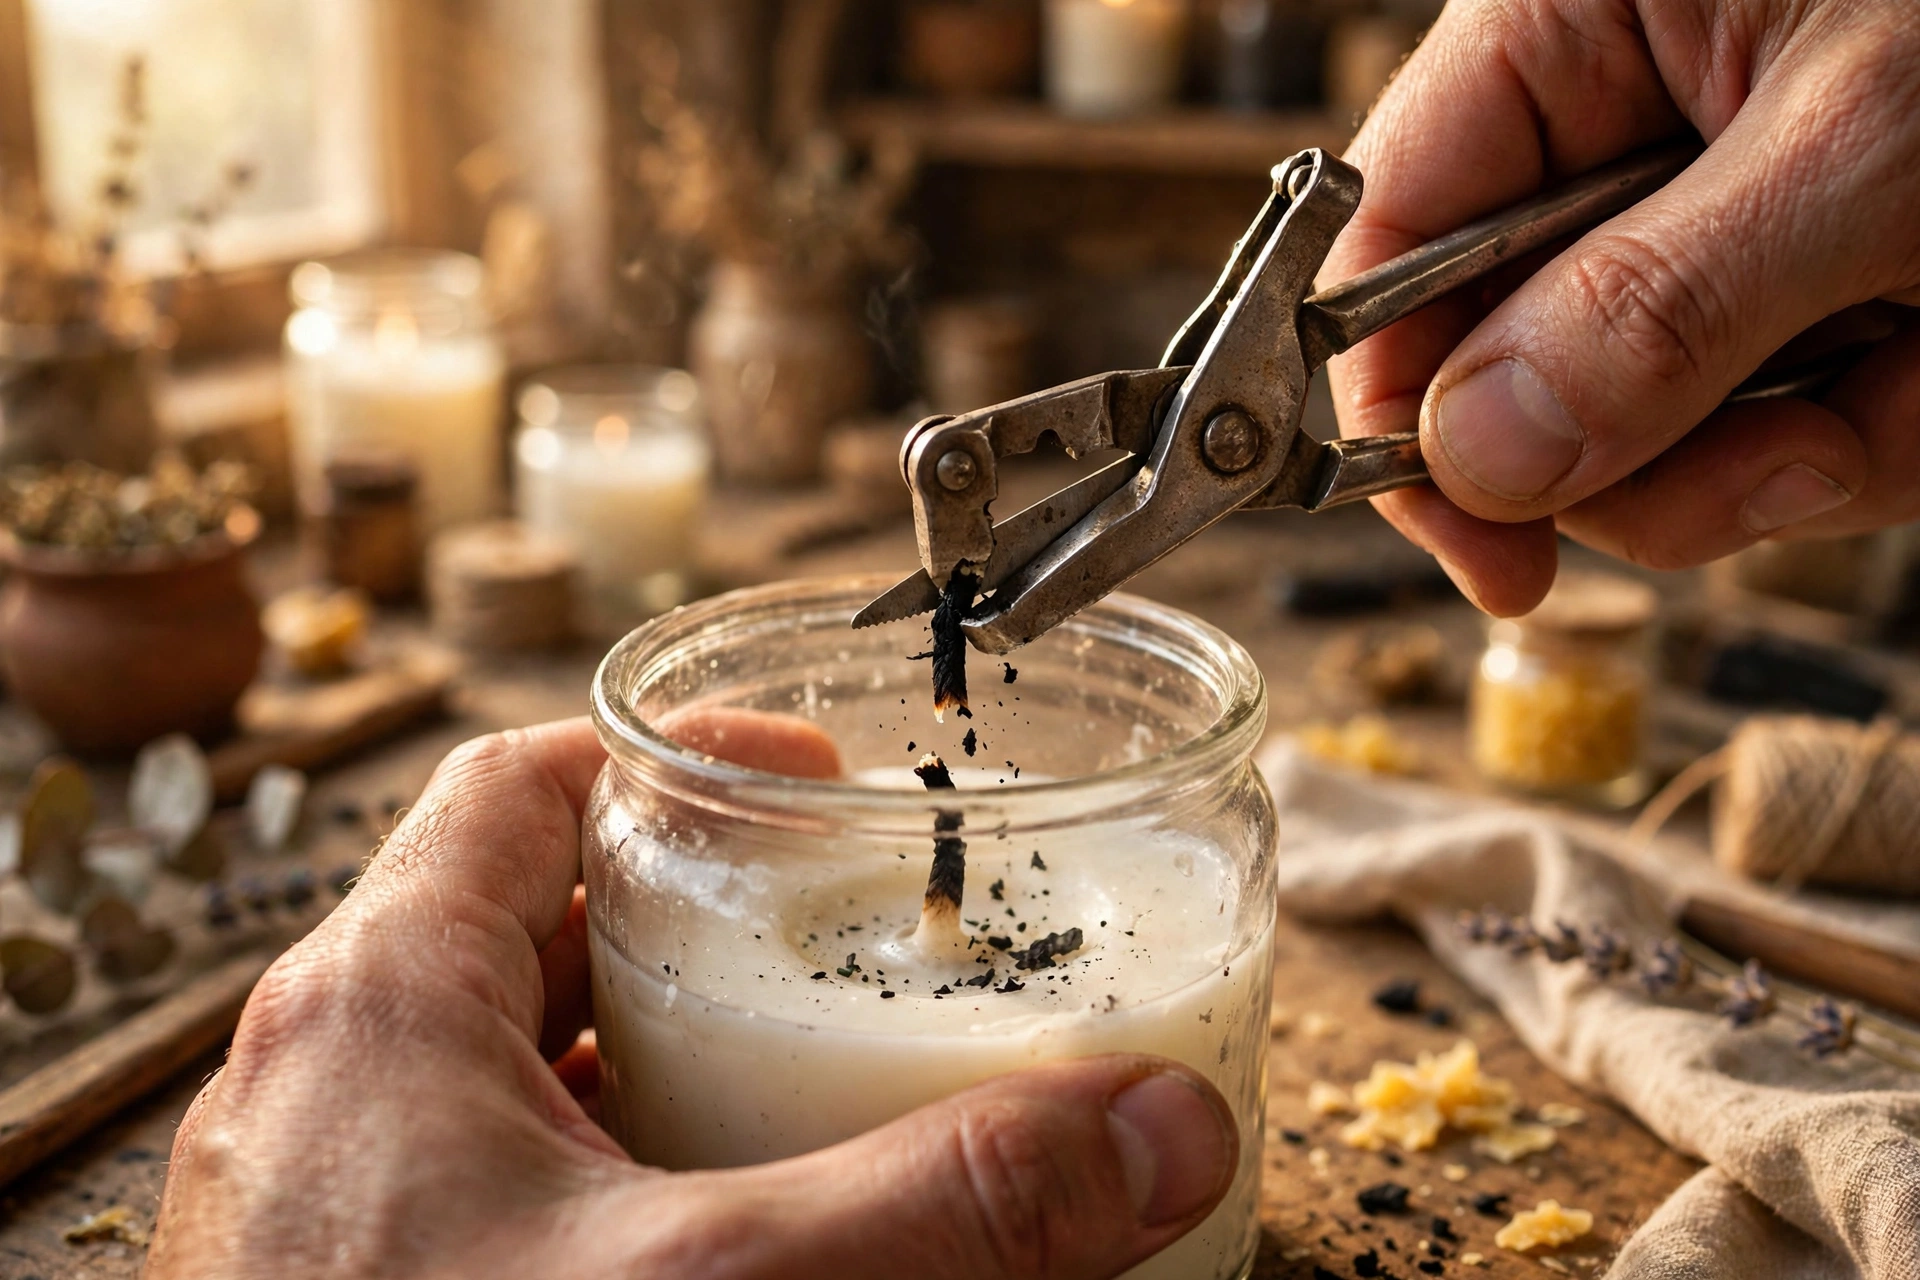
2. Trim every wick to 1/4 inch
Before every single burn, trim to 1/4 inch. A long wick burns hotter, taller, and dirtier than the wick you’re actually testing — skipping the trim invalidates the whole test. (Wood wicks: trim very short, following your supplier’s guidance.)
3. Light it and start the timer
Light the first test candle in a draft-free spot and start your timer. Let it burn 2 to 4 hours — long enough for the melt pool to reach edge to edge. Never burn longer than 4 hours in one session.

4. Watch the flame
A healthy flame is a steady teardrop about 1 inch tall with minimal flicker. Write down what you see: Is it tall and dancing? Tiny and struggling? Smoking? Going out on its own? The flame tells you the wick size story before the wax does.
5. Check the melt pool
After about 2 hours, look at the liquid wax. It should reach nearly to the edges of the container and be roughly 1/4 inch deep. Note the time it took to get there — that timing is the most valuable number in your whole test.
6. Cool, trim, and burn again
Blow it out, let the wax harden completely, trim to 1/4 inch, and relight. Repeat for two or three full burn cycles. Problems like tunneling and mushrooming often don’t show up until the second or third burn — a wick that looks perfect on burn one can fail on burn three.
7. Pick the winner and log it
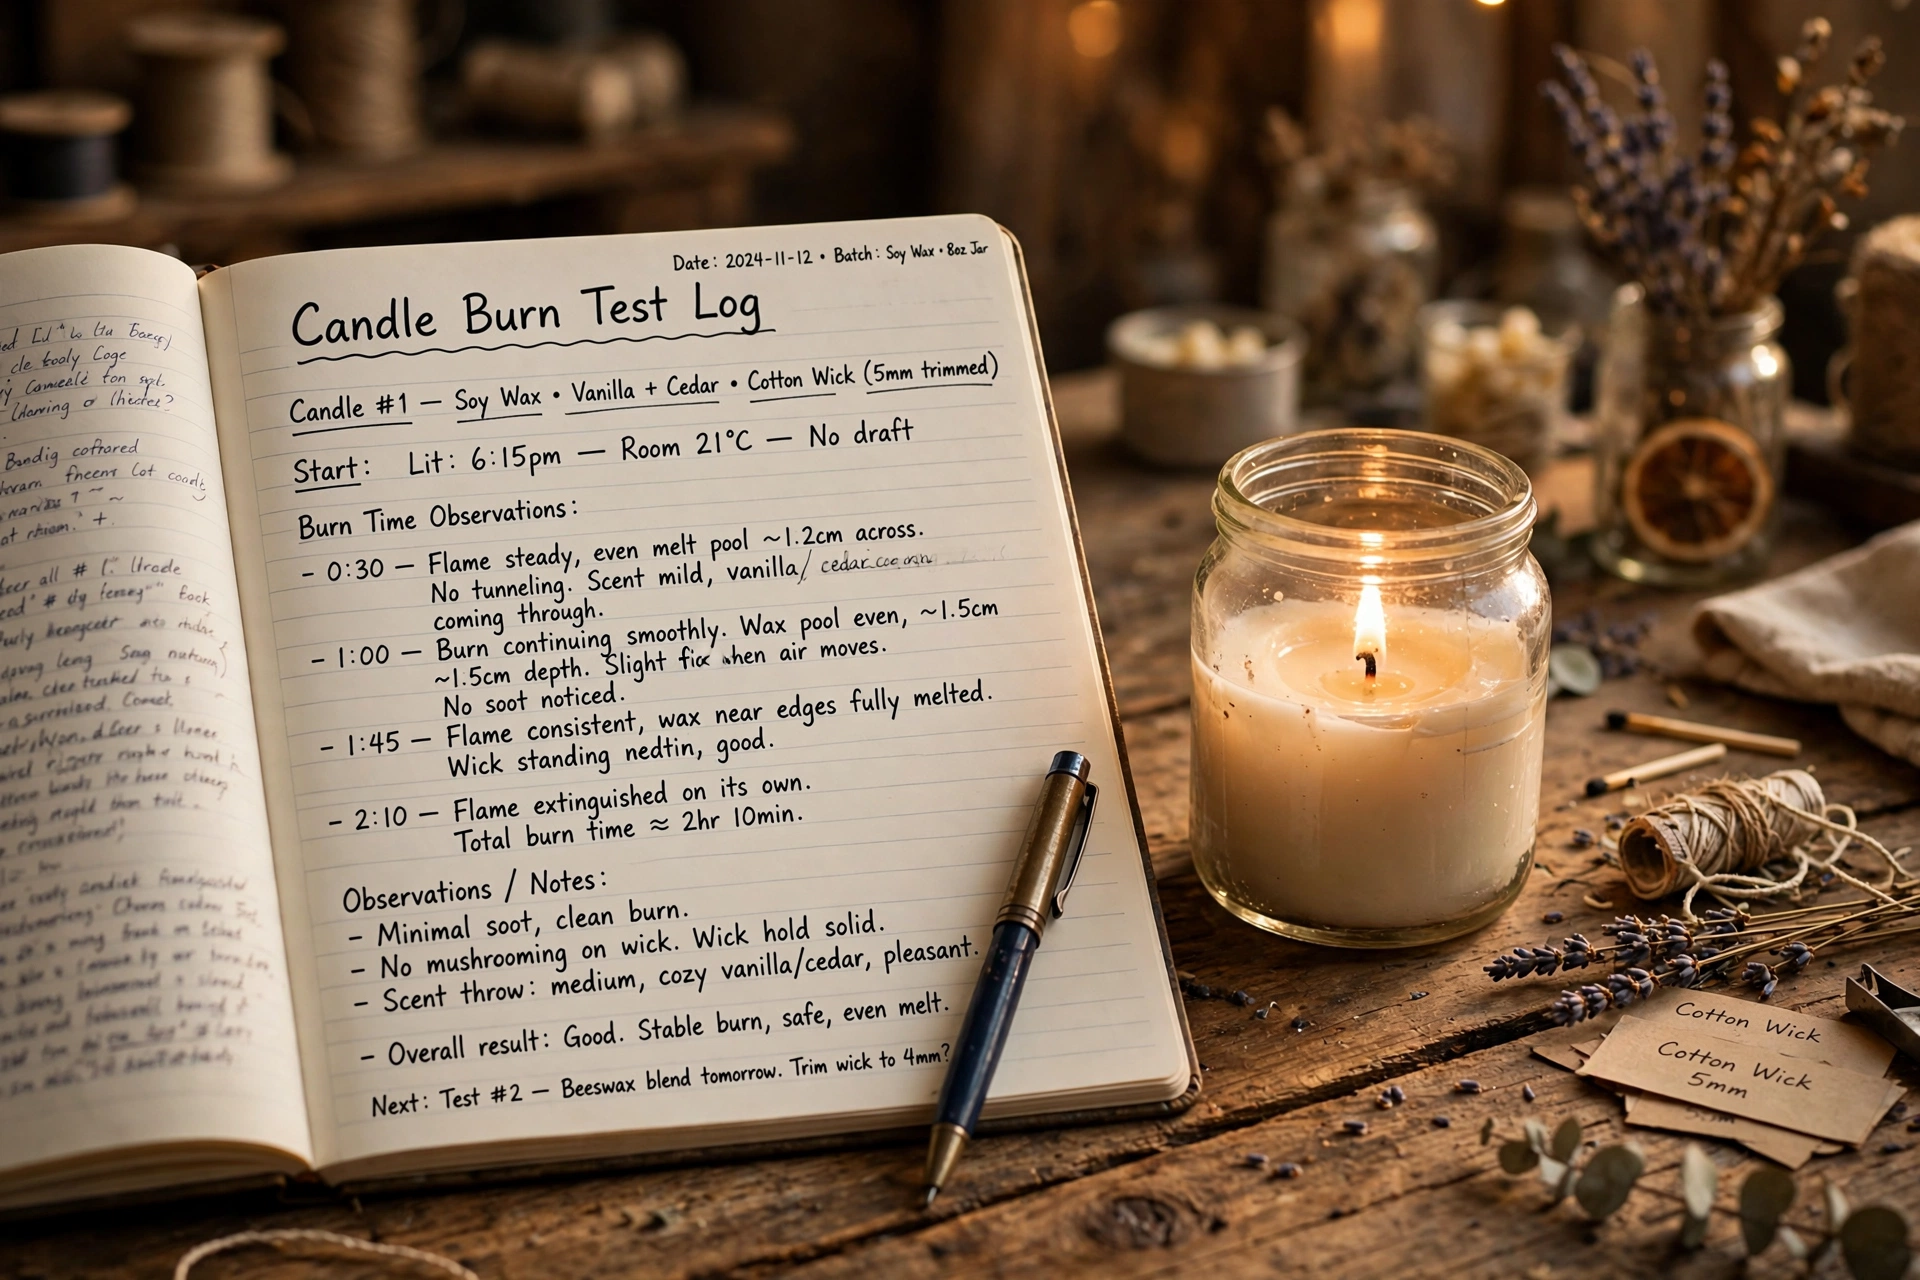
The right wick gives you an edge-to-edge melt pool within 2–4 hours, a steady 1-inch flame, no mushrooming, and no soot — across all three burns. Write everything down: wick name and size, vessel, wax, fragrance load, burn times, and observations. Future you will thank present you.
Reading your results
Melt pool. Reaches the edges within 2–4 hours and sits about 1/4 inch deep — that’s the sweet spot. If liquid wax still hangs more than about 1/2 inch from the edge after 4 hours, wick up. If the pool is deeper than 1/2 inch or the jar gets too hot to comfortably touch, wick down.
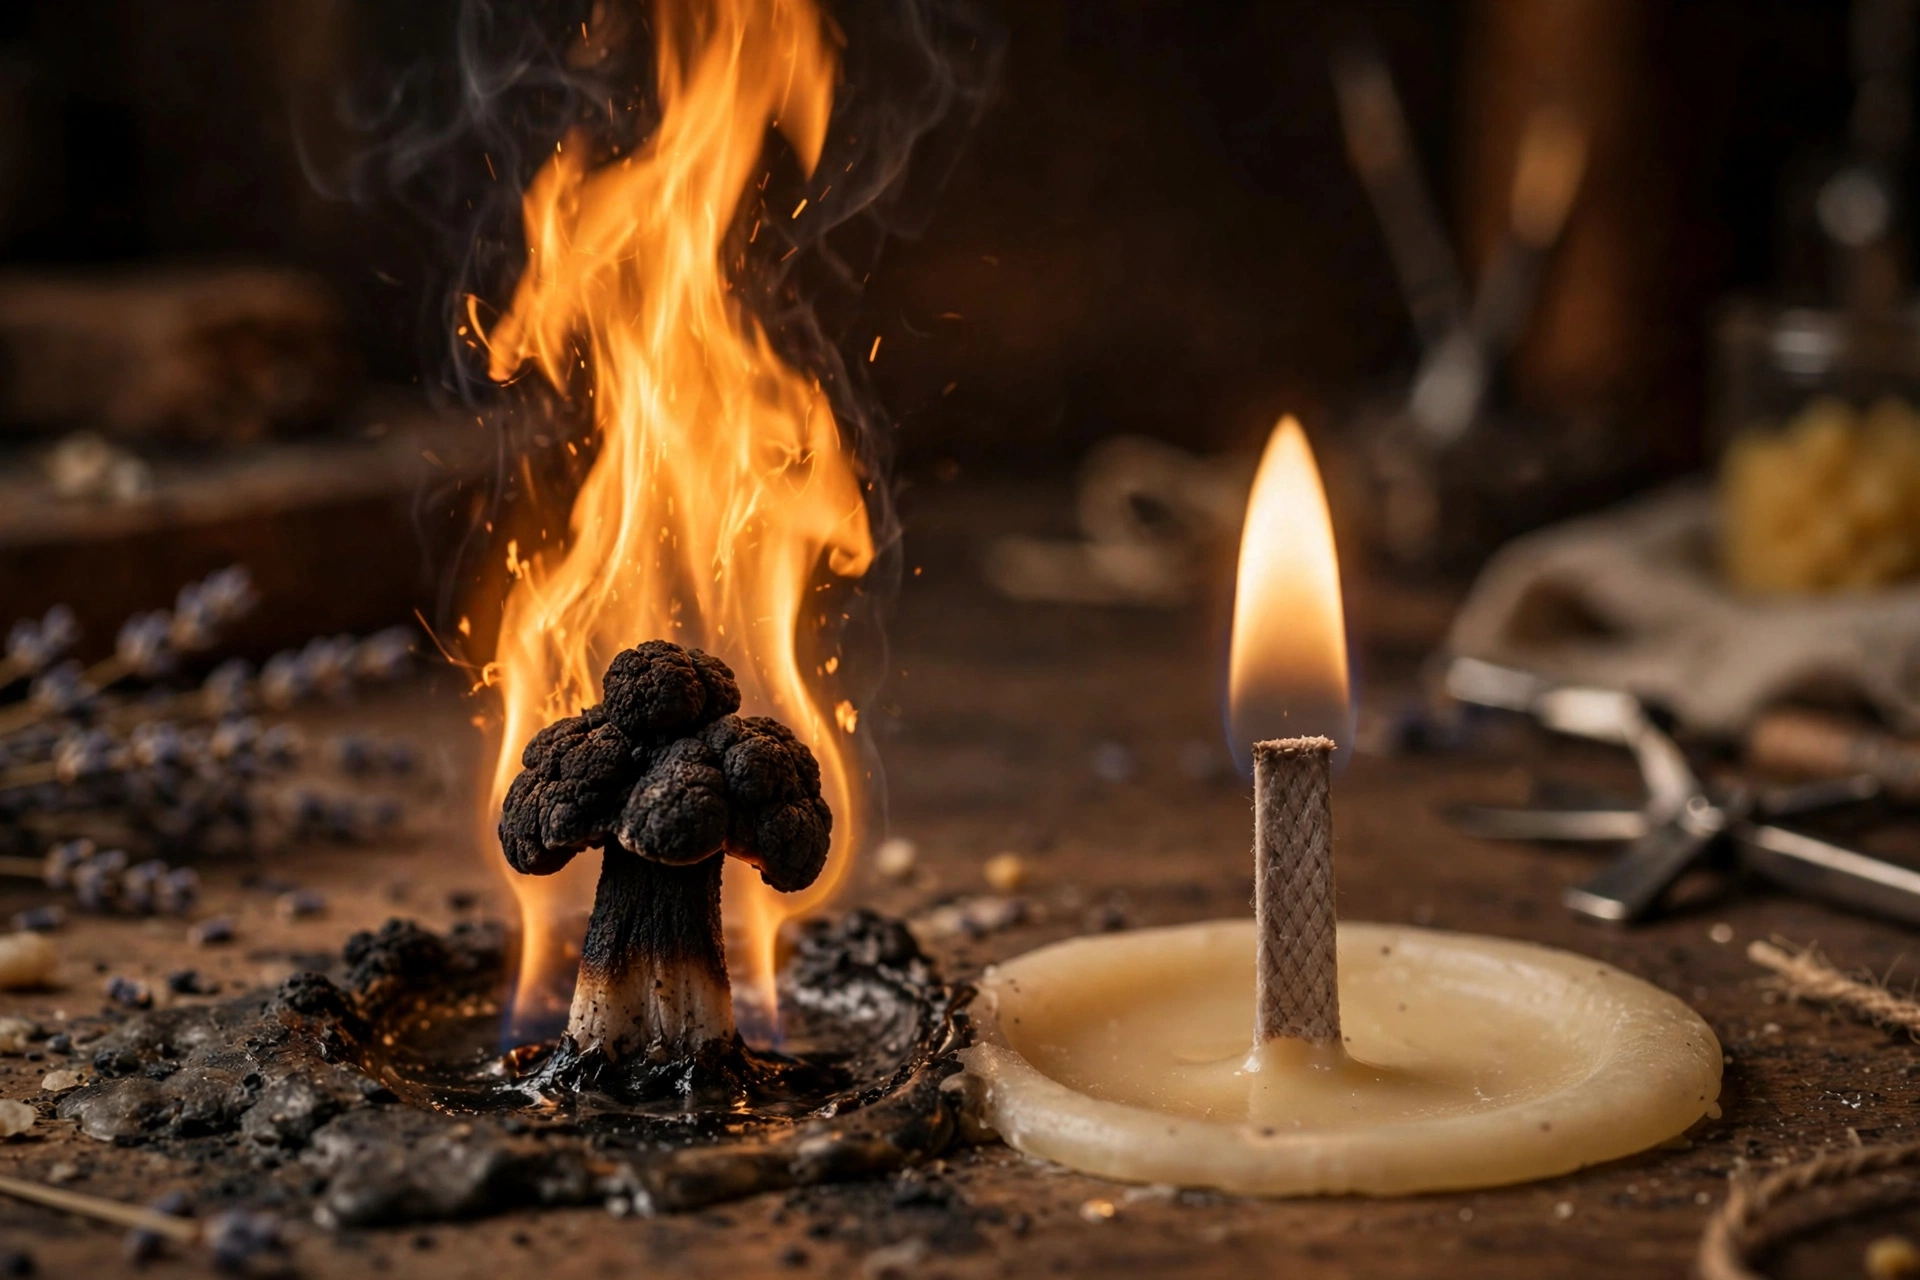
Flame. About 1 inch, steady teardrop. Tall, flickering, or smoking — too big. Tiny, drowning, or self-extinguishing — too small.
Mushrooming. A carbon “mushroom” ball building on the wick tip means the wick is slightly oversized for the fuel it’s getting, or it simply needs more frequent trimming. If it mushrooms even when trimmed, wick down.
Soot. A thin wisp when you first light or blow out is normal. A steady stream of soot during the burn, or black marks collecting on the jar — wick down, and check for drafts.

Tunneling. A deep narrow hole straight down the middle means the wick is too small to melt the full diameter — or the first burn was cut short before the pool reached the edges. Wick up, and always let the first burn go edge to edge.
What to do when something looks wrong
Candle won’t stay lit? The wick is too small for the wax and vessel — or, for wood wicks, trimmed too long. Trim shorter, shield from drafts, and wick up if it keeps drowning.
Tunneling? Wick up a size, and make sure the first burn always goes edge to edge — most tunneling starts with a short first burn.
Mushrooming? Wick down a size, or trim before every burn. Some fragrance oils carbon up more than others, so test with your actual fragrance.
Weak scent throw? Nine times out of ten this is the wick: too small a melt pool means too little fragrance evaporating. Also confirm the candle fully cured (soy needs 7–14 days) and that your fragrance load is within the wax’s rating.
Soot on the jar? Wick down, trim to 1/4 inch before every burn, and move the candle away from drafts, vents, and ceiling fans.
For the full problem index with fixes, see our candle troubleshooting guide.
Next steps
Log every test — your future self needs the data. Use the free Burn Test Log tool to record wicks, burn times, and observations. Pouring pillars? The wick pin tutorial shows how to get a perfectly centered wick channel. Dialing in your scent while you test? See the fragrance blending tutorial.