How to Use a Wick Pin
Threading a wick through a pillar mold works — until wax leaks out the bottom or the wick drifts off-center. A wick pin solves both problems and leaves a perfect channel for the wick.

What you’ll need
- A wick pin — sized to your mold (it should reach from base to top)
- Pillar mold with a wick hole
- Wick bar, pencil, or chopstick to hold the pin centered at the top
- Mold putty
- Pre-tabbed wicks for after unmolding
Steps
1. Seat the pin
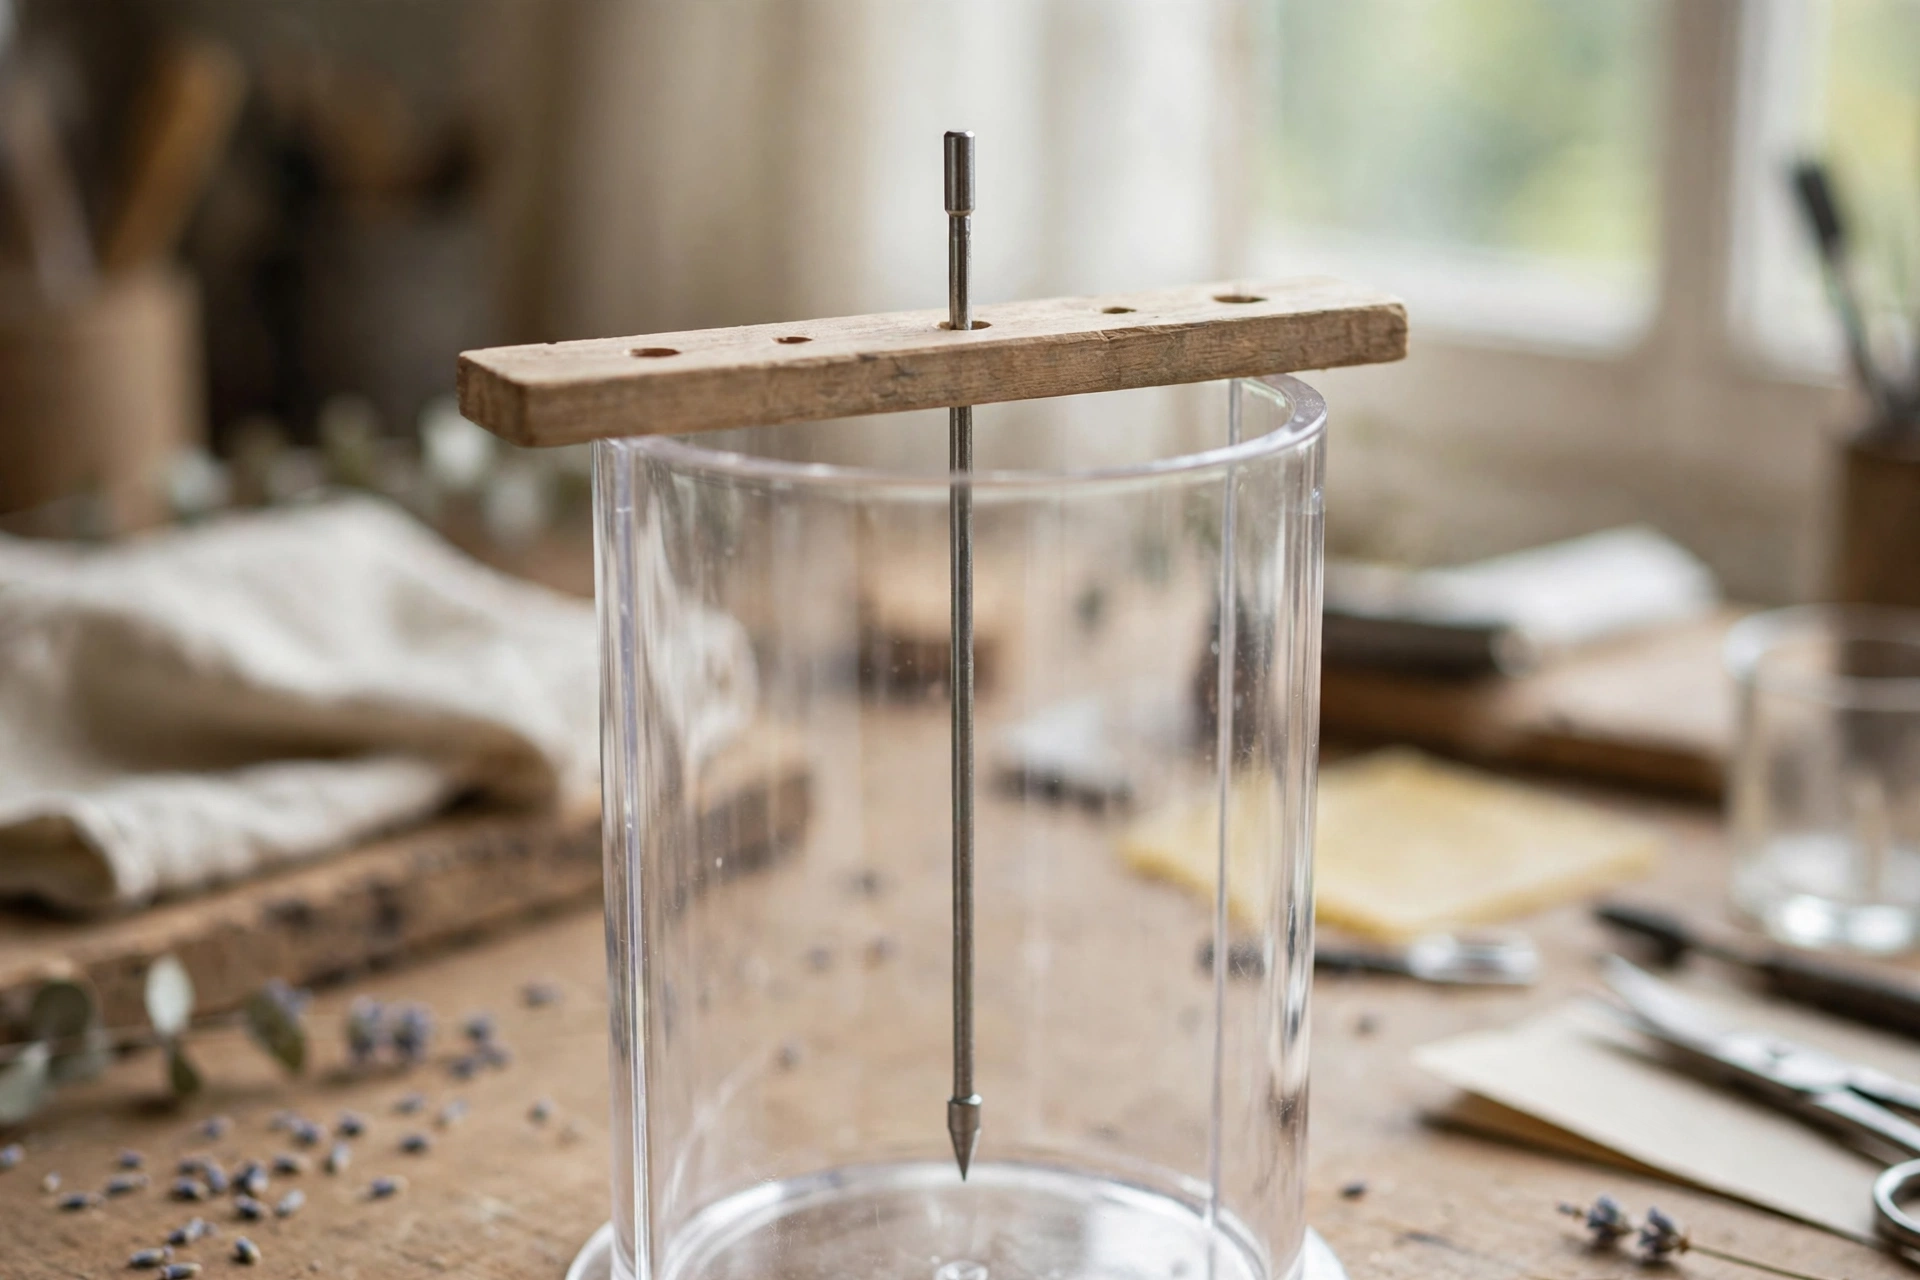
Push the wick pin up through the wick hole in the bottom of the mold until it stands centered. Seal around the base with mold putty. Lay your wick bar across the top of the mold and rest the pin against it so it stays perfectly vertical and centered.
2. Pour as normal
Pour your wax following your pillar candle process — same temps, same repouring for shrinkage. The pin just sits there doing its job while the wax sets around it.
3. Cool completely
Let the candle cool fully before touching the pin. Pulling it early drags wax and ruins the channel walls.
4. Remove the pin
Once the candle is hard, grip the pin and pull it straight up with a slow, steady motion — no wiggling. You’re left with a clean, centered channel running the full height of the candle.

5. Insert the wick
Thread a pre-tabbed wick down through the channel. The tab anchors at the bottom; trim the top to 1/4 inch. Done — a perfectly centered wick, zero leaks, zero fuss.
This tutorial contains affiliate links. As an Amazon Associate I earn from qualifying purchases — it helps keep these tutorials free, at no extra cost to you.