How to Clean Candle Making Tools
Wax-covered tools are a fact of life — but a pitcher caked in old wax ruins your next batch’s scent and color. Clean as you go and your gear lasts years.
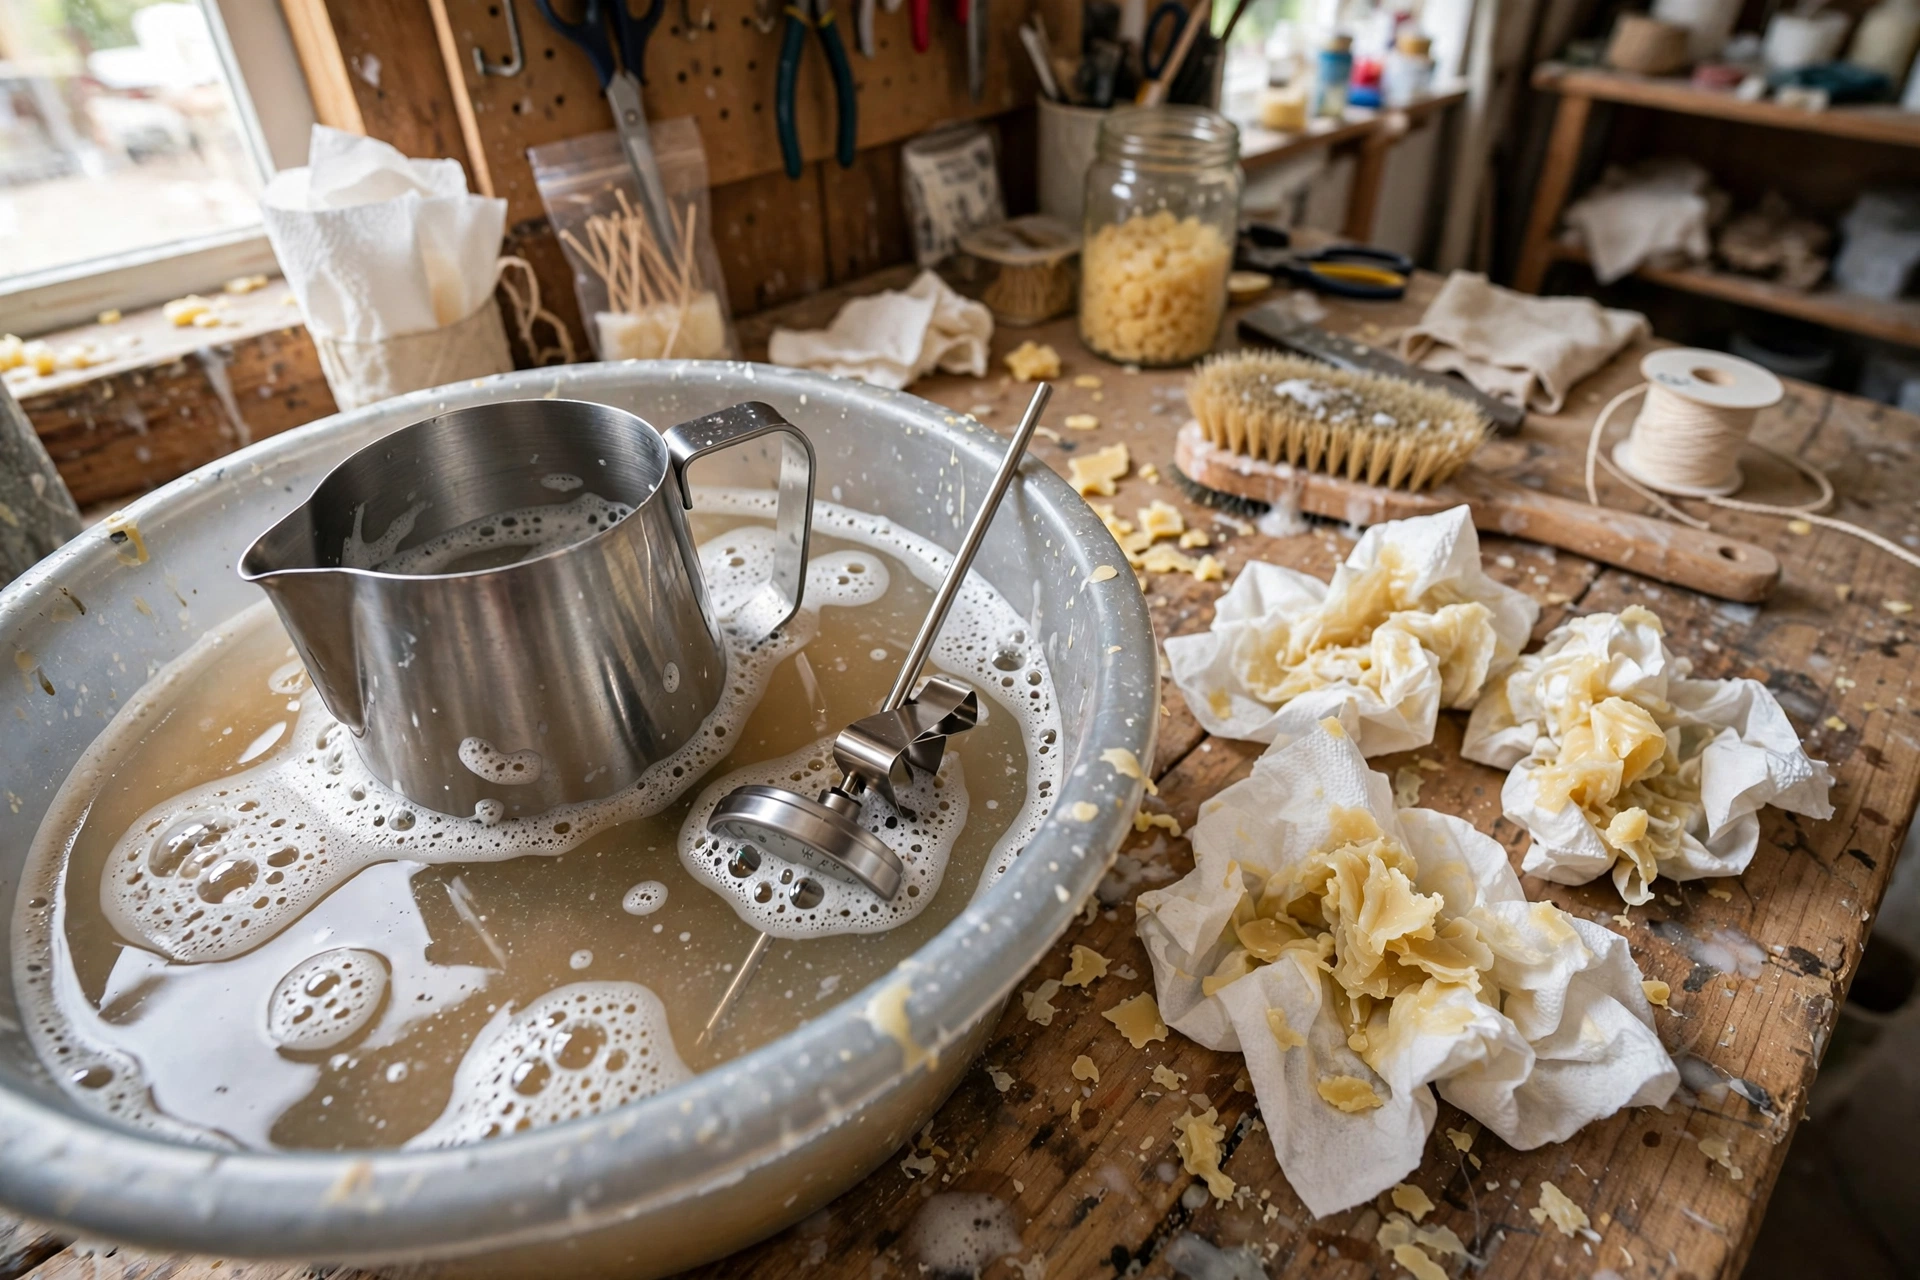
What you’ll need
- Paper towels (lots of them)
- Dish soap and hot water
- Rubbing alcohol or white vinegar
- An old toothbrush or bottle brush
- Dedicated sponge — not the one you wash dishes with
Steps
1. Wipe while warm
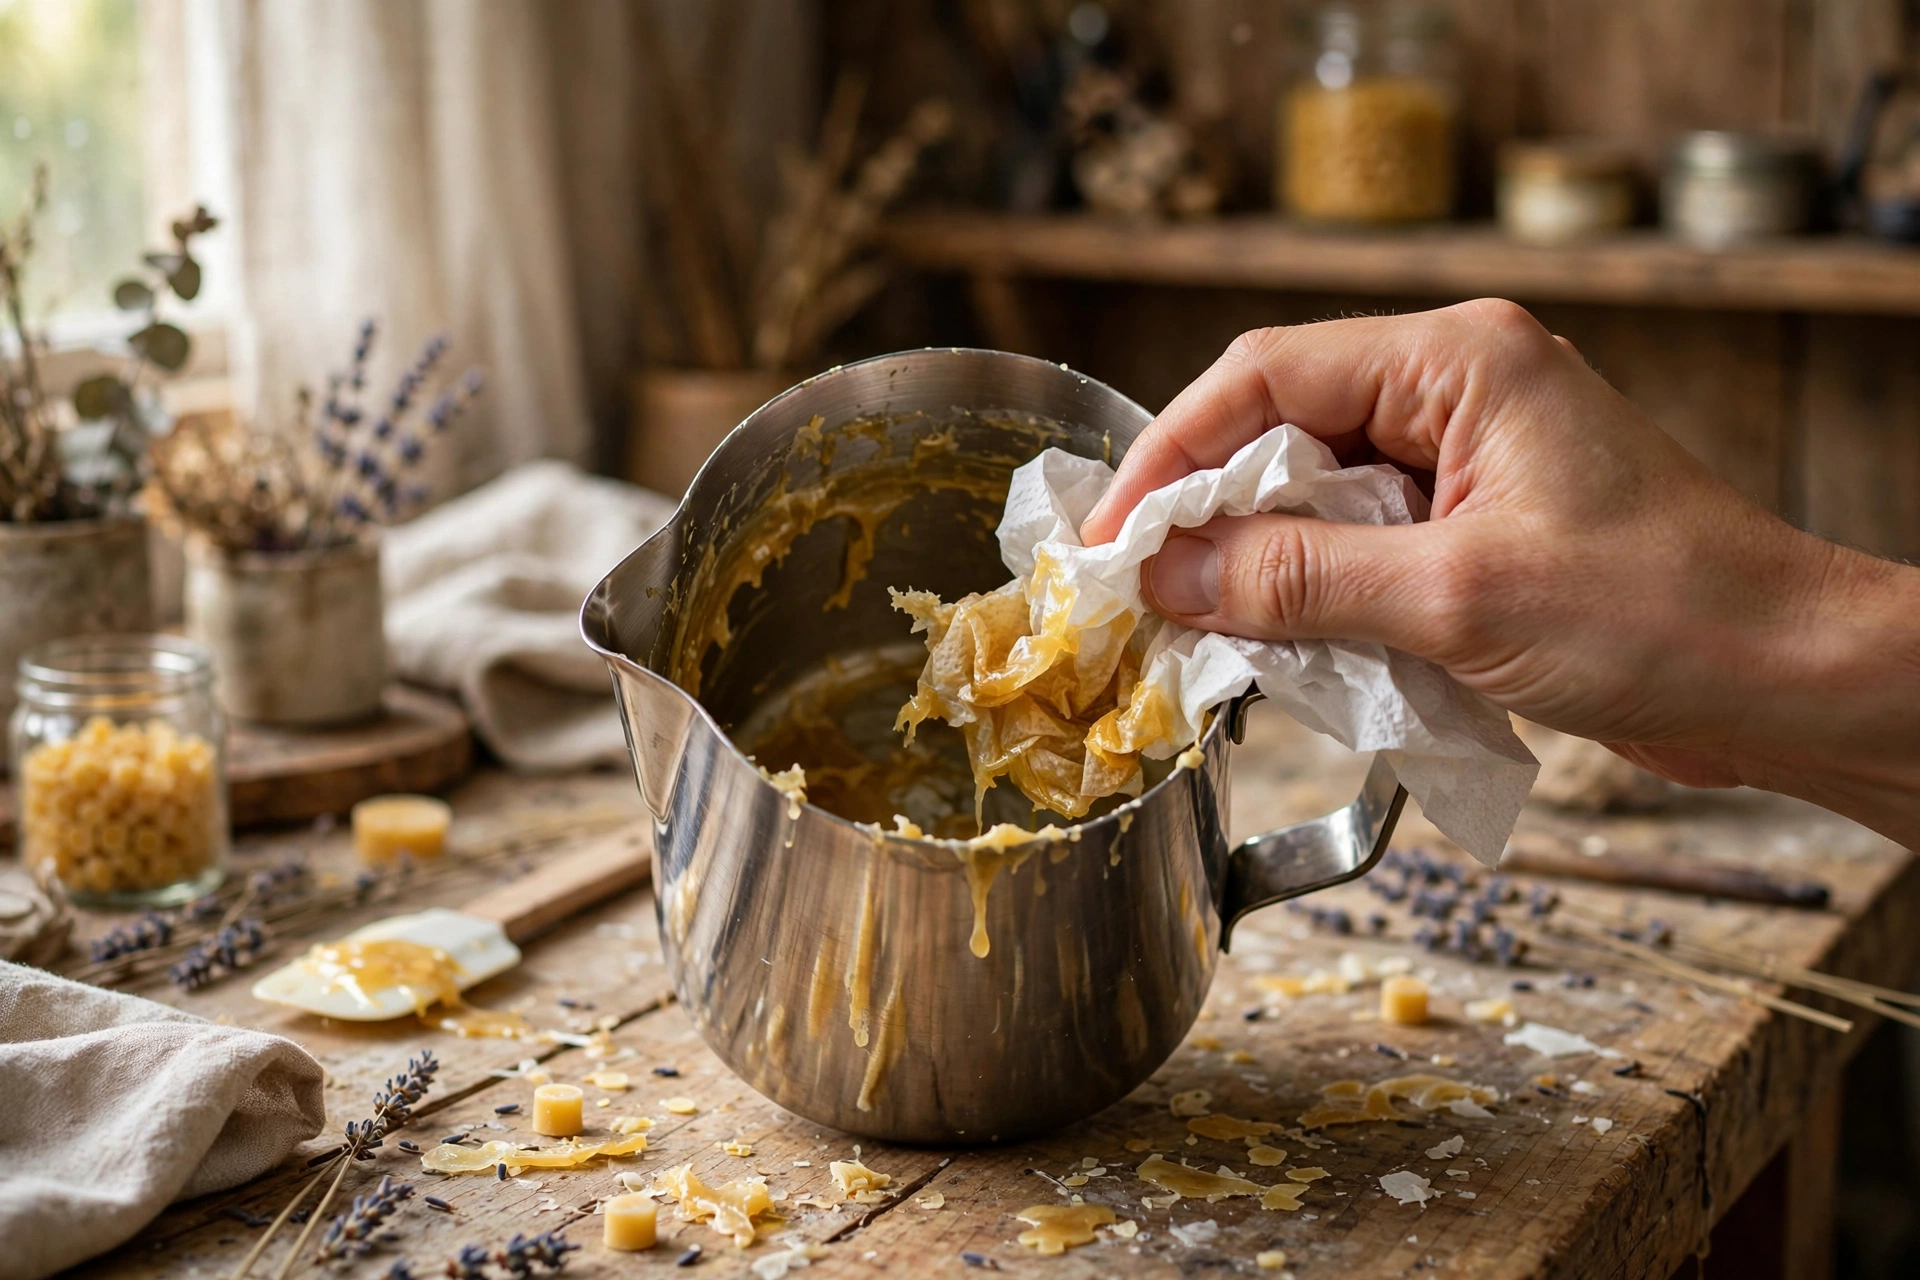
The golden rule: clean tools while the wax is still liquid or soft. Pour out excess wax into a waste container, then wipe the pitcher, thermometer, and stirrers with paper towels until no visible wax remains.
2. Hot soapy soak
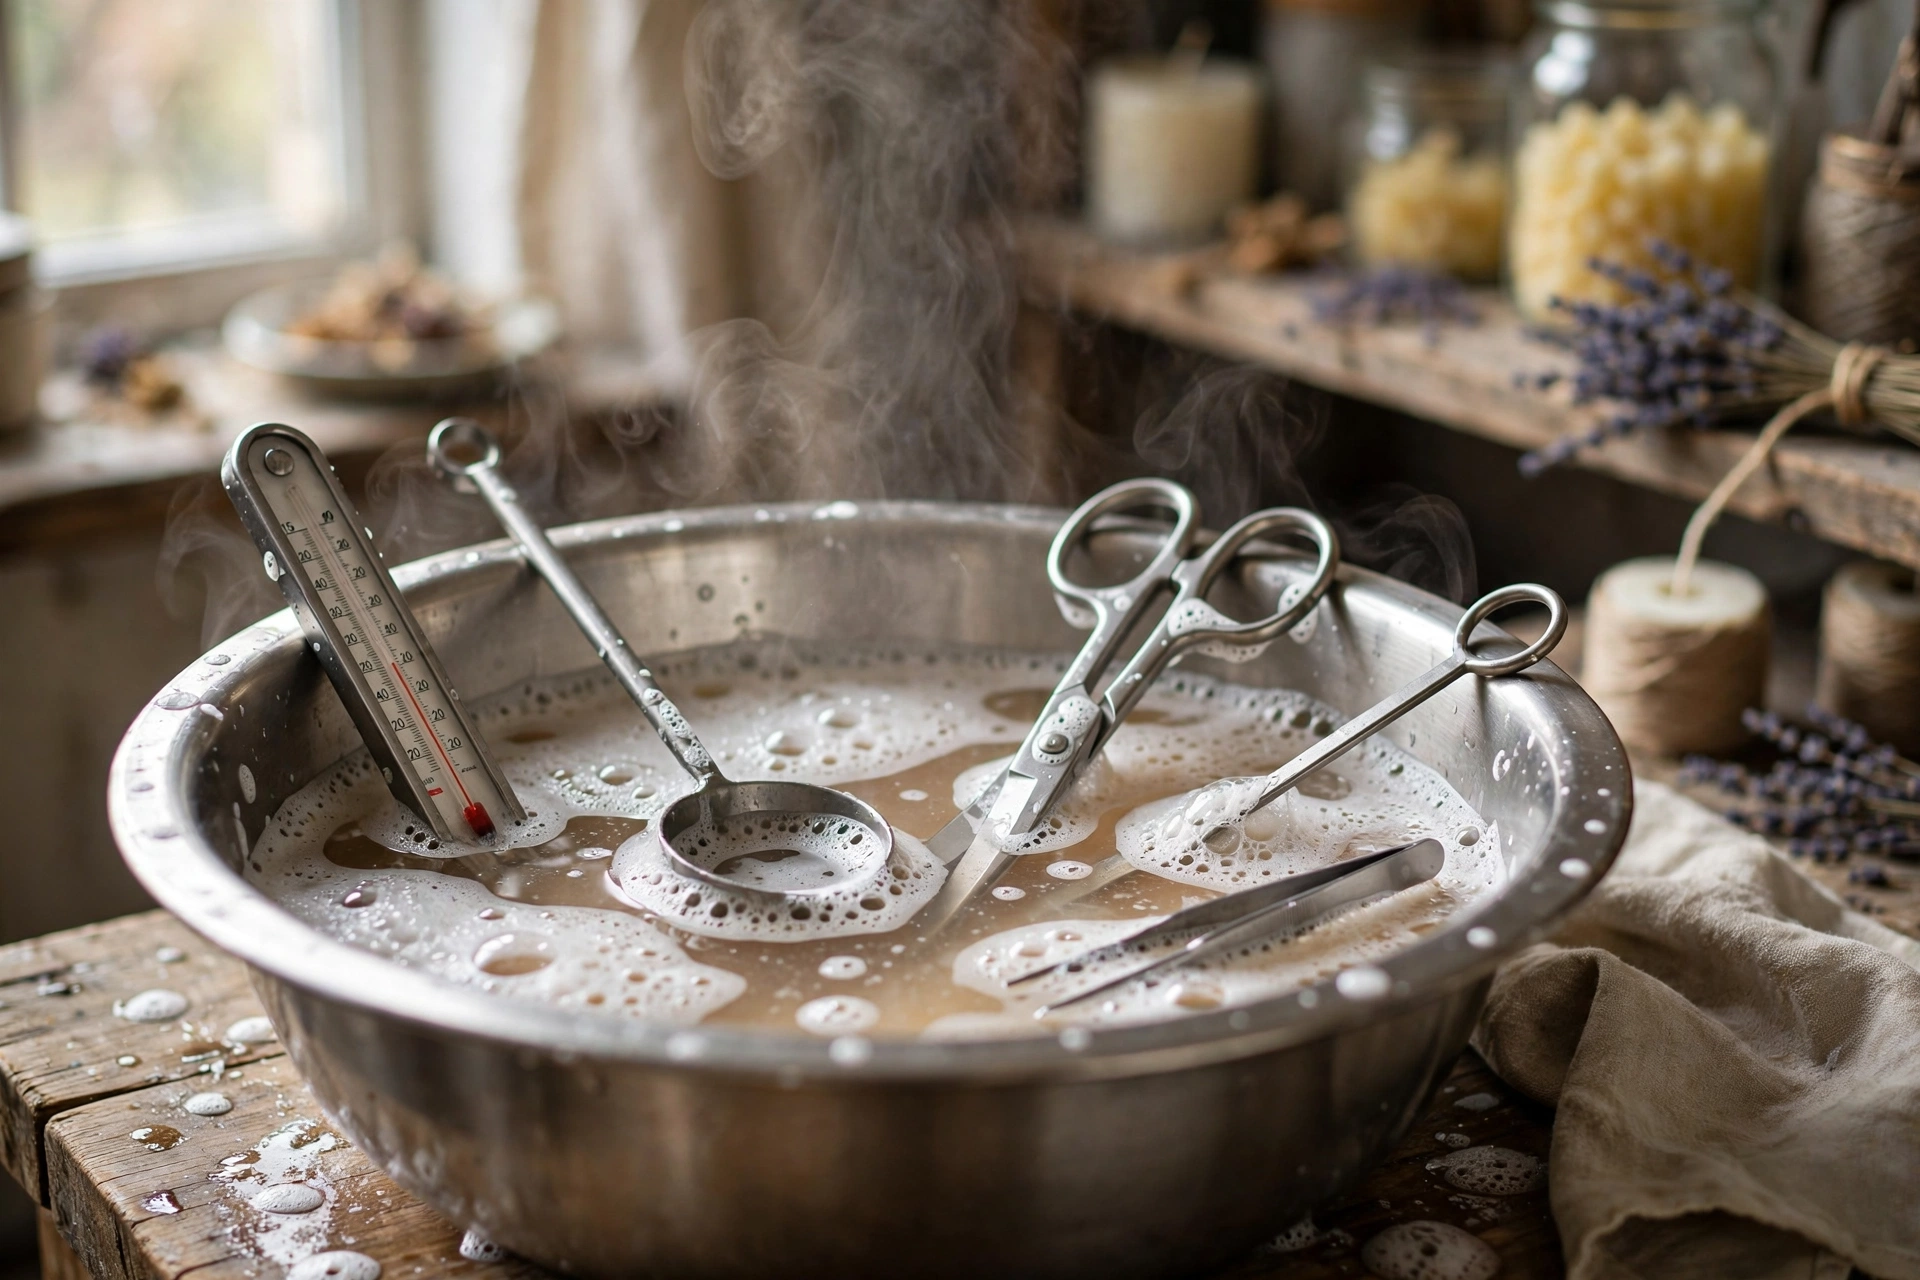
Once wiped, soak tools in hot water with dish soap for 10–15 minutes. This lifts the thin wax film and fragrance residue that wiping misses — the stuff that ghosts your next batch with the last batch’s scent.
3. Scrub the details
Use the toothbrush on thermometer clips, pour spouts, and threads — wax hides in crevices. For silicone molds, wash with soap and water only; never use abrasives that scratch the surface.
4. De-scent between fragrances
Making a vanilla candle after a pine one? Wipe tools with rubbing alcohol after the soap wash. It cuts fragrance oils that soap leaves behind. This matters most for pitchers and anything that touches melted wax.
5. Dry completely
Water and wax don’t mix — literally. A wet pitcher causes sputtering and poor adhesion. Air dry everything fully before storing, or dry with a clean towel and let sit for an hour.
Molds and thermometers
Polycarbonate pillar molds: warm soapy water, soft cloth, never abrasive pads — scratches show up on every future candle. Thermometers: wipe the probe after every use; a wax-coated probe reads slow and costs you accuracy.
This tutorial contains affiliate links. As an Amazon Associate I earn from qualifying purchases — it helps keep these tutorials free, at no extra cost to you.