How to Make Reed Diffusers
No wax, no wick, no flame — reed diffusers are the easiest product line extension a candle maker can add. Same fragrance oils, brand-new shelf space.
What you’ll need
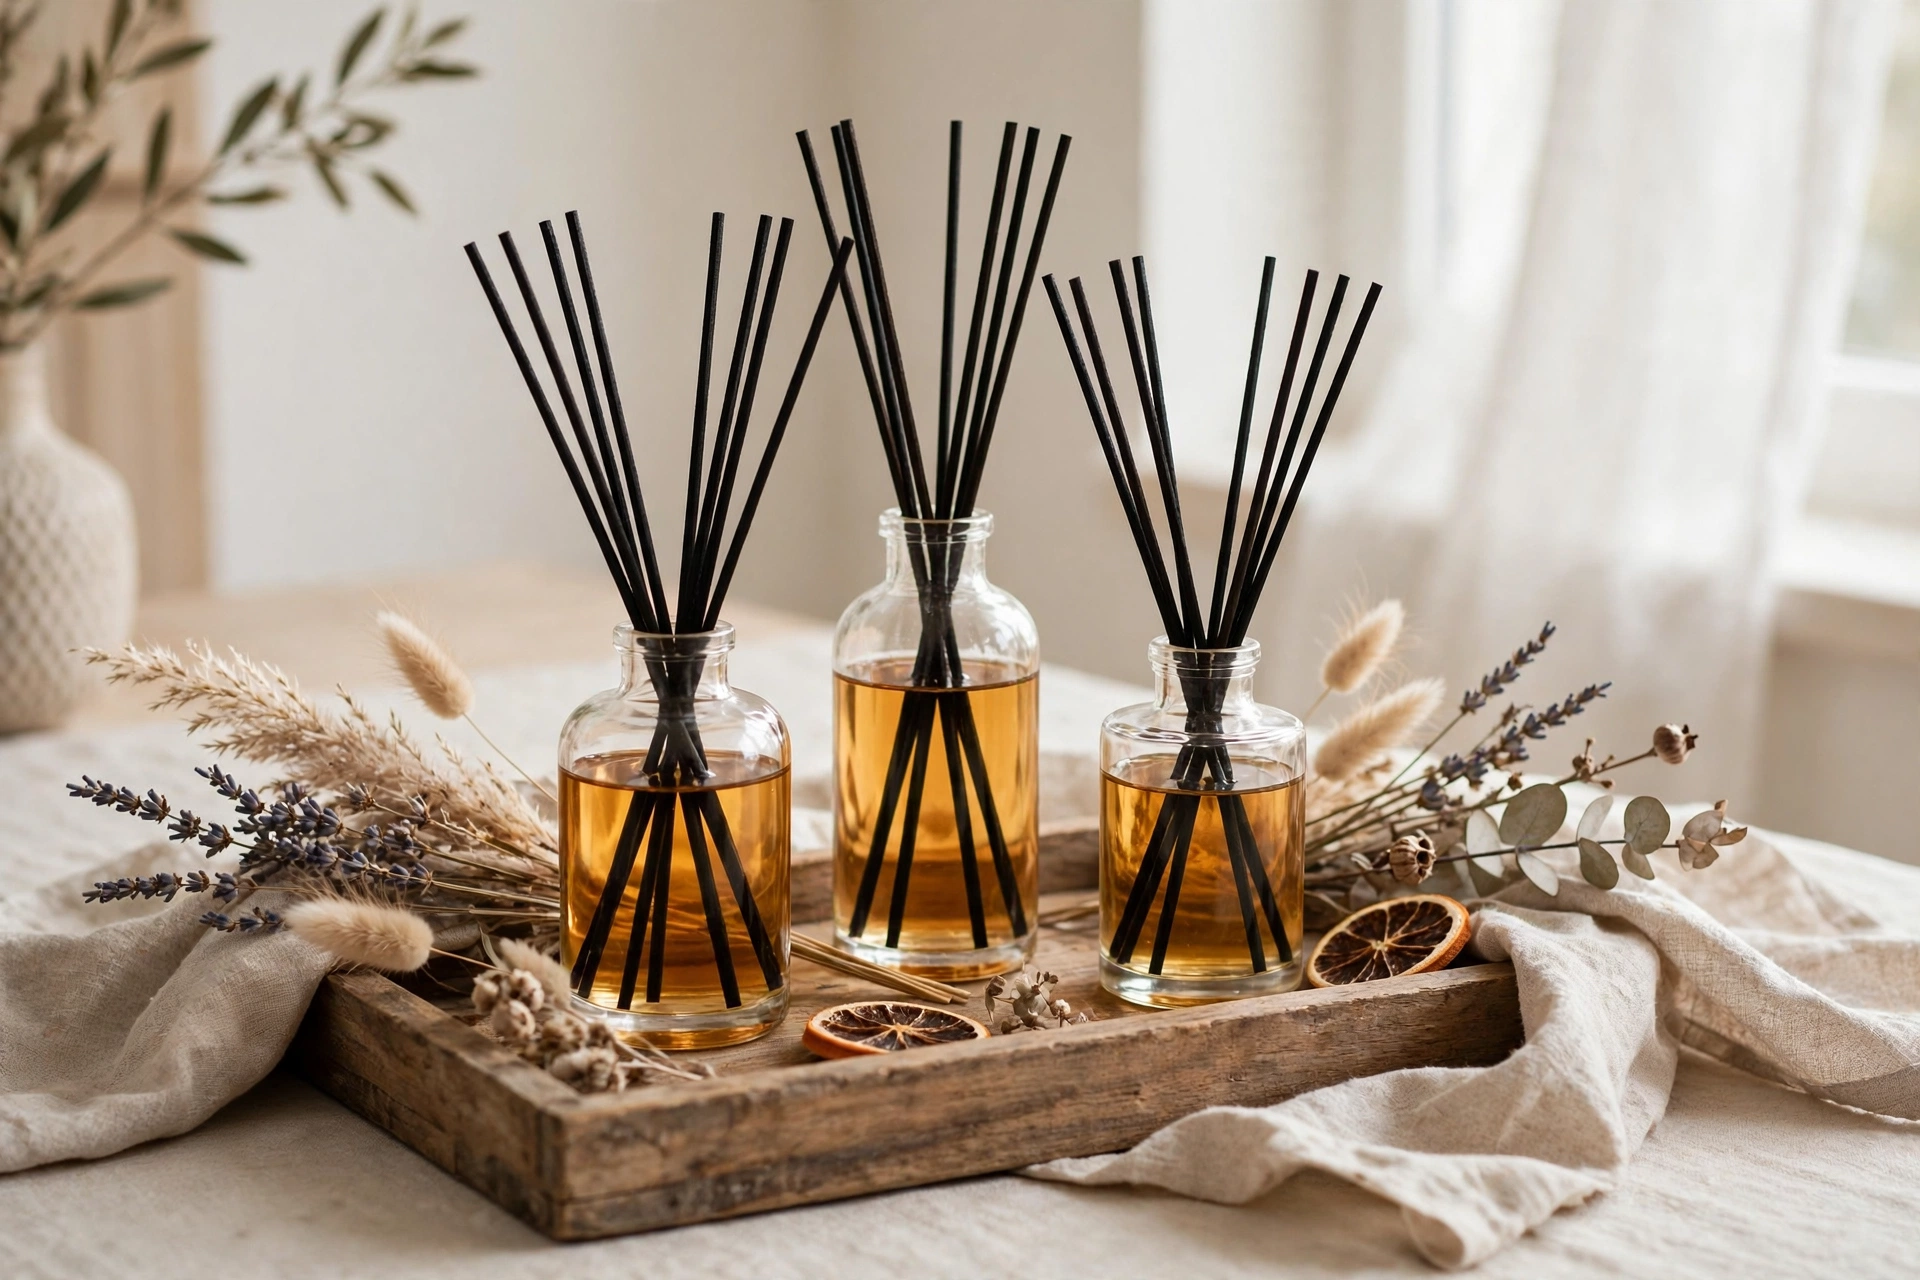
- Reed diffuser base oil (a carrier formulated to travel up reeds — not plain carrier oil)
- Fragrance oil made for candles — check it’s diffuser-safe
- Glass diffuser bottle with a narrow neck
- Natural rattan reeds (not bamboo skewers — rattan has channels that wick the oil)
- Small funnel, beaker, and digital scale
Steps
1. Mix the oil
The standard ratio is about 20–25% fragrance oil to 75–80% diffuser base. For a 100 ml bottle: 25 ml fragrance oil + 75 ml base. Pour the base into your beaker first, add the FO, and stir gently until fully blended. Our essential oil dilution calculator works out exact drops for any bottle size.
2. Fill the bottle
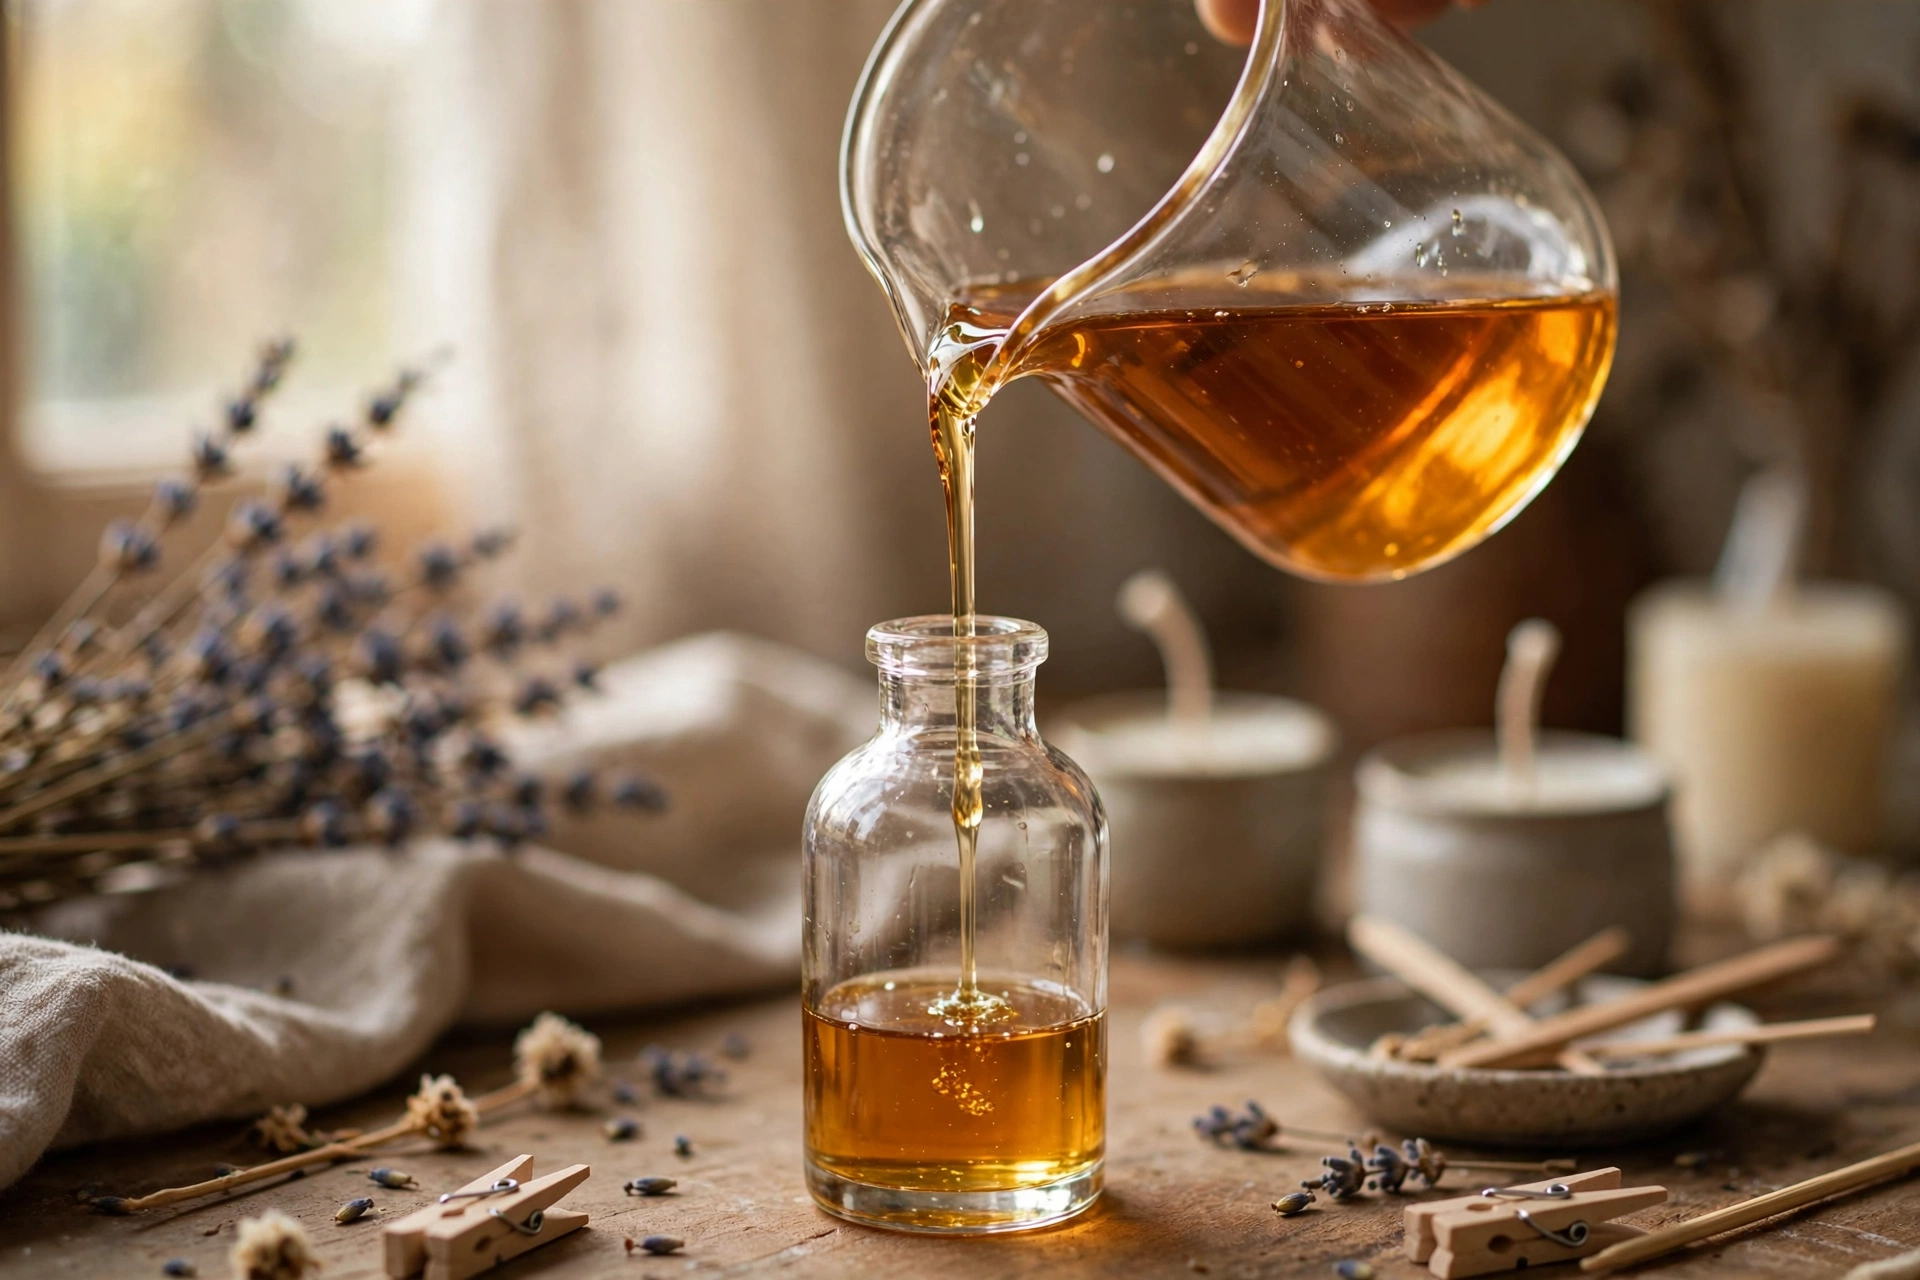
Use a small funnel to pour the blend into your diffuser bottle. Leave a little headspace — you’ll be inserting reeds, which displaces oil.
3. Insert the reeds
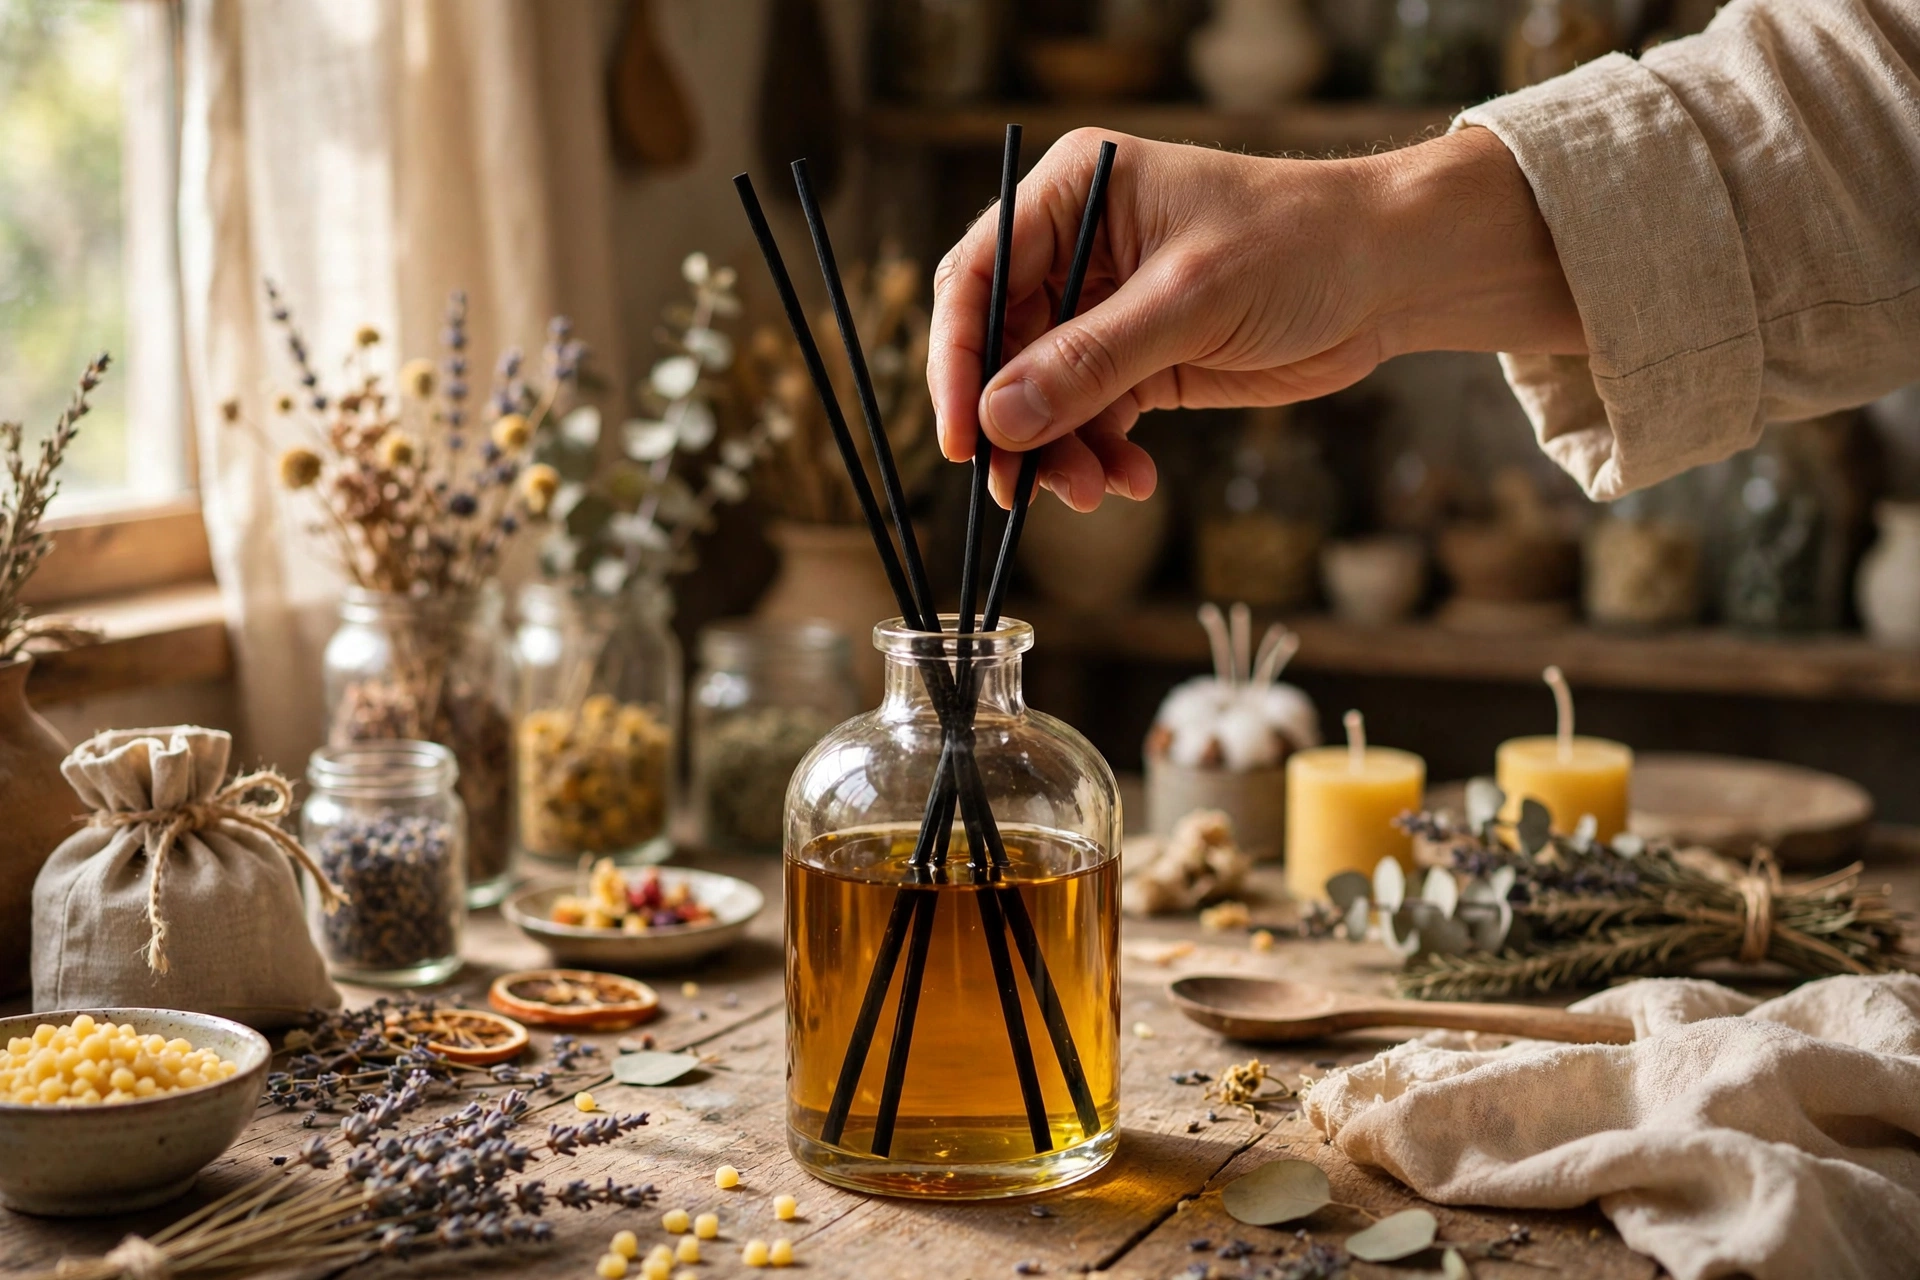
Fan 6–8 rattan reeds into the bottle, spreading the tops apart so air circulates between them. More reeds = stronger scent, but they also drink the oil faster.
4. Flip to start
Let the reeds soak for an hour, then flip them — dry ends down into the oil, saturated ends up. The scent starts within a few hours. Tell customers to flip weekly for consistent strength.
Selling tips
Diffusers last 2–4 months, which makes them great repeat purchases. Sell refill bottles — customers keep the vessel and reeds, you keep the revenue. And since there’s no burn testing, a new scent goes from idea to shelf in a day.
This tutorial contains affiliate links. As an Amazon Associate I earn from qualifying purchases — it helps keep these tutorials free, at no extra cost to you.