How to Make Wax Melts
No wick, no flame, no wick testing — wax melts are the fastest way to turn fragrance into a sellable product. If you can make a candle, you can make melts in your sleep.
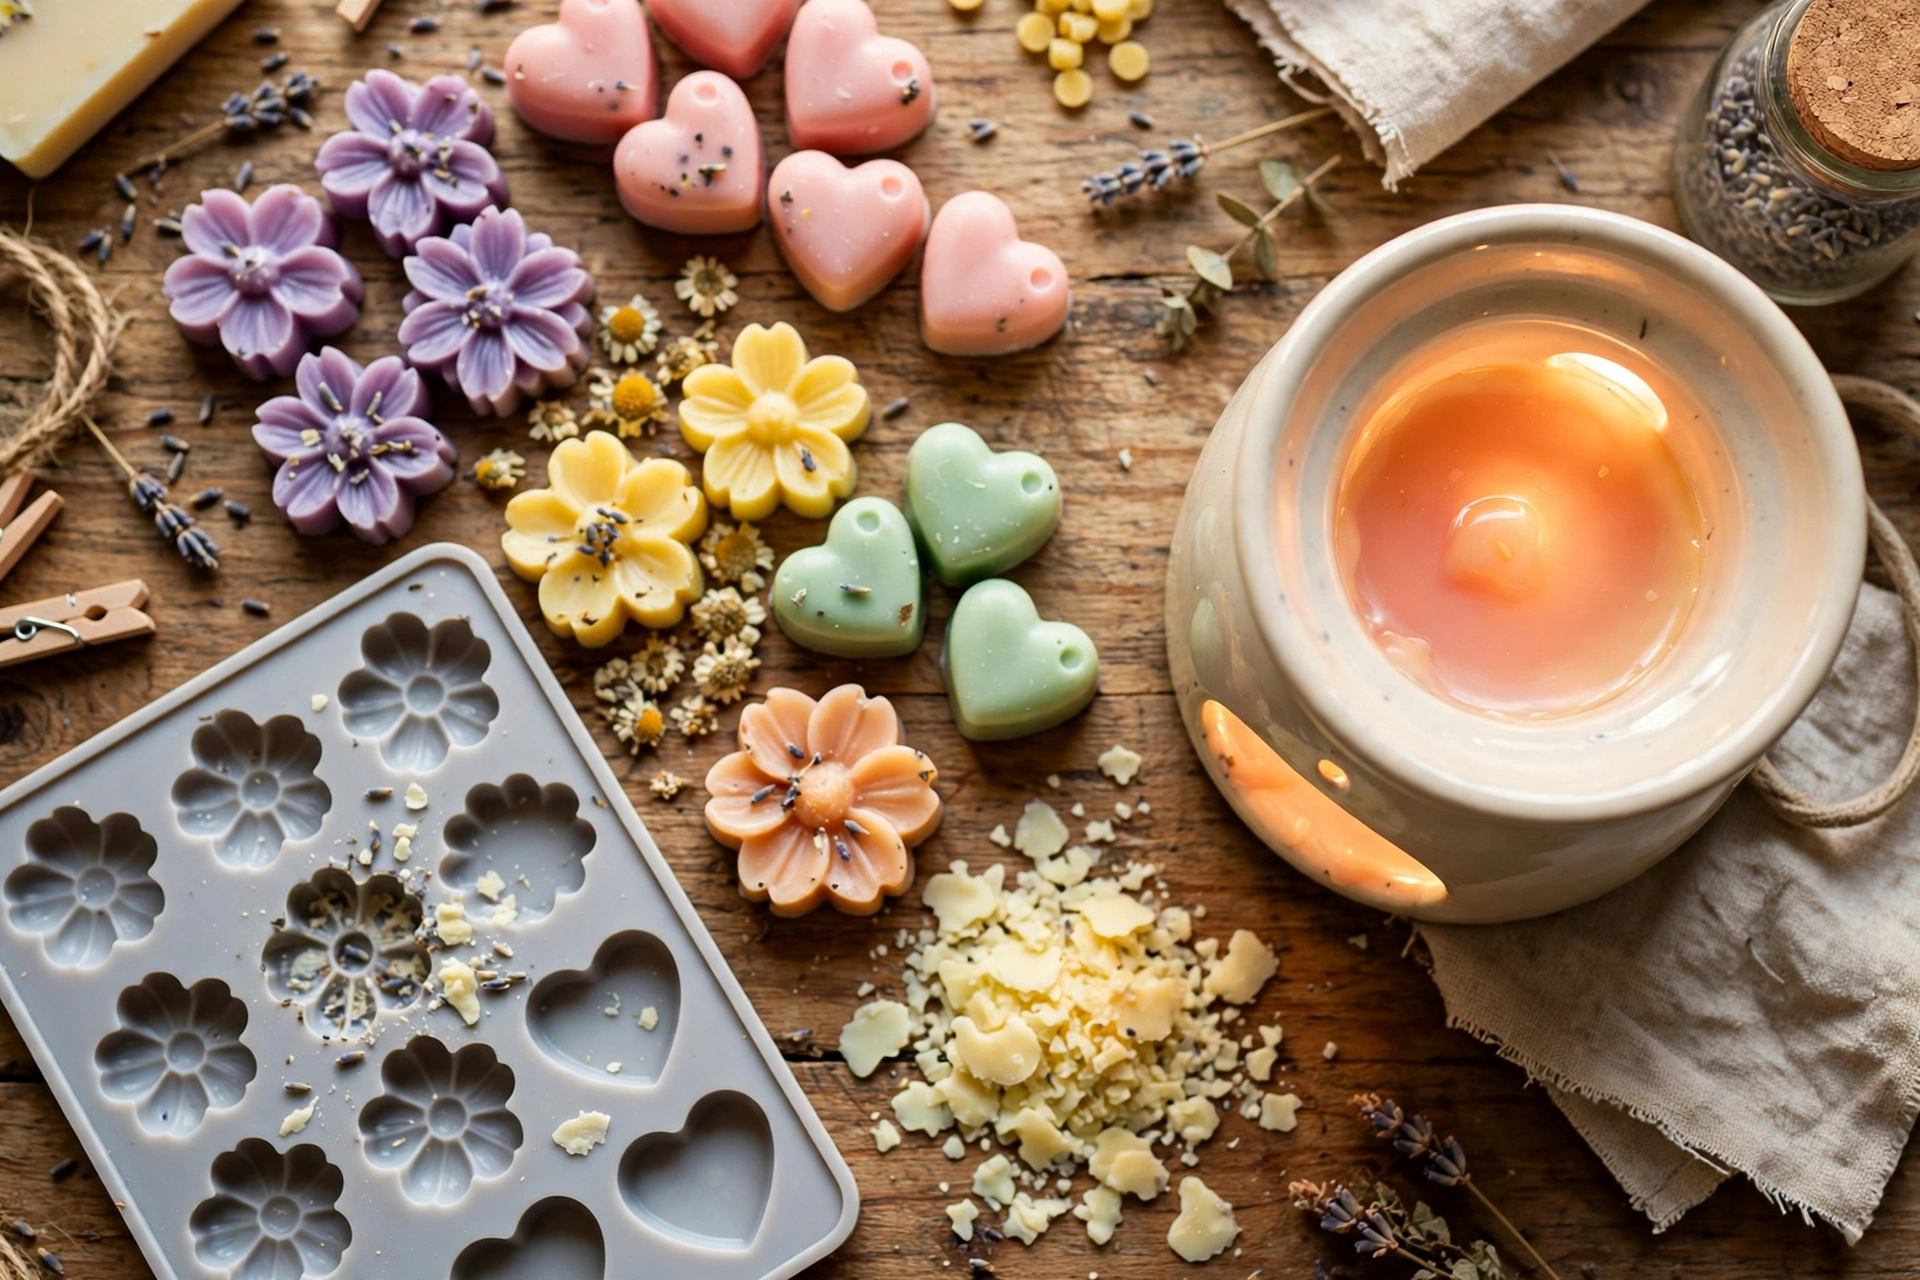
What you’ll need
- Wax melt / tart wax — a harder blend than container wax (it needs to pop out of molds cleanly)
- Silicone molds in fun shapes
- Fragrance oil made for candles
- Candle dye or mica (optional)
- Pouring pitcher, thermometer, and digital scale
- Clamshell packaging if selling
Steps
1. Weigh everything
Wax melts can handle higher fragrance loads than candles — 10–12% is common since there’s no wick to clog. Weigh your wax and FO with the scale. For 16 oz of wax at 10%, that’s 14.55 oz wax and 1.45 oz FO.
2. Melt and scent
Melt the wax to about 180–185°F. Add your fragrance oil and dye, then stir for a full 2 minutes. Tart wax is harder than container wax, so give it time to fully liquefy — cloudy streaks mean it’s not ready.
3. Pour into molds
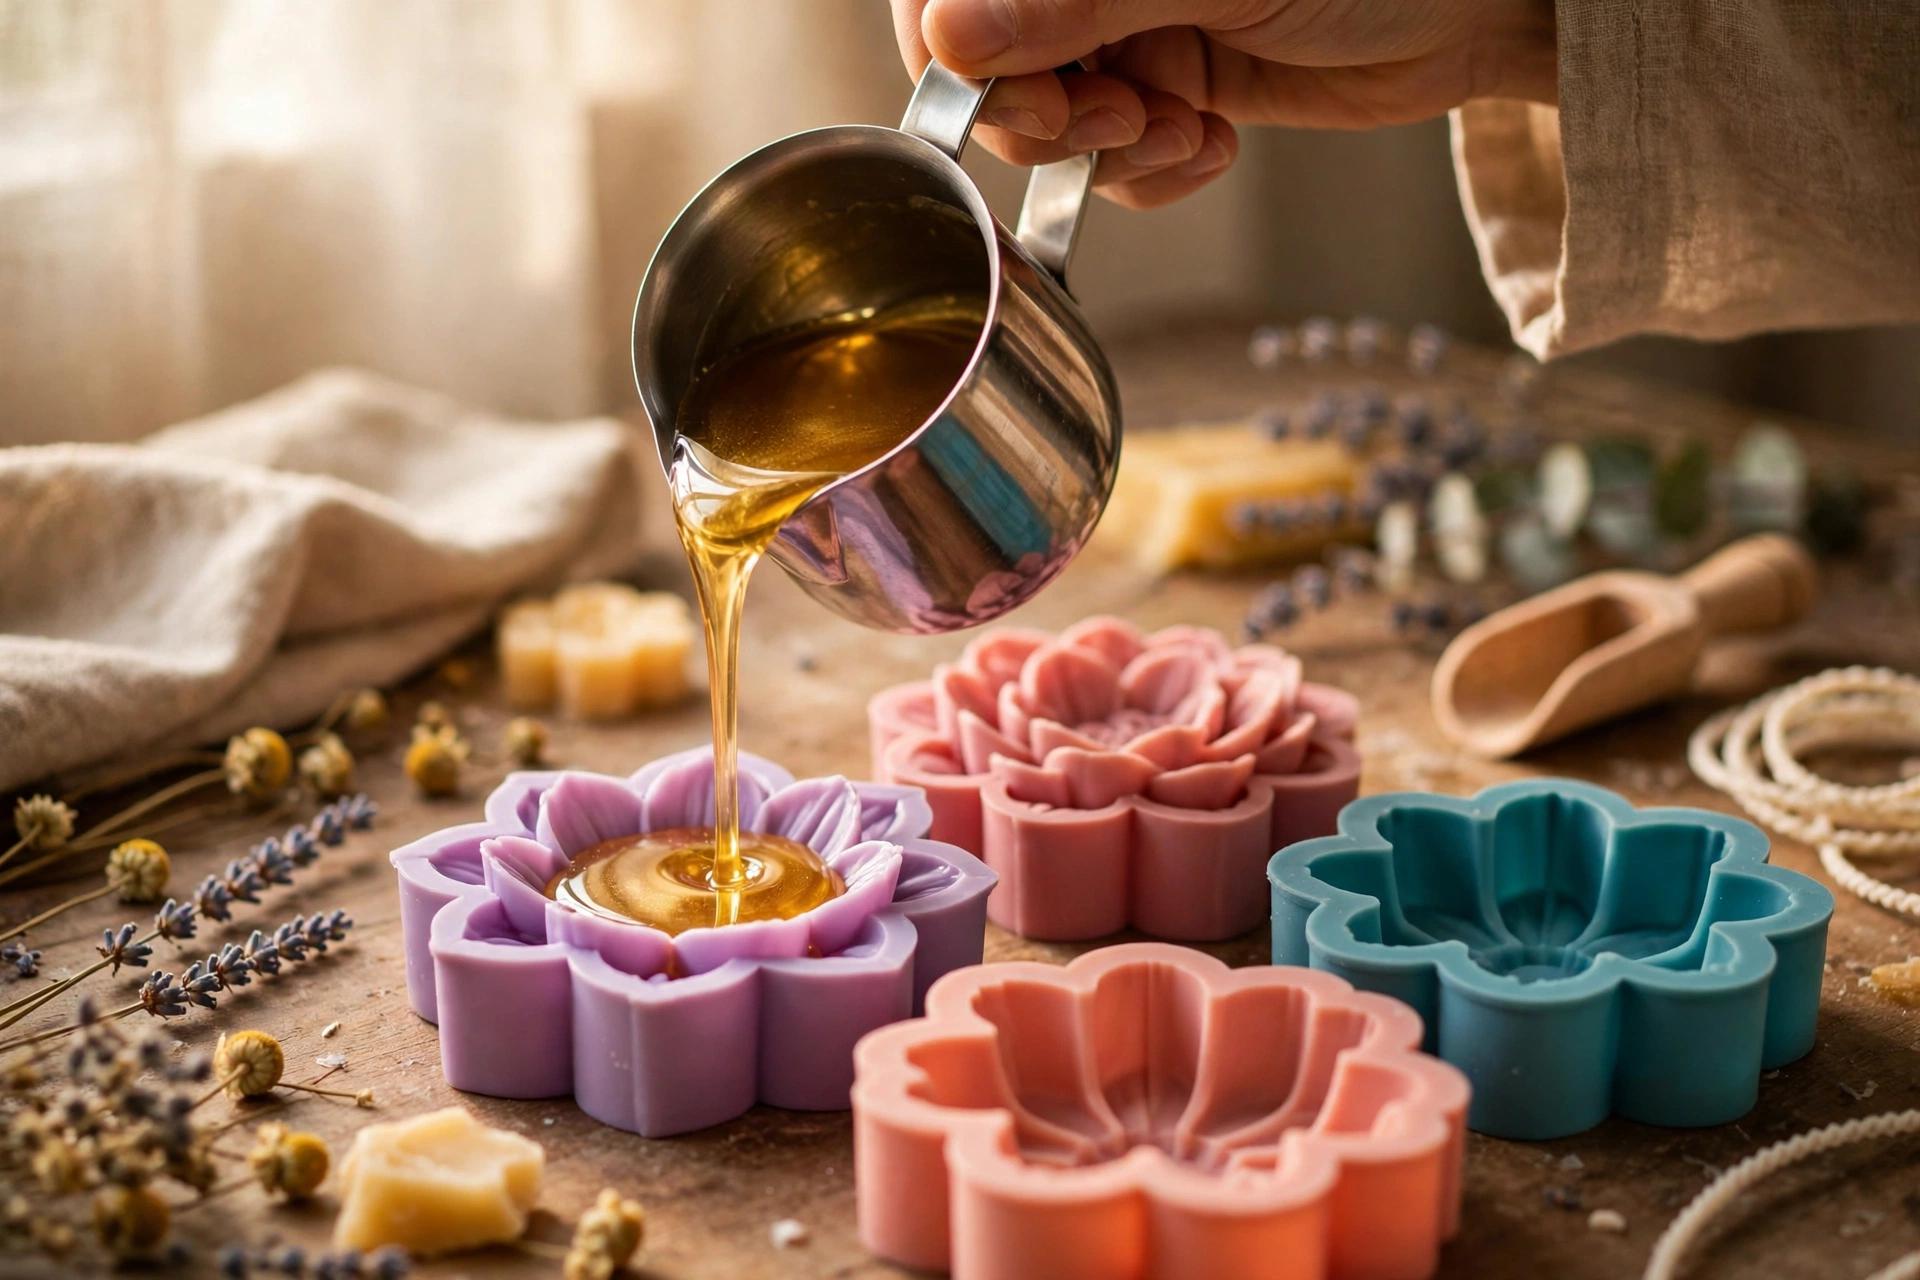
Cool to around 150–160°F and pour into your silicone molds. Fill each cavity to the top in one smooth pour — going back for dribbles leaves visible lines.
4. Cool and unmold
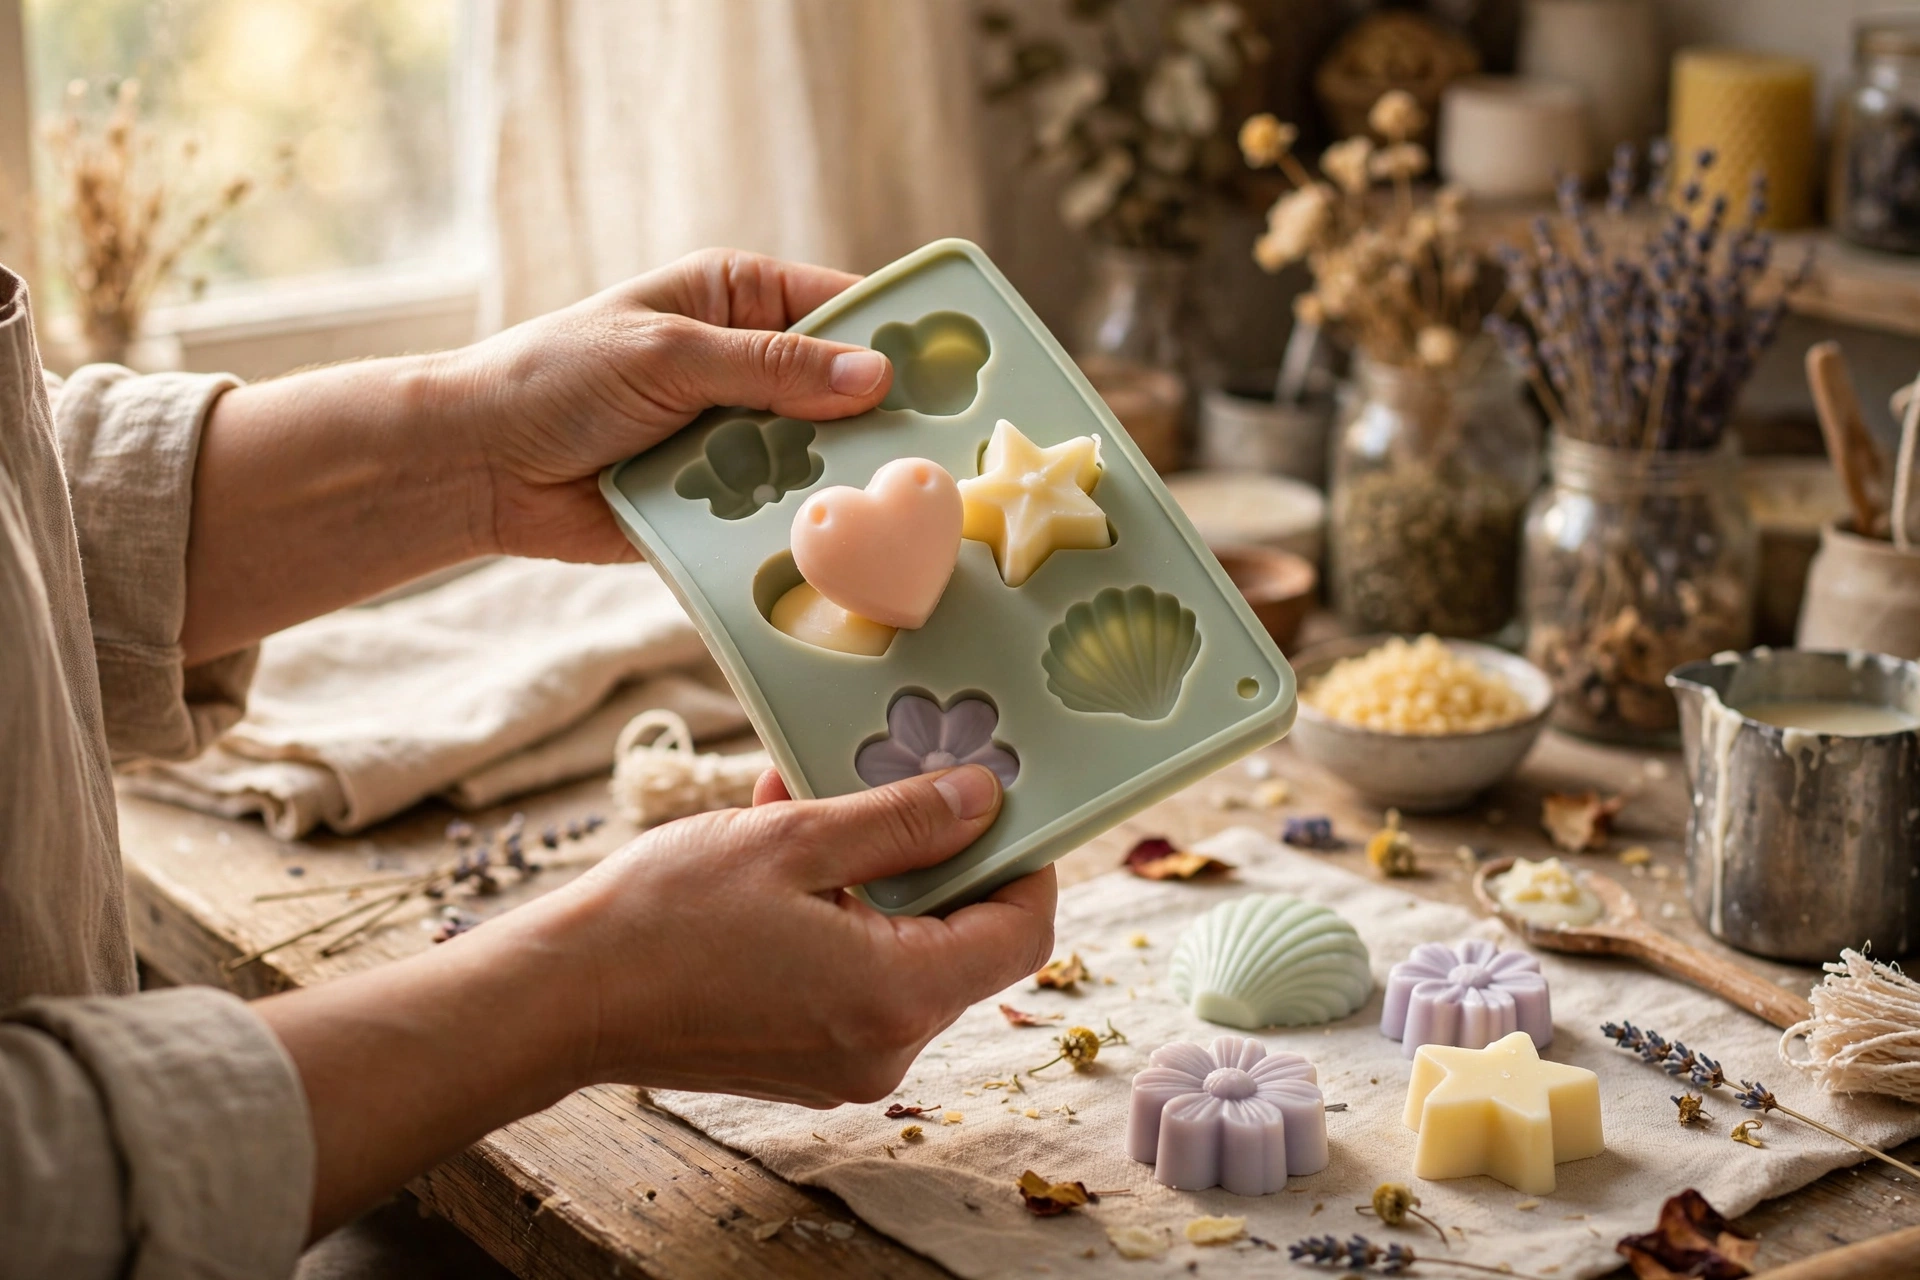
Let the molds sit undisturbed until completely hard — usually 2–4 hours. Flex the silicone to pop each melt out. If they stick, 10 minutes in the freezer shrinks the wax just enough to release.
5. Cure and package
Yes, melts need curing too — 7–14 days for soy-based tart wax. Then package in clamshells or bags. Label with the scent name and a “do not eat” warning (they look like candy, and kids notice).
This tutorial contains affiliate links. As an Amazon Associate I earn from qualifying purchases — it helps keep these tutorials free, at no extra cost to you.