How to Make a Silicone Mold
Want to cast your own concrete vessels, wax shapes, or embeds? A homemade silicone mold starts with a two-part silicone kit and an afternoon.
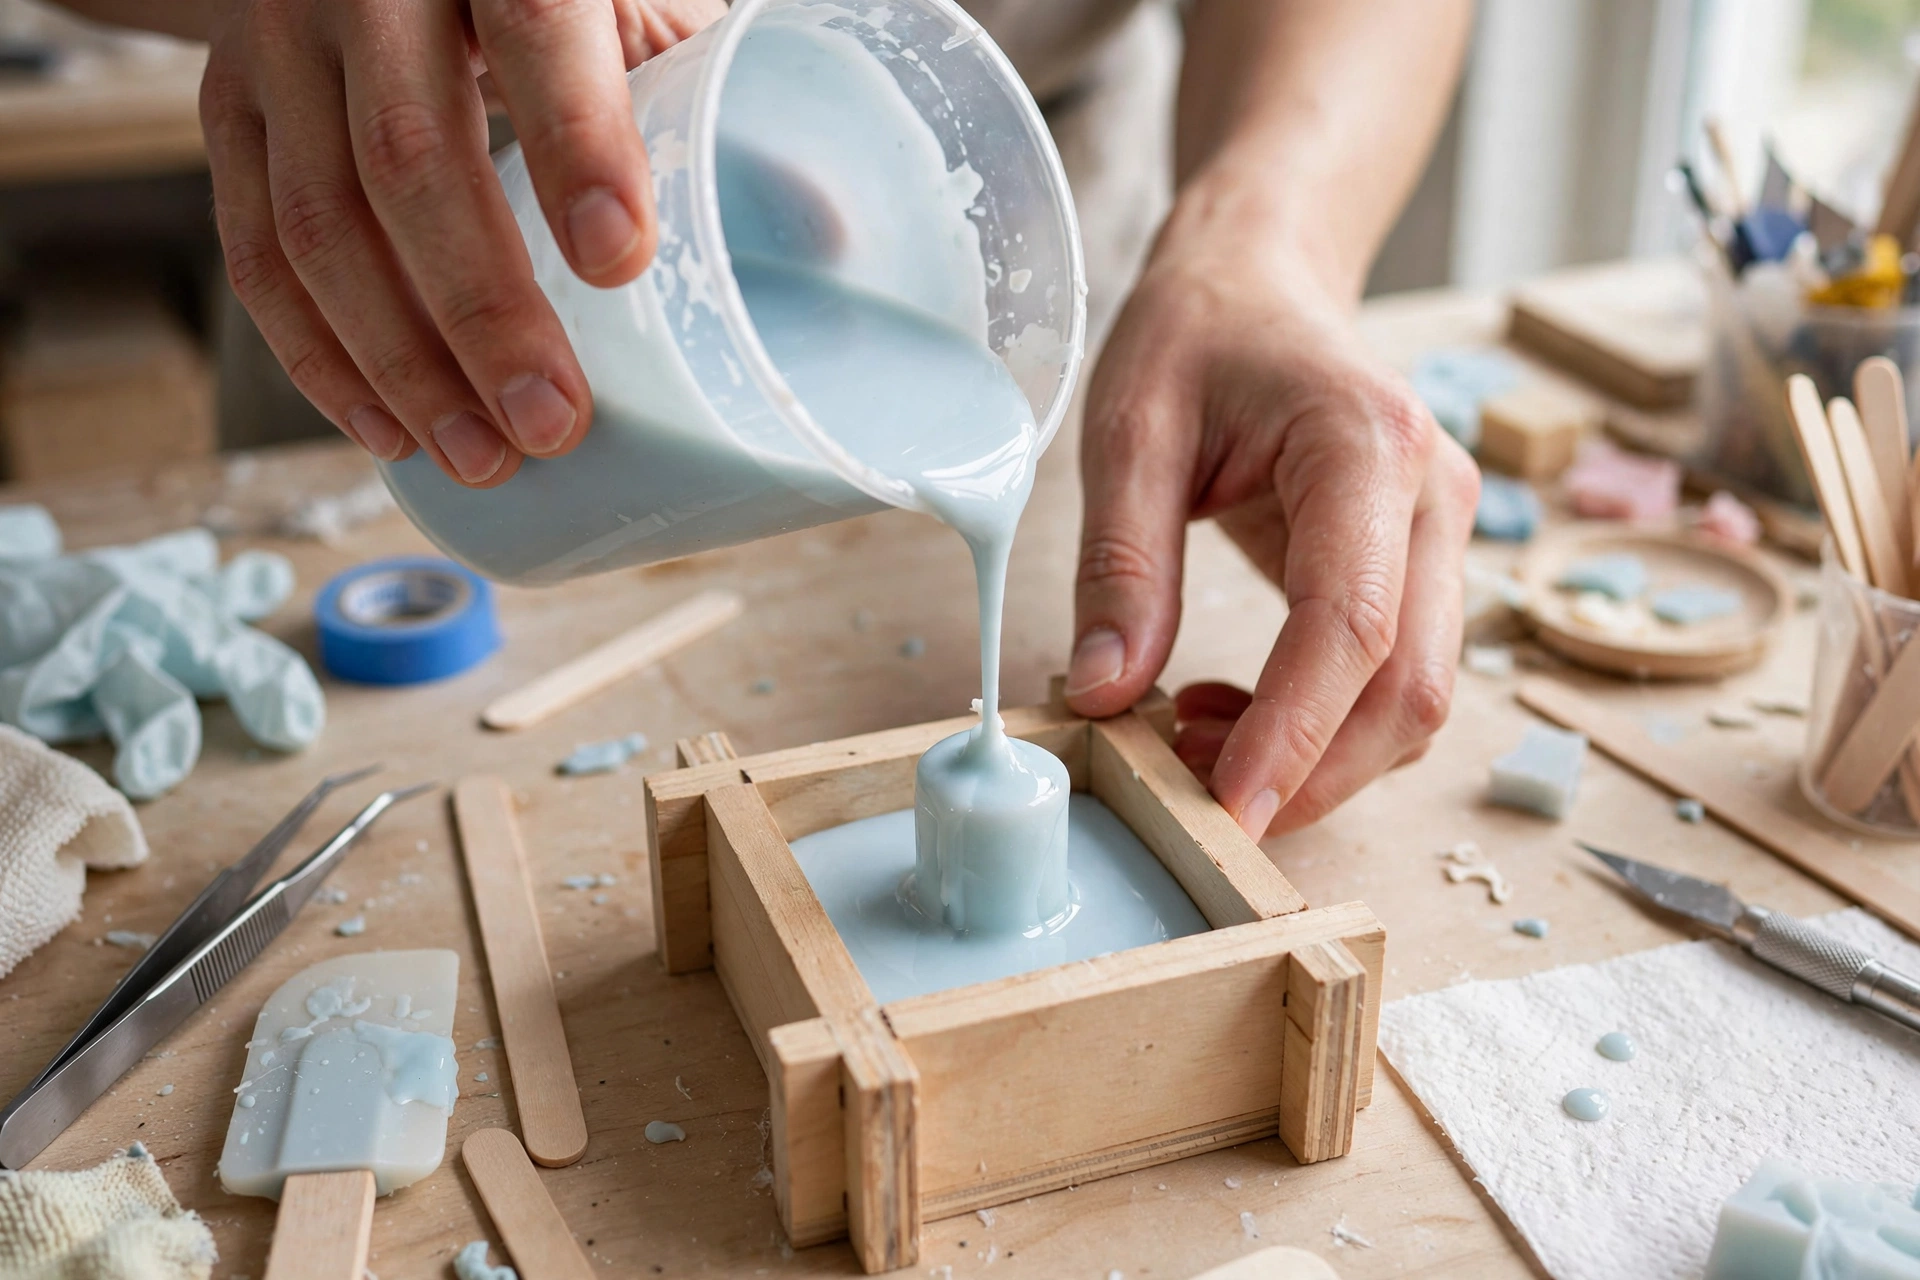
What you’ll need
- Two-part platinum-cure silicone kit (1:1 mix by weight — use a digital scale)
- An original — the object you want to copy
- Mold box — LEGO bricks, foam board, or acrylic sheets
- Hot glue gun to seal the box seams
- Non-sulfur modeling clay to secure the original
- Mold release spray (for porous originals)
- Mixing cups, stir sticks, and a scale
Steps
1. Build the mold box
Assemble a box around your original with at least 1/2 inch of clearance on all sides and the top. Seal every seam with hot glue — silicone finds leaks you can’t see. Stick the original to the base with clay so it can’t float.
2. Prep the original
If your original is porous (wood, plaster, 3D print), give it a coat of mold release or sealant. Smooth non-porous originals (glass, glazed ceramic, resin) usually need nothing.
3. Measure and mix
Measure equal parts A and B by weight. Mix slowly but thoroughly for 3 full minutes, scraping the sides and bottom — unmixed streaks stay gooey forever. Avoid whipping air in.

4. Pour
Pour in a thin stream from 6–12 inches above the box, aiming at one corner and letting the silicone flow over the original. The thin stream stretches and pops most bubbles on the way down.
5. Cure
Leave it alone for the full cure time — usually 16–24 hours at room temperature. Don’t poke it early; a dent made at hour 6 is permanent.
6. Demold
Take the box apart and peel the silicone away from the original. If you made a two-sided mold, cut along your parting line with a sharp blade using a zigzag cut so the halves register back together.

7. First cast
Wash the mold with dish soap and water, let it dry, and do a test cast. For candle wax, check your silicone’s max temperature rating before committing to a big batch.
This tutorial contains affiliate links. As an Amazon Associate I earn from qualifying purchases — it helps keep these tutorials free, at no extra cost to you.
Shortcut: Rather skip the mold-making? Ready-made silicone molds work great for wax and concrete too.